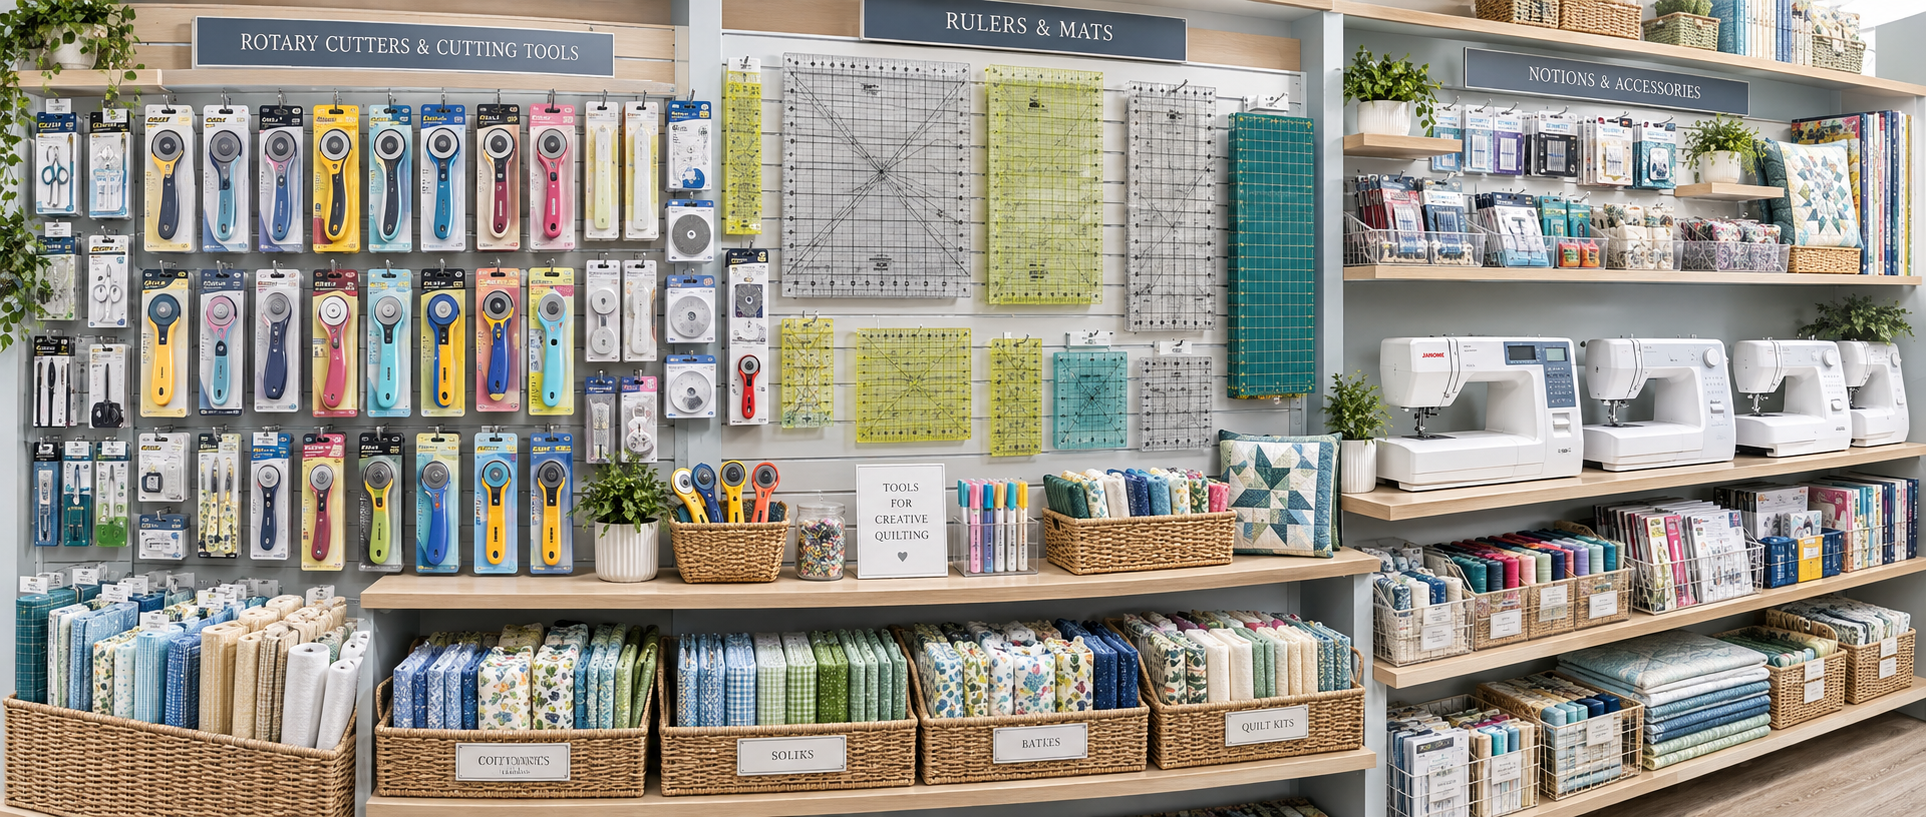
My first trip to a craft/sewing store searching for quilting tools was overwhelming. I had more questions than answers. Why do rotary cutters come in three sizes. What is the difference between the six different brands? And then I spotted the rulers. SO many rulers, in a hundred different sizes and colors. Which do I need, pins or clips? Which brand of scissors is the best?
Next, the sewing machines. Now, there is a potential purchase to make to stop in your tracks. Prices range from a couple hundred dollars to the price of a new car. If price is no option, how do you choose the machine that will be right for you?
After all that, nothing in your shopping cart tells you what you actually need to sew your first block.
What follows is a basic but efficient shopping list. It covers what to get before you start, what to skip for now, and what a reasonable starter kit costs to put together.
The Short List: What You Actually Need to Start Quilting
Strip quilting down to its basics and you need five categories of tools: something to cut fabric, something to sew it, something to hold pieces together while you sew, something to press seams flat, and something to mark and measure with. That’s it. Everything else on the shelf is a refinement of one of those five jobs, not a sixth job you’re missing.
My quilting starter kit looked like this:
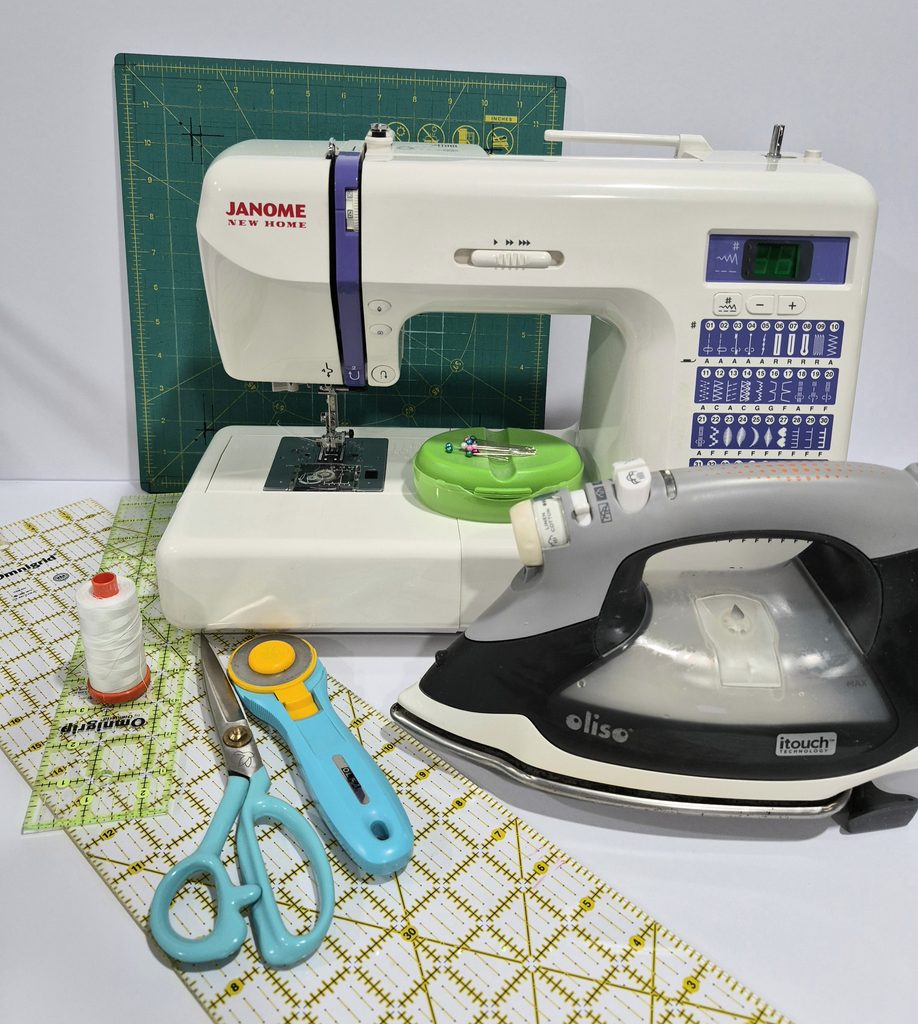
- A rotary cutter (45mm size); a self-healing cutting mat (I started with an 18″x24″), and two good acrylic rulers (6″ x 36″) and a 2 1/2″x12″. If I had known, I would have made better purchasing choices with the rulers. See “Cutting Tools” below.
- A sewing machine that can do a straight stitch reliably (Janome DC 2014)
- Pins or clips, and all-purpose thread. The thread is Aurifil 50wt in white.
- An iron and a pressing surface.
- A seam gauge or small ruler.
- Fabric marking pen or pencil (These are shown in another image below).
- Seam ripper
Everything in the sections below is just filling in the details on that list, and telling you where the real decisions are.
Cutting Tools: Rotary Cutter, Mat, and Ruler Explained
Rotary cutters come in several blade sizes, but a 45mm cutter handles almost everything a beginner sews. The smaller 28mm cutters are made for tight curves, which isn’t where you’re starting, and the larger 60mm cutters are for cutting several layers at once, which also isn’t where you’re starting.
The mat needs to be self-healing, meaning the surface closes back up after the blade passes through it instead of scarring permanently. Size matters more than it seems like it should: an 18×24 inch mat lets you cut folded fabric and longer strips without constantly repositioning. Smaller mats are cheaper and more portable but you’ll outgrow one fast.
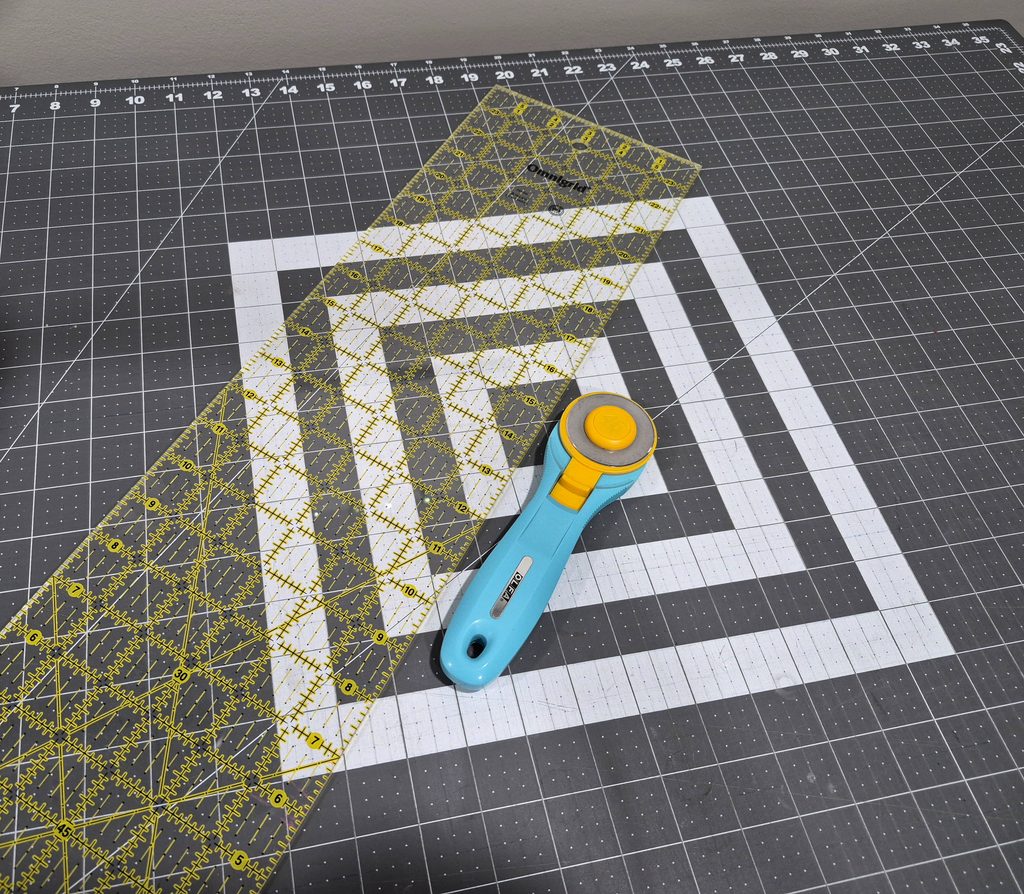
For the ruler, buy one in the 6×24 inch range for cutting long strips, and consider adding a smaller square ruler, something like 8.5×8.5 inches, once you’re trimming blocks. Don’t buy a full set of ten specialty rulers before you’ve made anything. Most of them solve problems you don’t have yet.
Your Sewing Machine: What Beginners Really Need (and What They Don’t)
If you already own a sewing machine, it is very likely good enough to start quilting with. A reliable straight stitch and a quarter inch seam allowance, whether that comes from a dedicated quarter inch foot or careful alignment of the fabric edge, are the two things that actually matter.
What you don’t need yet: a long arm machine, a machine with a large throat space for free motion quilting, or a machine with dozens of decorative stitches. Those become relevant later, if at all, depending on the kind of quilting you end up enjoying.
As I mentioned earlier, my starter machine was a small, portable Janome DC 2014. It still works well however…and this is a big however, if I could turn back the hands of time, I would have bought the machine I now have, a Janome 9450.
In reality, there are so many very good machines out there, I can’t honestly recommend one over another. However, whenever I’m asked, “What sewing machine should I buy”, my standard answer is this: “The most expensive you can afford”.
Worst case scenario, if you end up not liking the machine, or sewing altogether, selling it is super easy!
Pins, Clips, and Thread: The Small Stuff That Makes a Big Difference
Glass head pins hold up to the iron better than plastic head pins, which melt under heat. That matters because you’ll be pressing seams constantly, often with pins still in place. A box of 100 is enough to start.
Clips, usually sold under a brand name like Wonder Clips, do the same job as pins without the risk of a needle going through your finger. They are actually a must for thick layers like binding. I do have one confession regarding pins and similar quilting tools: Over the years I’ve shifted from using pins to clips and glue. Yes, I said it – glue. I’ll save that one for another post!
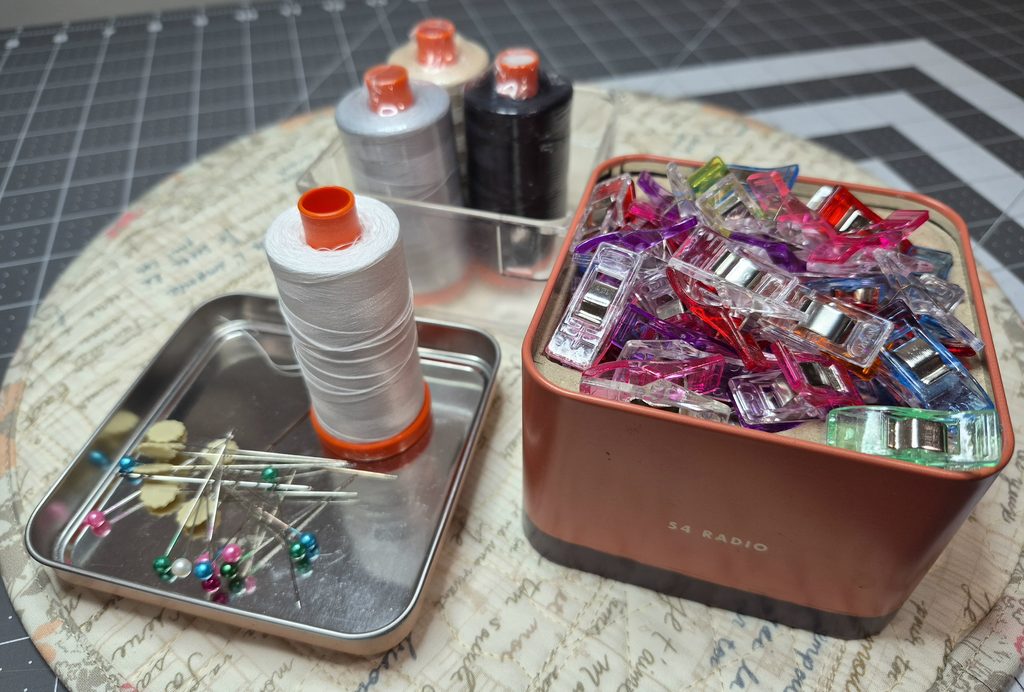
For thread, a good all-purpose cotton or cotton-poly blend in a neutral color like gray or beige will get you through piecing. Don’t buy the cheapest spool in the bin. Weak or inconsistent thread breaks mid-seam and costs you more time than the few extra dollars would have.
Pressing Tools: Why an Iron and Board Matter More Than You Think
Of all the quilting tools listed, my iron is used as much, if not more, than my sewing machine. A seam that isn’t pressed flat throws off every measurement that comes after it. An iron that holds a steady heat and a stable pressing surface are not optional extras. They’re part of the core five.
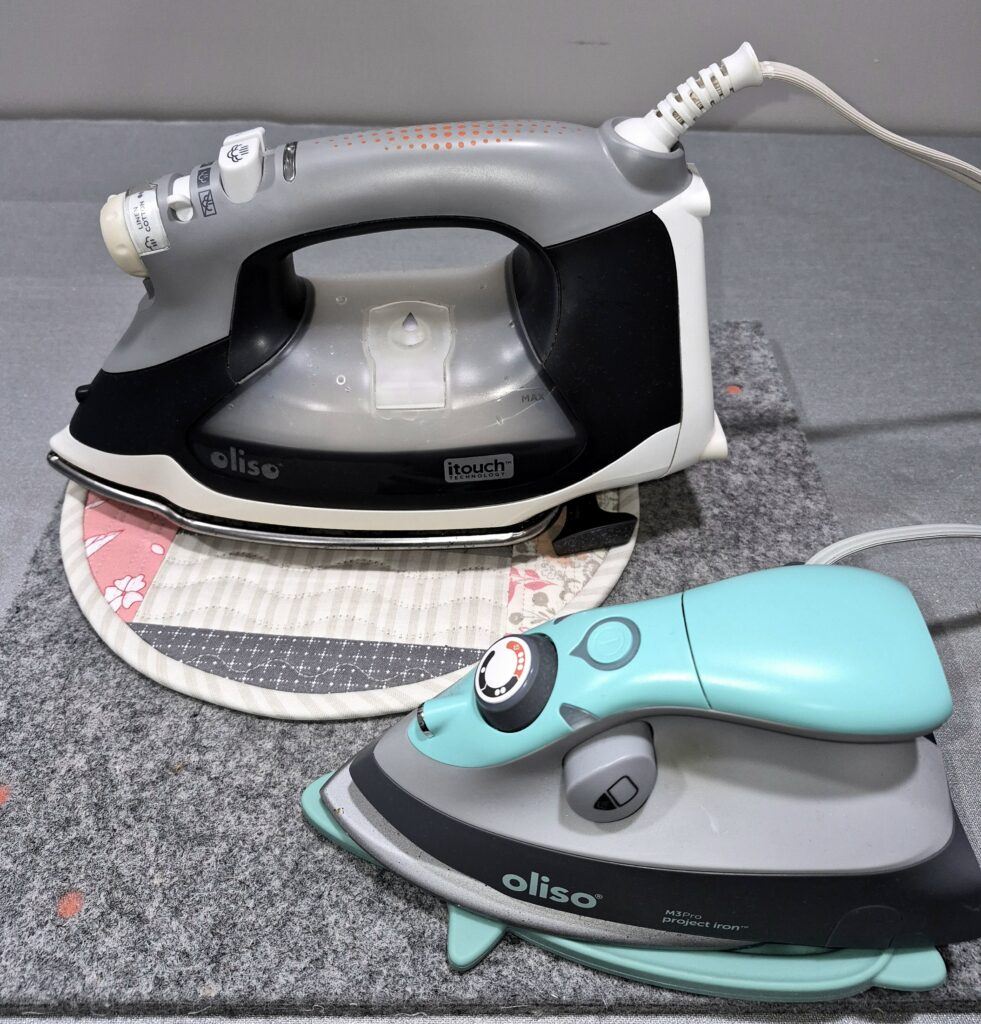
You don’t need a specialty quilter’s iron at the start. A standard household iron with a reliable steam function works fine. A full-size ironing board is fine too, though many quilters eventually add a small pressing mat next to their sewing machine so they’re not walking back and forth across the room for every seam.
Bonus Item: Starch or a starch alternative is worth having early as well. Crisp fabric is easier to cut accurately and easier to piece accurately, and that accuracy is where a lot of early frustration either shows up or gets avoided.
Marking and Measuring: Getting Your Seams Right
A seam ruler, or one similar to the one shown below, helps you check that your seam allowance stays consistent across a whole project. This can be used to check the needle placement on your machine as well. I covered this technique for ensuring an accurate 1/4″ seam on your machine here. If you are new to all this, it is well worth a read!
Consistency matters more than precision to the sixteenth of an inch. A seam that’s a little off but the same the whole way through will match up better than one that wanders.
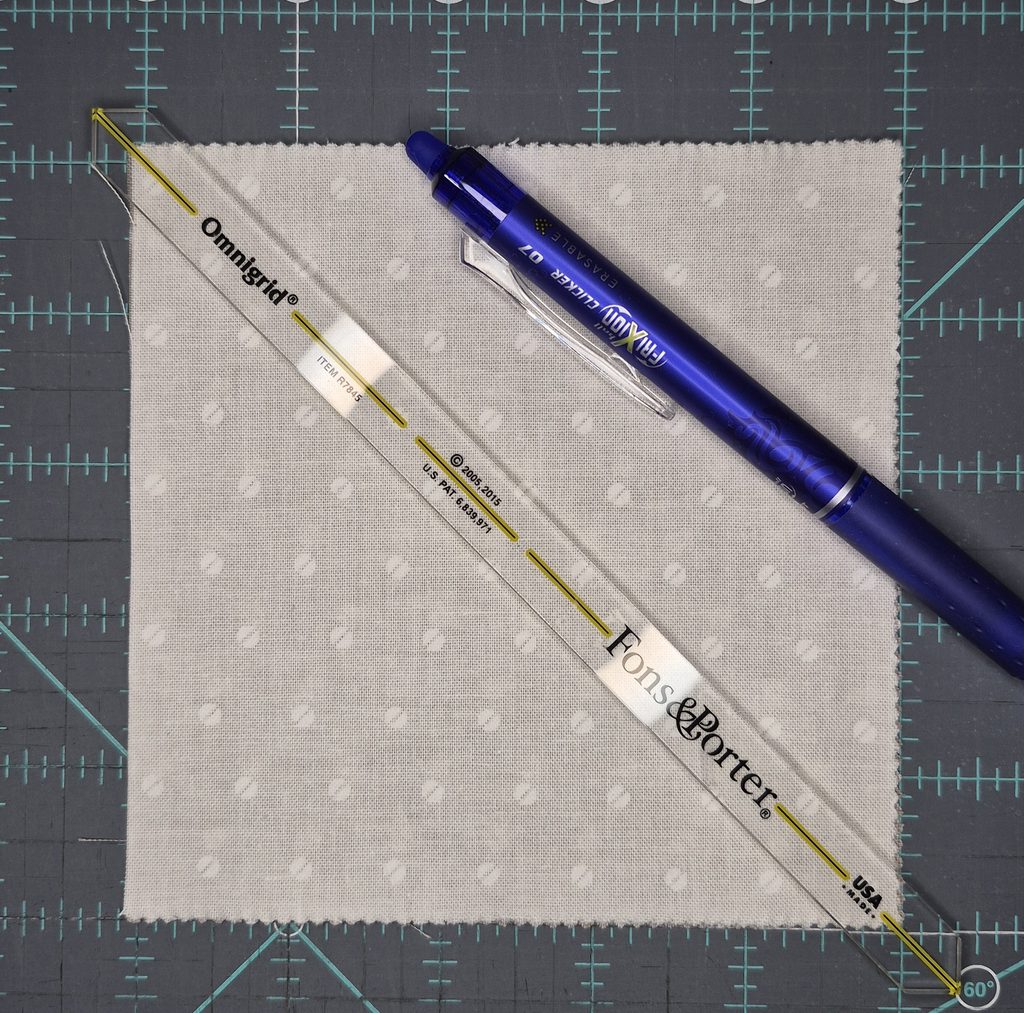
For marking fabric, a chalk pencil or a water-soluble marking pen lets you trace a cutting line, a quilting line, or a placement mark without leaving a permanent trace. Test any marking tool on a scrap of your actual fabric first. Some fabrics hold color from certain pens longer than the label suggests, and the last thing you want is a visible mark on a finished quilt.
Beyond that, a simple seam ripper belongs in the kit from day one. You will use it. Everyone does.
Building Your Kit on a Budget: What to Buy First, What Can Wait
If you’re assembling your first quilting tool kit from nothing, buy in this order:
- Rotary cutter (45mm) and self-healing mat (18’x24″)
- Rulers: (1) 6″x24″ and (1) 2 1/2″x 12″
- Pins or clips
- All-purpose thread (50 wt. in White – add Black, Gray and Off-white as needed)
- A working sewing machine, new or the one you already own
- An iron and pressing surface
- A small seam ruler (1″x5″)
- Marking pen (i.e., Frixion)
- Seam ripper – I hate to say it, but you will be using this a lot!
A basic version of items one, two, and five can often be put together for somewhere in the range of fifty to eighty dollars, depending on brand and where you shop. The iron and sewing machine are the variables that swing the total the most, especially if you need to buy either new rather than using what’s already in the house.
Quilting tools that are nice to have but can wait: specialty rulers, a dedicated pressing mat, a walking foot, fabric scissors beyond the pair you probably already own, and any tool that solves a problem specific to a technique you haven’t tried yet, like free motion quilting or paper piecing. Buy those when a project actually calls for them, not before.
Ready to Start? Your First Project Awaits
A toolkit sitting unused on a shelf doesn’t teach you anything. Once you’ve got the basics together, cutting mat, ruler, machine, pins, iron, the next move is picking a first project small enough to finish and learning the handful of steps that turn fabric into a quilt block. Want To Learn How To Quilt? Start Here! walks through exactly that, and it’s the natural next stop once your supplies are ready.
If you need a little inspiration, especially if you are getting into the holiday spirit, I have a great suggestion!
The Quilters Paradise Holiday Summit 2026 is a great place to start! It officially begins October 29th and runs through November 2nd. This gives you plenty of time to get your supplies and fabrics together.
Want access to all the knowledge and creativity the featured designers have to offer? Sign up now and receive VIP access. This allows you start the lessons at any time – no waiting! You also have access to all these lessons and bonus forever!
I signed up today and cannot wait to get started! Stay tuned. As I go through the lessons, I’ll be sharing here (as I did with the previous Fall summit).
Did you have any questions about the quilting tools I have listed? If so, be sure to drop a comment below and I’ll be happy to respond!
Happy Quilting!