And it is about time!
It has been six months since I began designing and piecing a new baby quilt.
Then ‘Rona came and with that a l-o-n-g delay in receiving the fabric for the quilt back. However, in hindsight, the delay was actually a good thing. Had I finished the quilt before the new baby arrived it would have been purely gender neutral. This extra time has allowed me to add cute, pink embellishments!
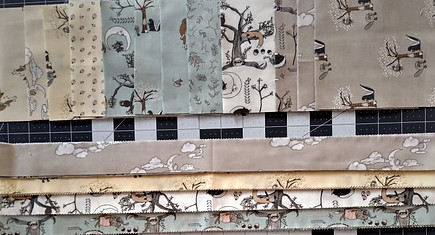
I’m using the last fat quarter pieces and jelly roll strips from the Hushabye Hollow fabric line by Lydia Nelson. I have previously posted articles describing my first baby quilt from this same fabric line. If you are interested in the finished product go here. And if you curiosity has been piqued by those images and would like to know more about the pattern and process, take a look at part 1 and part 2.
Inspiration Has Many Sources
The inspiration for this quilt came from a couple of sources.
First, the fabric itself. I describe it as “dreamy”. The colors are the softest hues of gray, tan, yellow, green and pink I’ve ever seen and give me the feeling of floating on a cloud. I think they are perfect for a baby. The theme is so cute and patterns are perfect for almost any type of quilt. It is so unfortunate that when these designer fabric lines sell out that is it…it’s gone forever.
What I have observed in the past, a favorite fabric will be “revived” and printed using similar colors and patterns. I’m hoping before I make another baby quilt, this line somehow miraculously returns or is revived as a similar line.
Second source of inspiration comes from a pattern I feel in love with a couple of years ago entitled Up in the Air by Terri Saunders of TerrisQuilt Shop.
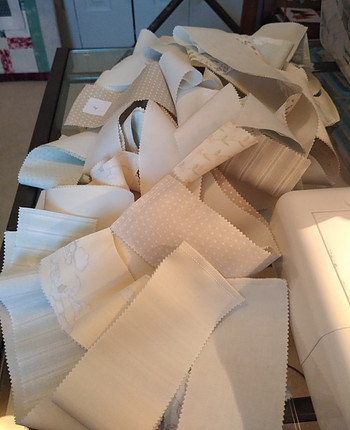
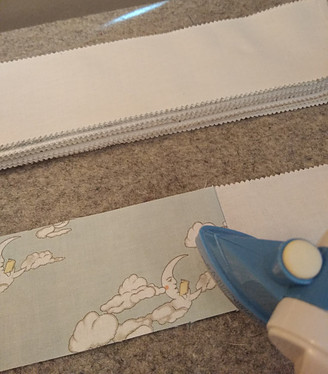
It all begins with a favorite sewing technique: Chain Piecing. It makes quick work out of a long and repetitive process and in this case, sewing together numerous lengths of print and solid jelly roll strips together from end to end.
Chain Piecing – The Basics:
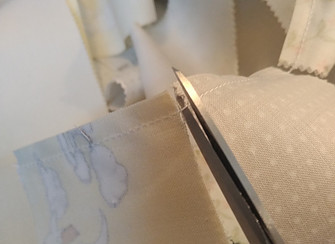
When all pieces are sewn just clip each section apart:
Then press the seams open and flat:
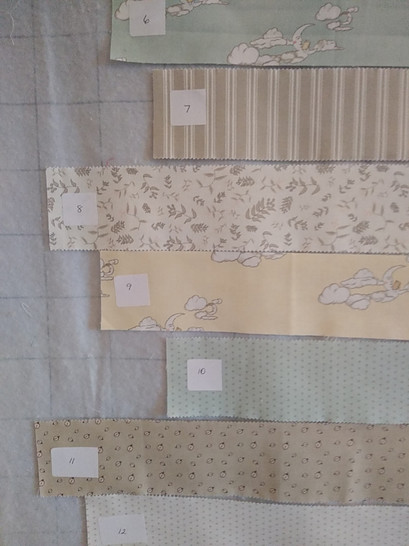
I like to number the strips to make sure I keep them in the order I have chosen.
If you are lucky and fast enough t complete this process at one sitting, you may be able to skip the numbering. However, anytime…actually, every time, I begin to sew something comes up to divert or require my attention and I have to stop. Stopping isn’t really the problem, it’s making sure I restart where I left off!
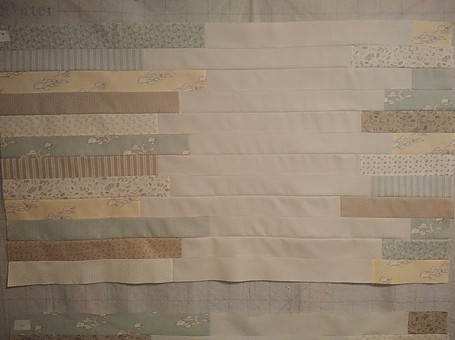
My design wall is as important as my sewing machine.
It is the ONLY way to keep all these strips in order and help visualize what the finished top will look like. If you notice a strip color or length that is not to your liking now is the time make any adjustments. Once these strips are sewn together lengthwise you do not want to locate your seam ripper and have to use it!
The strips are sewn first sewn together 1 + 1, then in sets of 2 strips to another set of 2. Next, sew a set of 4 strips to another set of 4 and continue until all strips are sewn together.
This is the part where I had fun! By the time I reached this point, the baby’s gender was revealed and turns out it’s a girl!
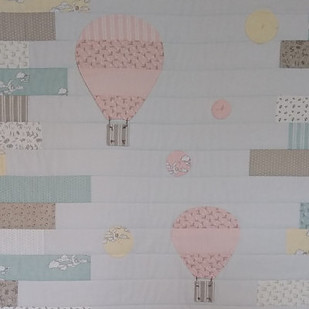
However, the strips have been sewn and there is nothing I can change however, the applique pieces can be changed! Now I am on cloud nine! I can finally use all the delicious pink fabric that I’ve been saving!
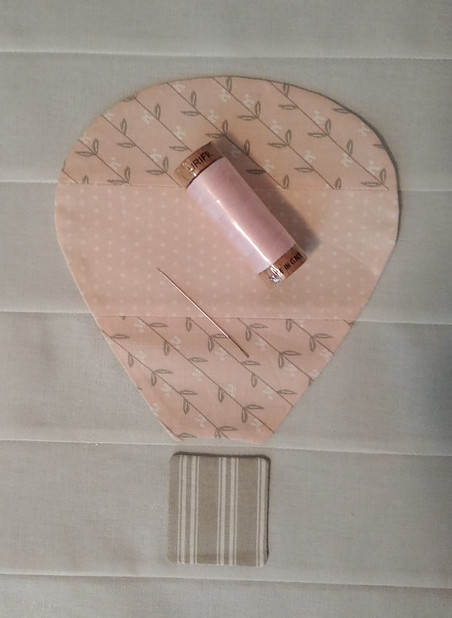
The fabric is a perfect fit for this hot air balloon pattern. It would have been nice if the thread I had on hand was more of a peachy pink but so little of it will show and I doubt will be noticed.
BC – Before Coronavirus, when fabric shops were open, I would have zipped the 1.5 mile trek to the nearest quilt shop and found the thread to match. Would’ve done the same thing for the fabric backing…
Oh, how I reminisce for the days when I looked for any excuse to visit a fabric shop!
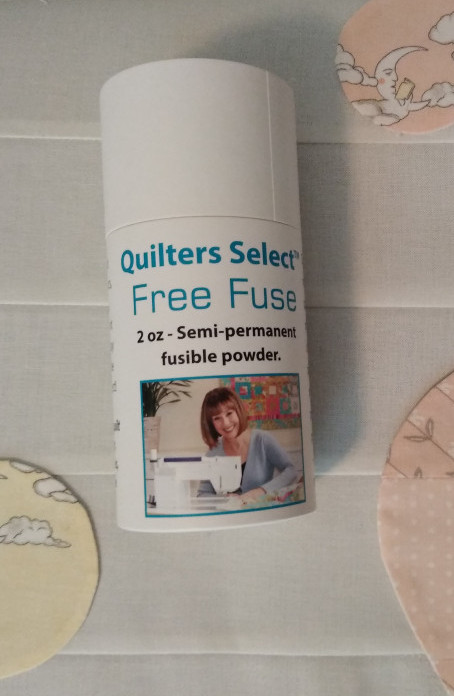
One of my newest discoveries is Quilter’s Select Basting Powder.
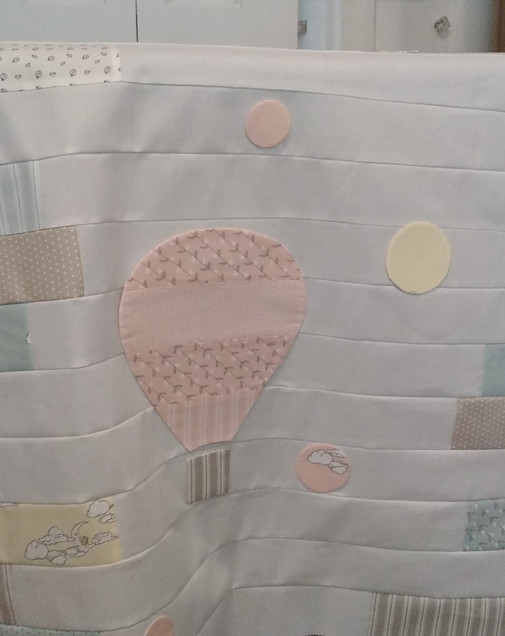
I found it to be the perfect method to temporarily baste the applique pieces for this project. You will notice the seams in the balloon need to line up perfectly with the seams on the background and the best I found was to sprinkle a little powder on the background, place the applique on top in the exact spot where it needs to be when quilting and press with a hot iron for a few seconds.
It stays in place while you adhere the other applique pieces to the quilt top AND while you hand stitch around each piece to keep in place! I purchased mine from the Missouri Star Quilt Company but I’m sure you can find it anywhere you typically purchase quilting and sewing notions.
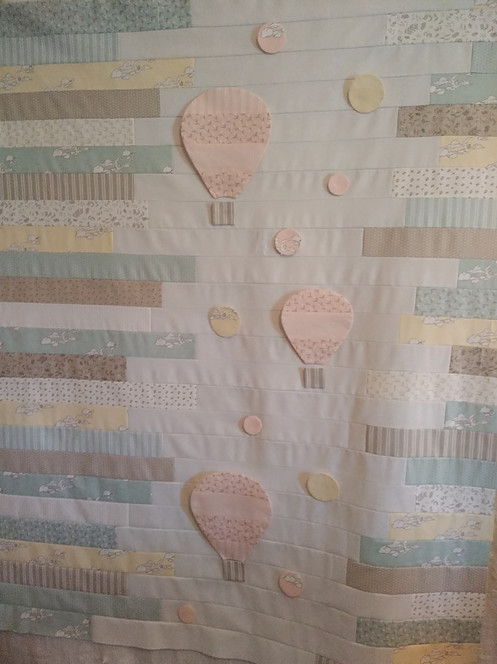
The quilt top only with hand stitched applique:
A view of the entire quilt top before quilting and binding:
To fill in a few empty areas I added round circles or “air bubbles” to float alongside the balloons.
Free Motion or in the Ditch?
That was the question I’ve pondered for well…too long but in the end I decided on the Stitch in the Ditch method for quilting. I felt this would be the best way to ensure the seam lines in the hot air balloons stayed in perfect alignment with the seams on the strips.
The problem – 1) The “bubbles” are too small to catch the linear “stitch in the ditch” stitches and; 2) Since this is a baby quilt, I want to make sure those appliqued pieces stay put!. Each one is hand stitched around the perimeter and knotted in the middle which may be sufficient however, I know how babies can be. If there is even the tiniest possibility that something can find it’s way inside a baby’s mouth it will!
What About Both?
My next idea was to free motion between each bubble. It may look too different – or just a free motion design one each one?
So what did I do?
Neither. I simply went back and added another round of stitching around the perimeter of the smallest pink “bubbles” as a third defense against an accidental separation of the applique from the guilt top.
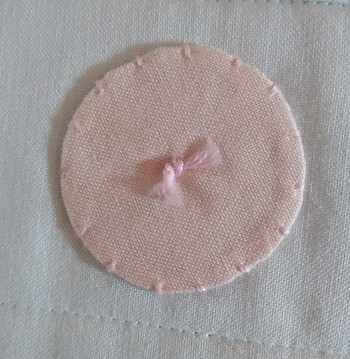
This is not the “look” I envisioned while designing this quilt but since it is a quilt that is intended to be used and washed a lot and used by a small child, safety will beat appearance every time!
Want to See More?
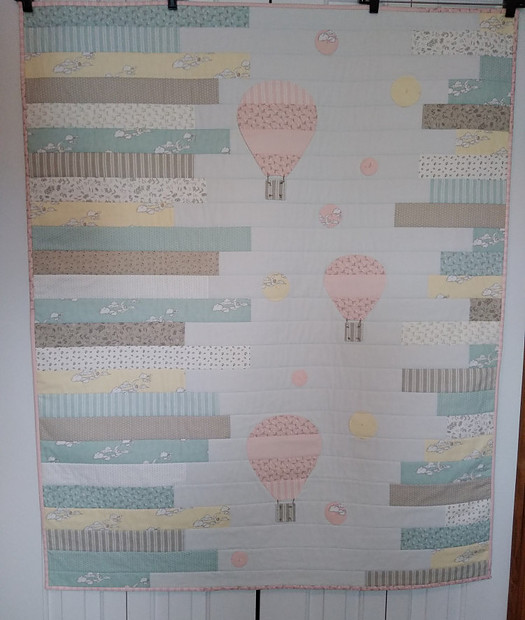
Here is the finished quilt – the binding was machine and hand stitched – Thank you, Jenny Doan of Missouri Star Quilt Co for the excellent tutorial on “How to bind a quilt”.
In addition to binding, this quilt features another essential finishing touch…
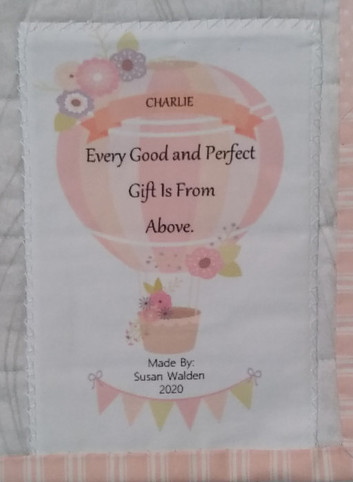
A quilt label:
This is another element that took longer to figure out exactly what I wanted to do than the time it took to actually make and sew in. Google and Pinterest were helpful but why light bulb finally turned on I went to Etsy and purchased and downloaded these images. Next, I inserted into my Affinity Designer program where I could layer, resize and add text before exporting as a png file and saving on my computer.
From there, I took a sheet of adhesive backed fabric (used for transferring photos onto fabric), put it in my copier, hit print and there it is! The fabric is kinda thin so I backed it with Shape Flex, trimmed it to size and machine sewed the bottom edge to the back of the quilt. I hand stitched the sides and top and finished the binding to cover the bottom edge.
Ready to be Gifted
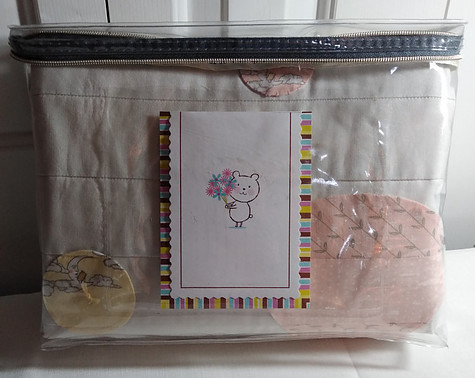
I love the vinyl packaging that comes when I buy sheet sets. On my list of many-things-to-do is to sew up a couple of these to have on hand to use as fabric protectors whenever I give a quilt or other sewn item as a gift.
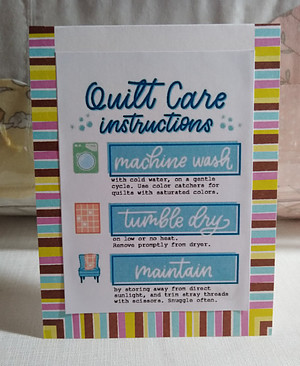
One final note – to ensure your recipient feels confident to USE the quilt and not put it up on a shelf so “it doesn’t get dirty or…” I like to include care instructions and found this free printable (thank you, Melanie from Hello Melly Designs!) to be just perfect! Again, I put my printer to use, trimmed and attached to a blank card.
And here it is…bagged, tagged and ready to be mailed.
