
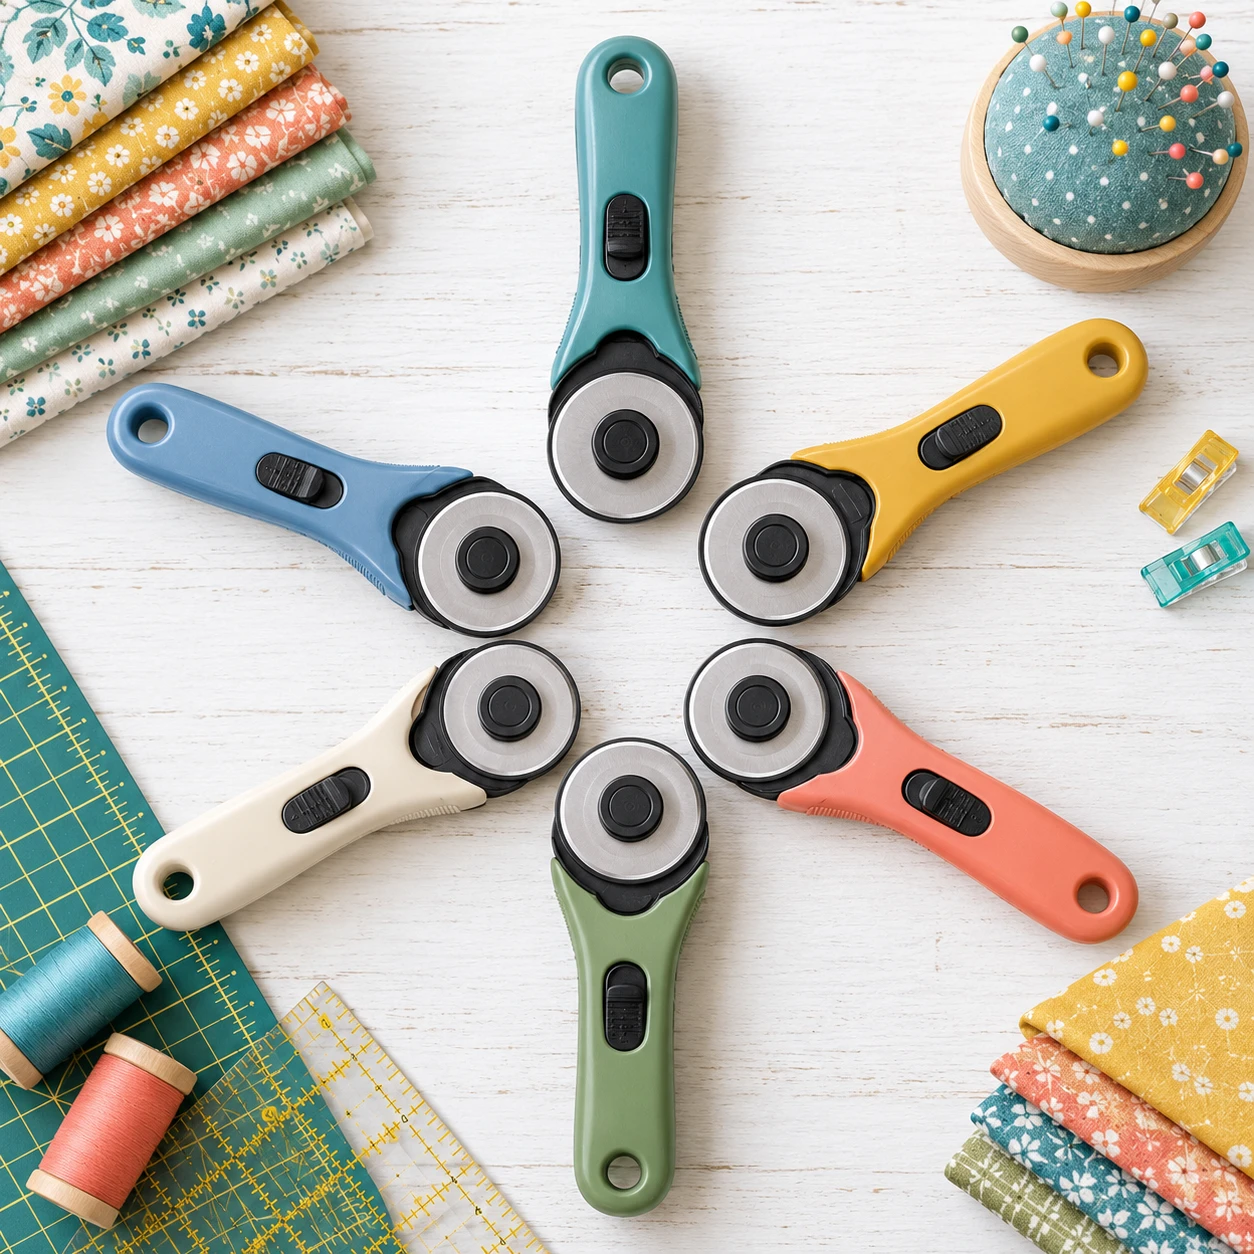
Has this happened to you? Your rotary cutter and ruler are aligned to the grid on your mat. You make the cut and it looks straight. However, it comes off the table a little wider at the top. And now, instead of moving on to the next step, you have a question to answer, “How did that happen?”
And then, there is the frustration of making that perfect cut, but the blade misses a couple of threads. If you’ve ever wanted to know the strength of quilting cotton, miss a thread and see how difficult it is to break it apart!
Wobbly edges, skipped threads, sore wrists, blades that die after one quilt and a tool that was not designed for your hand – I have experienced them all!
The good news is that once you identify your problem, a solution (s) is easy to implement. Find your problem, follow the short decision tree, and you will know what to buy.
Why Your Cuts Are Off (and why it is usually not your fault)
Inaccurate cutting almost always comes from a small mechanical cause. A blade nut that has loosened lets the blade wobble from side to side. A dull or nicked blade drags through the fabric and leaves a few threads uncut. A handle that makes you grip hard and twist your wrist pulls the blade off the ruler’s edge. Each of these is fixable, and none of them means you are bad at cutting.
Quilters who already know the basics tend to blame themselves first. You have cut hundreds of strips, so you assume the skill should be there by now. But a tool that works against your hand will undo good technique every time, and a quilt full of blocks that are 1/16 inch off adds up quickly across a row.
The good news is that the fixes are cheap compared with the cost of re-cutting fabric you loved.
How to Judge a Rotary Cutter: The Five Things That Affect Accuracy
Whatever model you are looking at, check it against these five points. Manufacturers change model names and features from year to year, so judge by the features and confirm the details on the maker’s current product page before you buy.
- Blade size. The common sizes are 28 mm, 45 mm and 60 mm. The 45 mm is the general-purpose size, the 60 mm handles thicker stacks of fabric, and the 28 mm suits small pieces and gentle curves.
- Handle shape and grip. The handle decides how your wrist sits while you cut. You want to press down and slightly into the ruler without twisting.
- Blade lock and tension. The blade should spin freely but sit firmly, with no side-to-side play. If it wobbles out of the box, send it back.
- Safety guard. A guard you can close with the same hand holding the cutter gets used. A guard that takes two hands gets skipped, and that is how fingers get cut.
- Blade availability. Have several replacement blades on hand and replace the blade before it is badly worn. When it starts to skip stitches is usually a sign that blade is ready for ‘used” box.
A cutter that scores well on all five will beat a fancier one that fails on even one.
Start Here: A Quick Decision Tree for Choosing Your Rotary Cutter
Answer these in order and stop at the first “yes.”
- Does the blade leave a few threads uncut, or does the cut feel like dragging? Go to the blade fix in the blade care section below before you buy anything. A new blade costs far less than a new cutter, and it is the most likely cause.
- Are your edges wavy or does the cut drift away from the ruler? Check the blade tension first. If the blade has play in it, or the cutter is old, look at the straight-cut features below.
- Do your hand, wrist or thumb ache after a session of cutting? Look at the comfort-focused handle styles below.
- Are you nervous about the blade, cutting around kids or pets, or tired of forgetting to close it? Look at the safety-focused designs.
- Are you left-handed and holding a cutter shaped for a right hand? Go to the left-handers section.
- Does a blade go dull after one quilt? Go to the blade care section and look at what the blade has been cutting through.
If you answered yes to more than one, start with the lowest number. The cheapest fix comes first.
The best rotary cutters for precision quilting, by problem
For wobbly edges and straight cuts
If your edges wander, you want a cutter that holds the blade steady and lets you apply pressure straight down. Look for a blade that sits snug with no play, and a handle that keeps your hand directly above the blade rather than leaning off to one side.
A standard 45 mm cutter with a straight, upright handle is the usual choice here. A cutter held at a tilt tends to push the blade under the ruler’s edge, which is where the wobble starts. Keep the blade upright against the ruler, and the cut follows the edge.
If the blade turns but rattles when you tap it, tighten the nut just enough to remove the play. Over-tightening makes the blade drag and leaves skipped threads, so you are looking for the point where it spins freely but does not shift sideways.
You’re tired of having wrists and hands that are tired and sore:
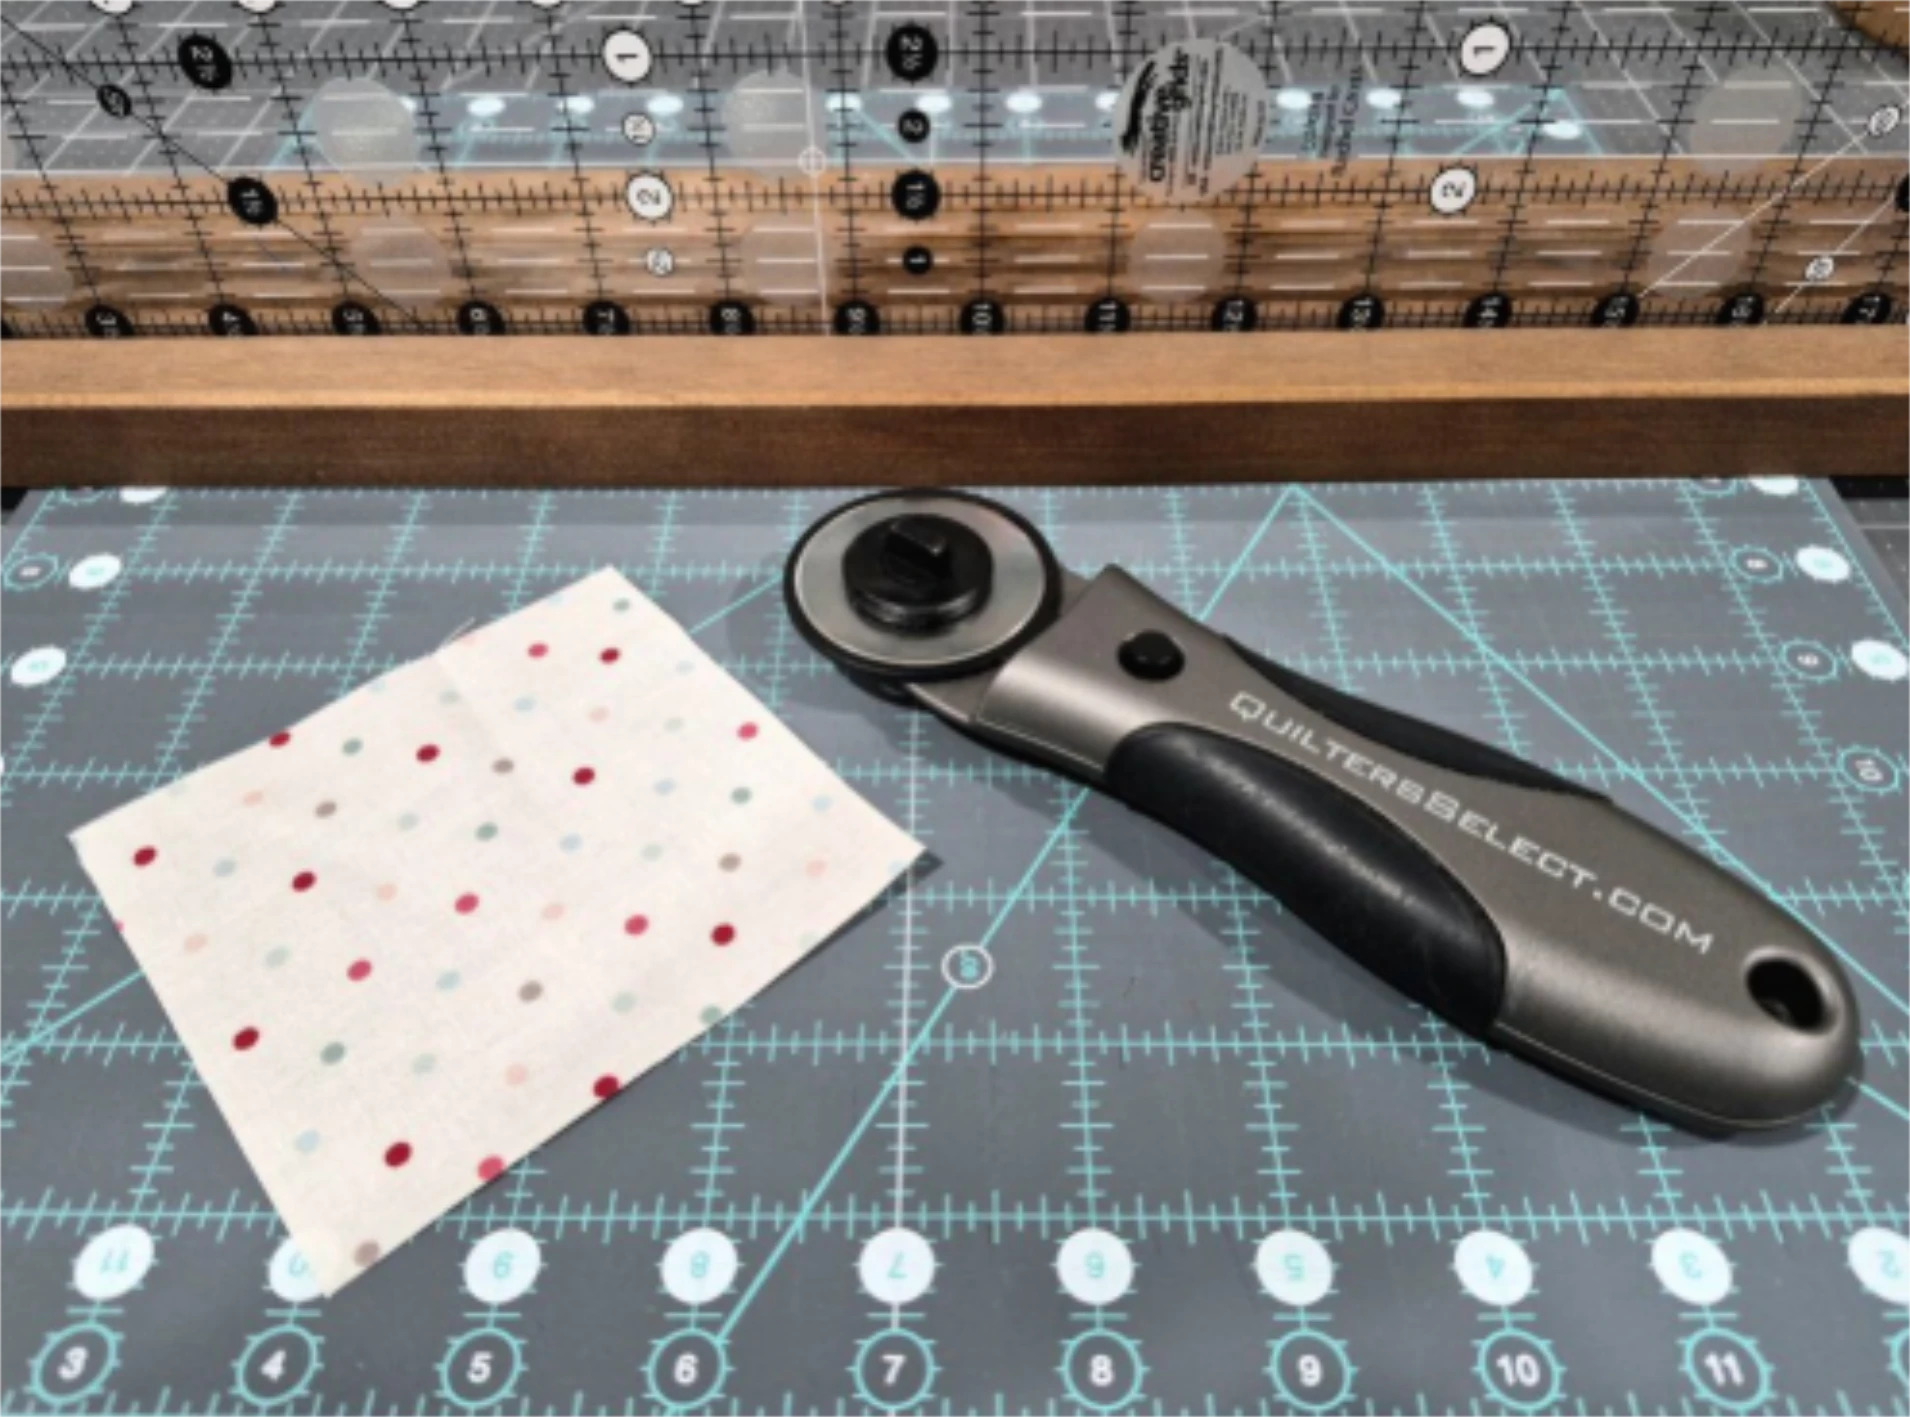
Comfort is not a luxury when you are cutting yardage for a bed quilt. Look for an ergonomic handle that lets your wrist stay in a neutral position, close to the same angle it has when you shake someone’s hand. Handles shaped like a pistol grip or a contoured palm rest reduce the twist that causes the ache. (More on this subject below**).
A few habits help just as much as the cutter does:
- Cut standing up if your cutting table is high enough, so you can lean your body weight over the ruler instead of straining your arm.
- Replace the blade early. A dull blade makes you press harder, and pressing harder is a quick route to a sore hand.
- Cut fewer layers at a time. A stack that is too thick demands force, and force causes both fatigue and drift.
For safety and peace of mind
Look for a cutter with an automatic or one-hand guard that covers the blade when you let go, or one you can close with a quick thumb push. The point of a guard is that you close it every time, so the easier it is to close, the better the design.
This is a good choice if you share a sewing space with children, or if you simply drop your cutter on the table between cuts without thinking. Whatever style you buy, close the blade each time you set it down. It takes a second, and the blade is sharp enough to cut through several layers of fabric.
For left-handers
Many cutters are symmetrical enough to work in either hand, but some handles are contoured for a right-handed grip and feel awkward in the left. Hold the cutter in your left hand before you commit, if you can, and check that you can reach the guard release with your left thumb or finger.
Left-handers also need to flip their setup. A right-handed quilter cuts with the ruler to the left of the blade, pushing away from the body. A left-handed quilter mirrors it: the ruler goes to the right of the blade, and the cut runs along the ruler’s left side edge
Blade size and blade care: the cheap fix most quilters skip
Blades wear out. This is normal, and it is the most common reason a good cutter suddenly performs badly. A fresh blade cuts cleanly with light pressure. A worn one needs a firm push and leaves skipped threads, and often it also has a tiny nick you cannot see.
If a blade seems to die after a single quilt, look at what it has been cutting. Pins are a common culprit, and so is cutting paper or templates with a blade you use on fabric. Running the blade repeatedly over the same section of a mat that is already grooved can also dull it faster. Keep one blade for fabric only, and keep pins well away from the cutting line.
Size matters for accuracy, too. The 45 mm blade is the one most quilters reach for, and it works for most strips and squares. The 60 mm blade suits long straight cuts through thicker folds. The 28 mm blade gives you more control on small pieces and curves, so it is worth owning if you cut a lot of small shapes. Choose by the work in front of you instead of buying the largest one.
When you change a blade, keep the parts in order and put them back the way they came out. A blade fitted with the washers in the wrong sequence will wobble, and that wobble looks just like a bad cutter.
Cutter, ruler and mat as a team
A great cutter will not rescue a ruler with worn markings or a mat that is cut to pieces. The three tools work together, and the weakest one sets the accuracy. If you are still putting your toolkit together, the essential quilting toolkit post covers the basics of what each one should do.
Here are a few quick checks:
- Ruler: The markings should be clear, and the ruler should not slide on the fabric. If it creeps while you cut, add a non-slip grip or switch to a ruler with a better surface.
- Mat: A self-healing mat with deep grooves in the center will catch the blade and pull your cut off line. Rotate the mat regularly to spread the wear.
- Fabric: Starch and press it flat before cutting. Wrinkles and folds that have not been pressed out add error before the blade even touches the cloth.
Use one ruler for a whole project where you can. Two rulers can differ slightly, and mixing them creates blocks that do not match.
Put it to work: cutting for accurate blocks
Once the tools are right, a few habits keep each cut accurate. Line the fabric fold up carefully, and square the edge first by trimming a clean straight side. Then measure from that edge, not from the selvage or a ragged end.
Hold the ruler firmly with your free hand and spread your fingers wide to give it even pressure. Keep your fingers back from the blade side. Start the cut slightly before the fabric and run it past the far edge in one smooth motion. Stopping partway often leaves a small step in the edge.
Accurate cutting matters most for blocks that depend on precise seams. Half-square triangles are a good test, because small errors show up quickly in the points and the seams. If you want to practice, five steps to making perfect half-square triangles walks through the process, and it will show you whether your cutting is as accurate as you think.
My honest pick and what I would skip
If you want one answer, here it is: a 45 mm cutter with a comfortable ergonomic handle, a guard you can close with one hand, and replacement blades that are easy to buy. That combination solves the most common problems for most quilters. It handles everyday strips and squares, it is gentle on the wrist, and it protects your fingers.
Buy a second cutter in 28 mm only if you cut many small pieces or curves. Buy a 60 mm only if you regularly cut thick stacks.
**The image above shows the exact rotary cutter I use every day. It works very well for me. However, there is a draw back – much heavier than other rotary cutters I have. If you have joint / wrist issues the added weight may cause increased joint pain or fatigue.
The fine people at The Fabric Company and I seem to be on the same page when it comes to rotary cutters for quilting. They have a page dedicated to the topic of rotary cutters. It is very well written and well worth your time to take a look. Warning: You’ll go for the information but be prepared to stay awhile. They have a great selection of everything and great prices!
What I would skip: any cutter with a blade that wobbles out of the box, a guard that needs two hands, or a handle that feels awkward in your grip. Skip the cheapest multi-packs of blades from unknown sellers too, since a poorly made blade defeats a good cutter. And if your current cutter is fine but your blade is old, skip the new cutter altogether and change the blade.
Whichever model you choose, check the current specifications on the manufacturer’s own page before you order, since features and packaging change.
If you found this information useful and would like a decision checklist – a colorful summary listing the main points to consider when purchasing a rotary cutter, hit the button below! It’s FREE and will serve as a handy reference before your next shopping trip!
What are your favorite cutting tools – cutter, ruler, mat? Please share! I’d love to hear from you!