
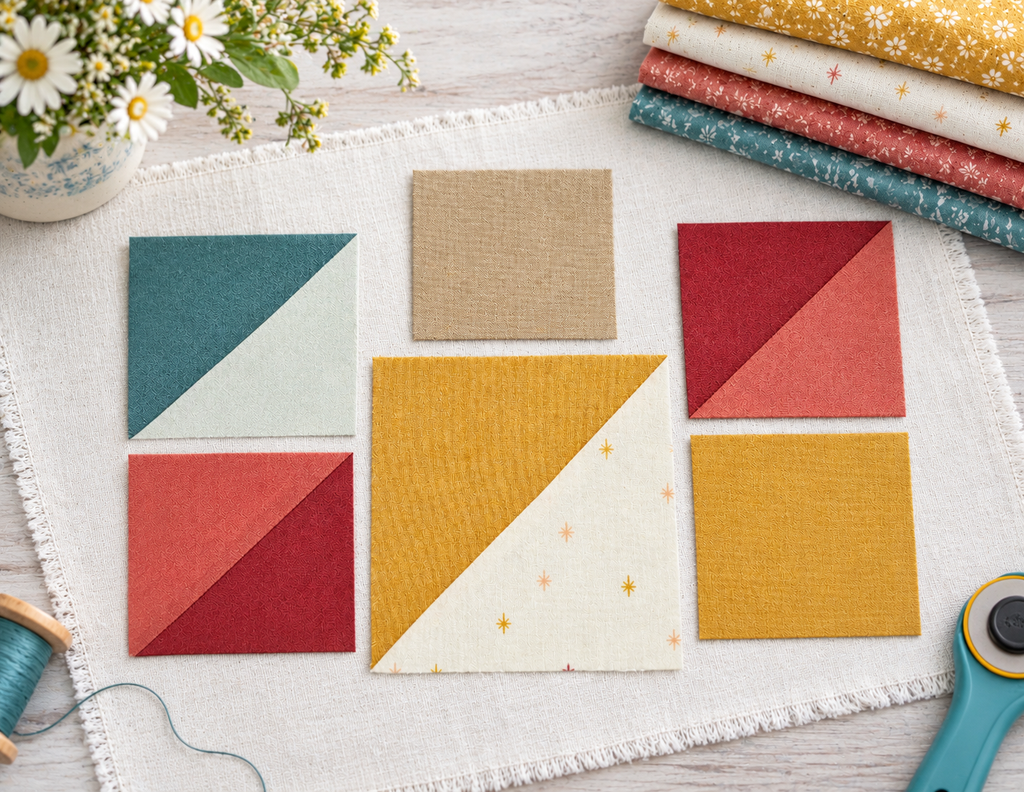
If you’ve ever finished a batch of half-square triangles only to discover they’re all slightly different sizes, you’re not alone. HSTs are one of the most common quilt units, and they’re also one of the easiest to distort if you’re not careful.
When it comes to HST, I’m not new to the game. But after downloading the Speckled Maple pattern by Rachel @sewjoyfulstudio for this year’s SWS 2026 SAL and took one look the design I knew what my plans for the next 7 days would be!
Here’s the block:
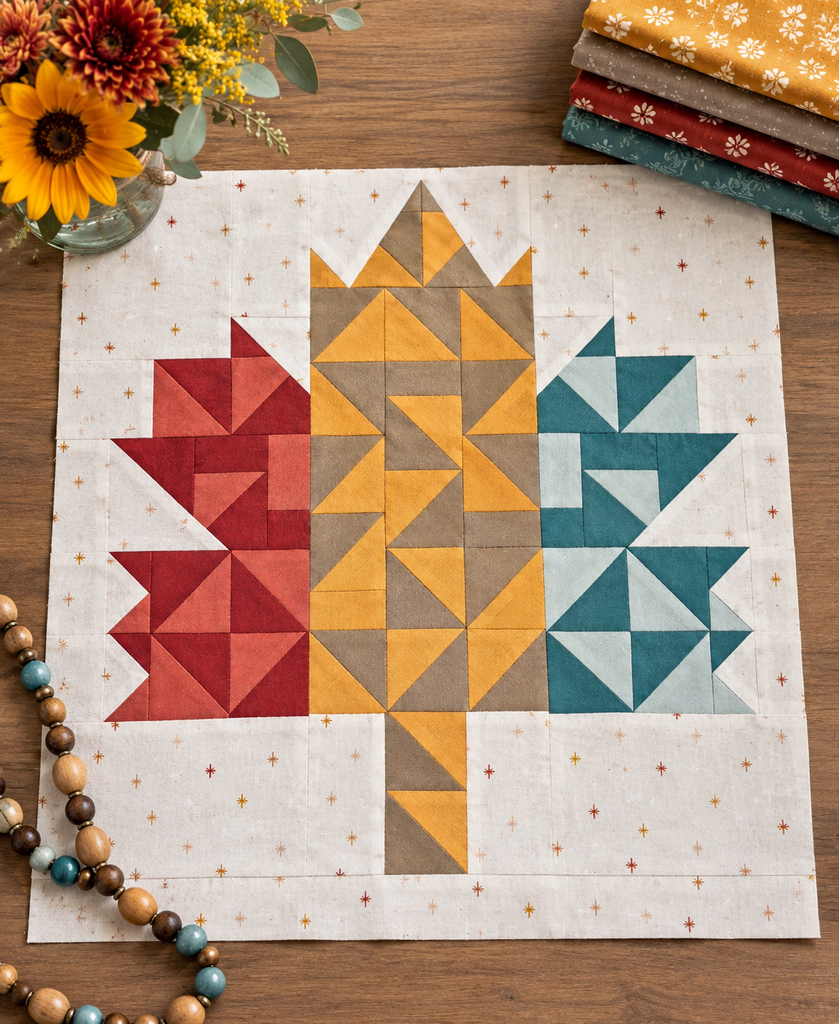
And how many HST are there? Short answer: A Whole Bunch!
This told me a couple of things. 1) I need to work on my mindset for this one. A visit to one of my previous posts was a step in the right direction. 2) I will probably need to modify my motto from “Finished is Perfect” to “If these HST aren’t darn close to perfect, it’s not going to get finished”!
Read further and I’ll show you the exact tools and techniques I used so you too can make perfect half-square triangles every time.
1. What Is a Half-Square Triangle (HST)?
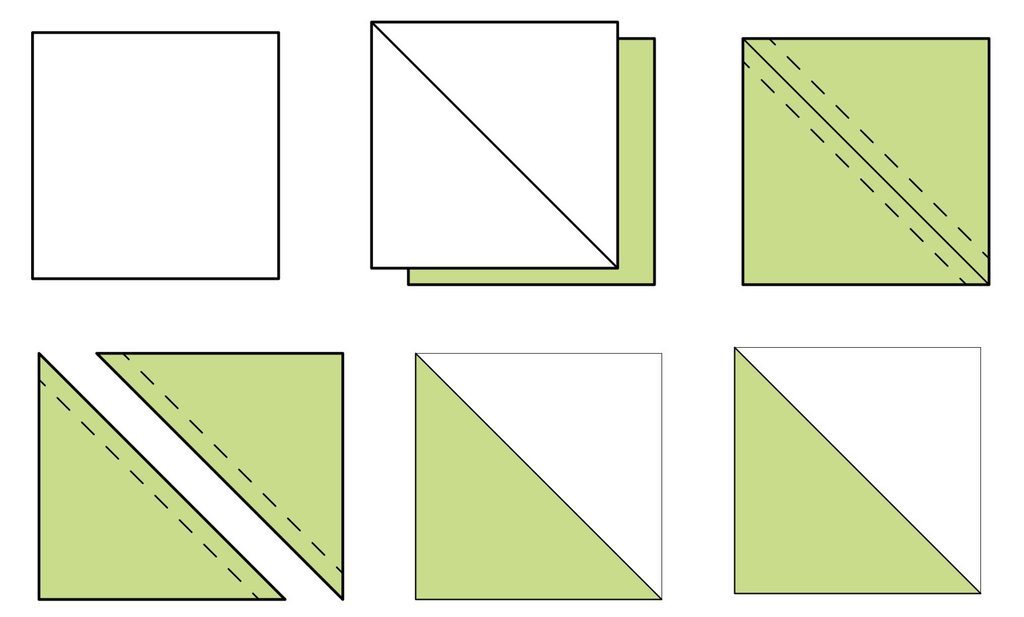
The simplest answer: A square unit created when two solid squares are sewn together then cut in half along the diagonal to create two triangles. The magic happens when these triangles are opened along the seam to return to a square but now the square consists of two colors vs one.
The diagram below will give you a step by step overview of this process:
2. Why Accurate Half-Square Triangles Matter
I don’t have specific numbers or published statistics to support this next statement but, I would venture, without hesitation, that the HST is probably the unit used most often to create a quilt block. This is why measuring and cutting the HST accurately is so important. It is staggering, the number of designs that can be made from just turning a few HST in a different direction.
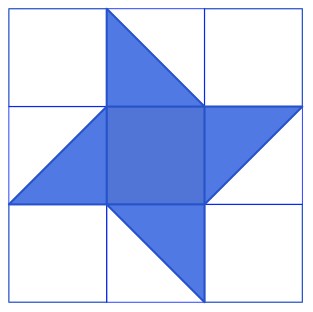
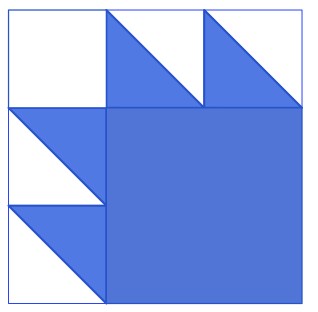
Looking at the image below, what you see are examples of the different designs that can be created just by the turn of a HST square or four! I created the HST units and blocks using Affinity Vector software – the same software I use to design and write my quilt patterns. I would like to add this – using the software does have the advantage of allowing you create shapes and experiment with color without cutting fabric. However, there really isn’t anything more fun than taking your hand sewn HST and moving them around on a tabletop or up on a design wall to watch a design magically appear!
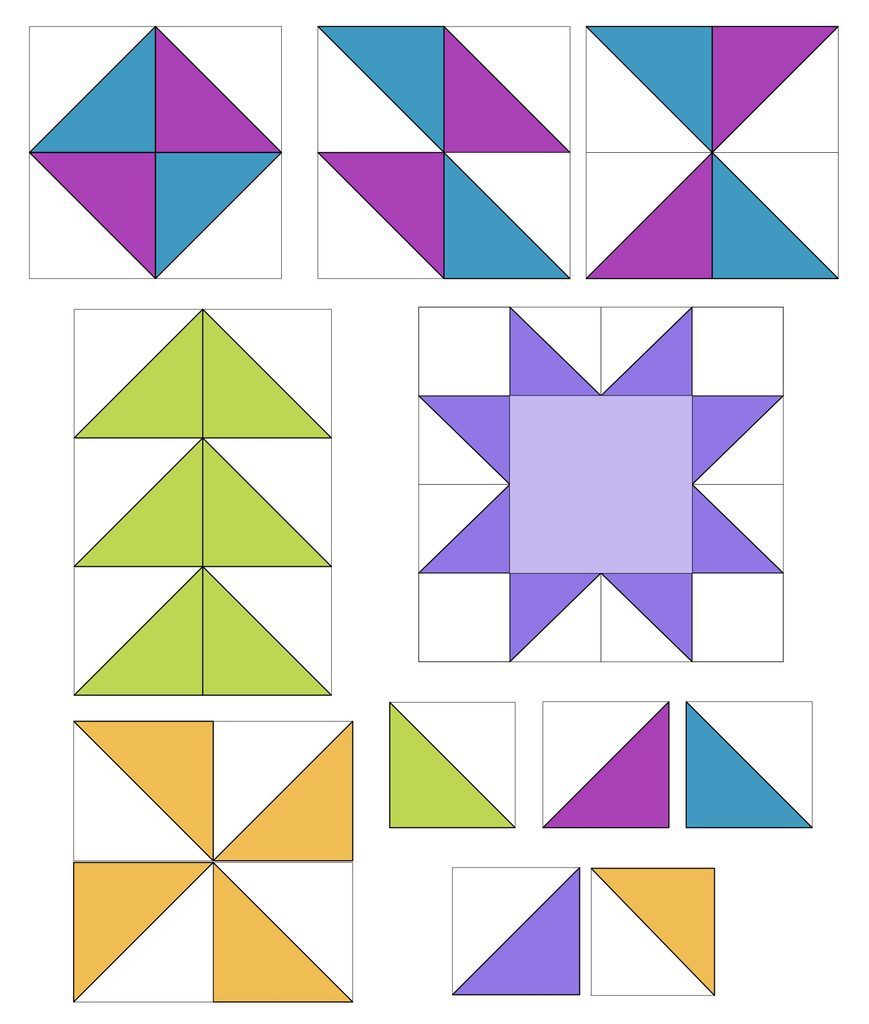
3. Common Quilt Patterns that use HST
There are a multitude of quilts made using the blocks shown below. Looking a the quilt as a whole what you notice is the overall design. However, a closer look into how each block or block unit is made reveals the hidden secret to its design – the HST.

4. Supplies You’ll Need to Make Perfect HSTs
- Fabric squares
- Sewing machine
- Rotary cutter and ruler
- Marking tool
- Iron and pressing surface
The list above shows just the bare minimum needed to make HST however, if you want PERFECT HST, the image below shows exactly what I use when I make mine.
A rotating self-healing cutting mat (mine is from Creative Grids), a seam ruler (Fons& Porter) and spray starch (Faultless original) are non-negotiable. Once I began using these tools, my accuracy improved at least 200%!
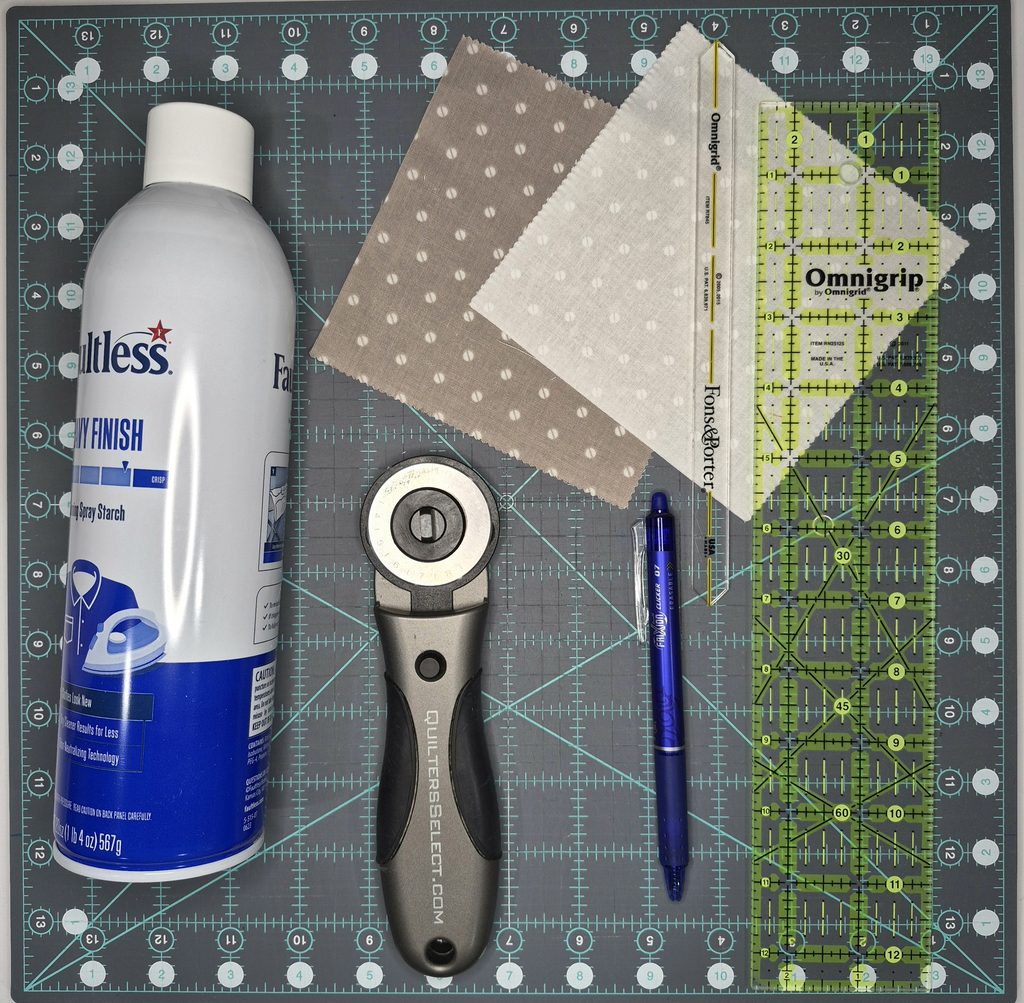
IMPORTANT NOTE* The pre-cut 5″ squares I’m showing above are intended as fabric examples only and are not to be starched. Please, please, please DO NOT starch fabric after you have cut it to the specific size(s) you need for your quilt block. DO NOT starch charm squares, jelly rolls, etc. Cutting then starching has disastrous results (massive shrinkage). Ask me how I know!
*HOW to STARCH FABRIC for QUILT PIECING* Use only fabric cut from a bolt. A fat quarter or fat eight that will be sub cut into smaller pieces can be used just make sure you can spare that bit of yardage after shrinkage occurs.
My preferred method is to drench the fabric in starch and let it dry completely. Press with an iron then cut into desired sizes. Properly starched fabric has a wonderful degree of stiffness that makes the fabric a breeze to cut. This is also a fool-proof method to cut your fabric accurately.
If you’ve been on the fence about whether to starch or not to starch, this is your opportunity to give it a try and see what a difference it makes!
5. Putting Those Tools to Work
Reading the To-Do list below, what do you notice? As quilt blocks and block units go, this is a pretty short list. And reason #425 why HST are a quilter’s favorite.
- Cut two squares
- Draw a diagonal line
- Sew ¼” on each side of the line
- Cut along the marked line
- Press open
- Trim to size
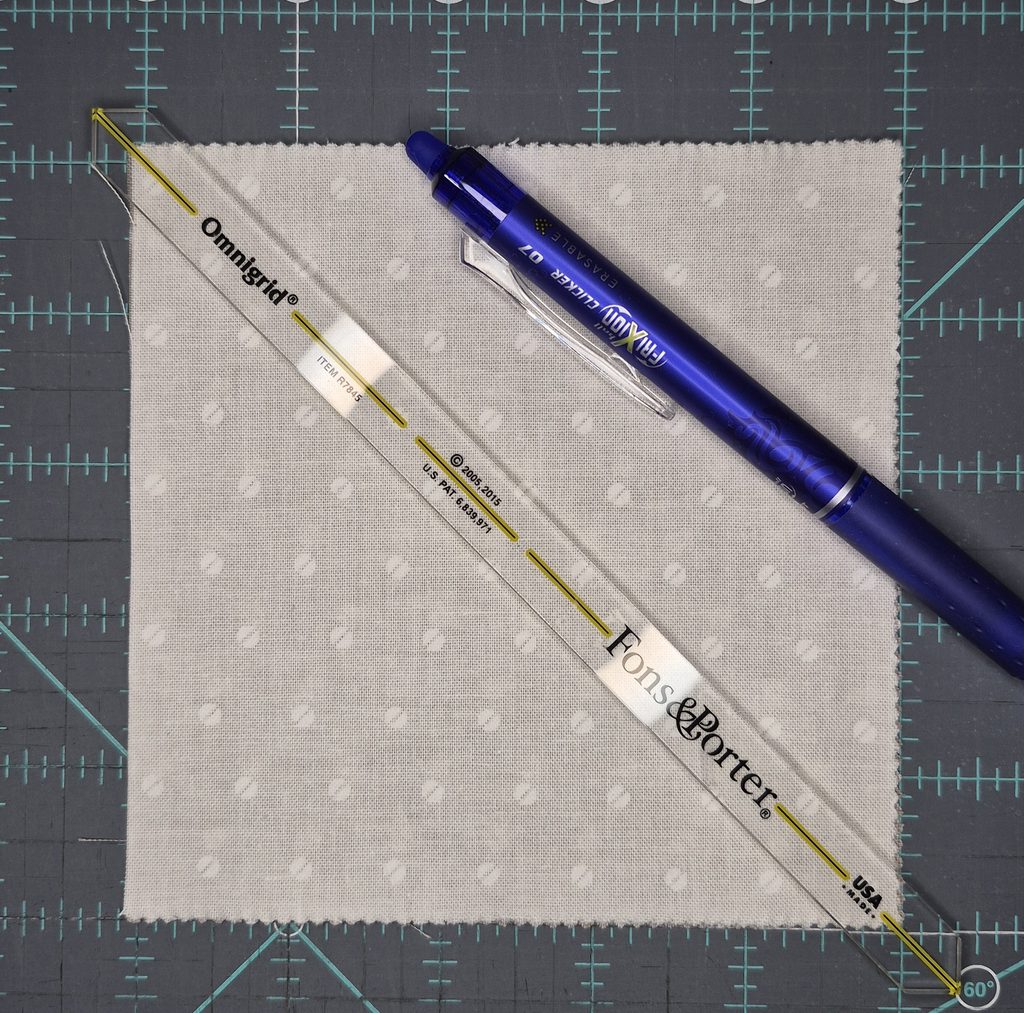
1.Fabric, Seam Ruler, Frixion Pen
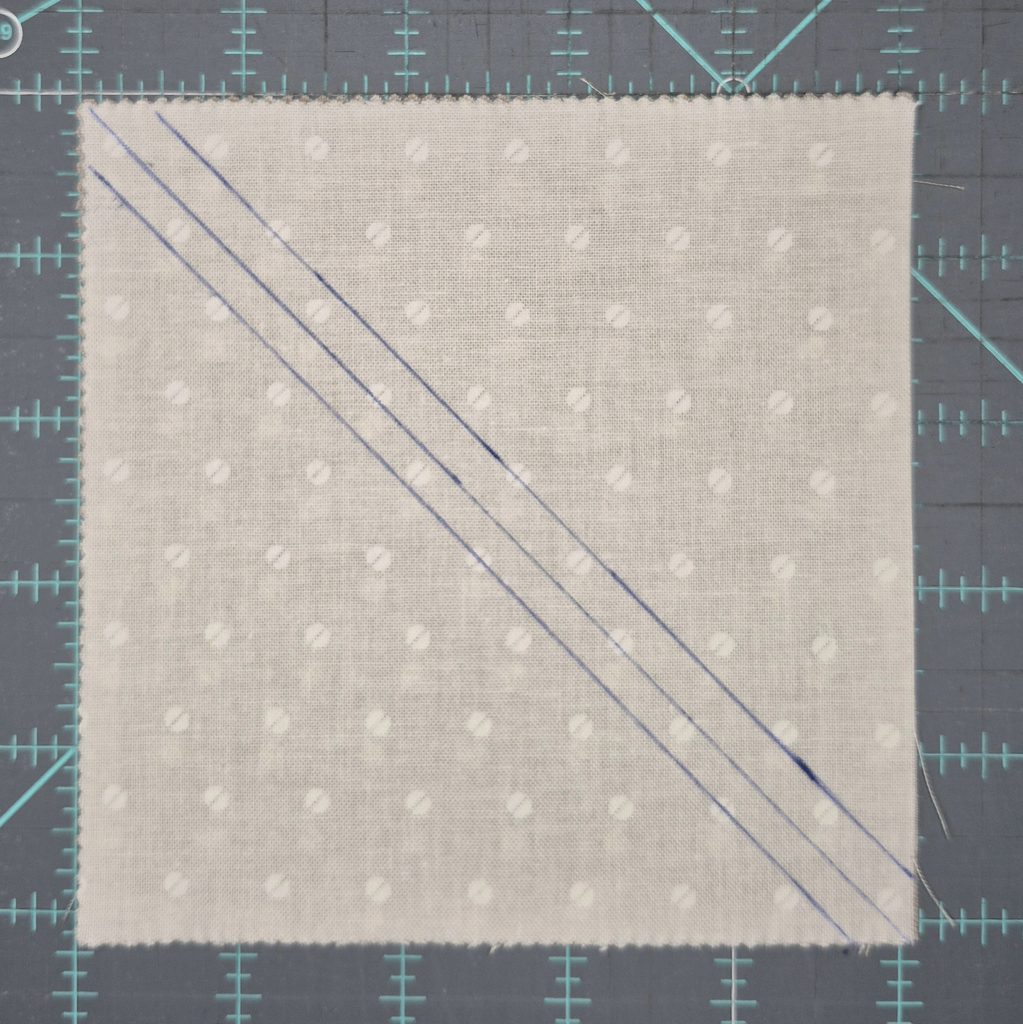
2.Mark the Sew Lines and Center Cut Line
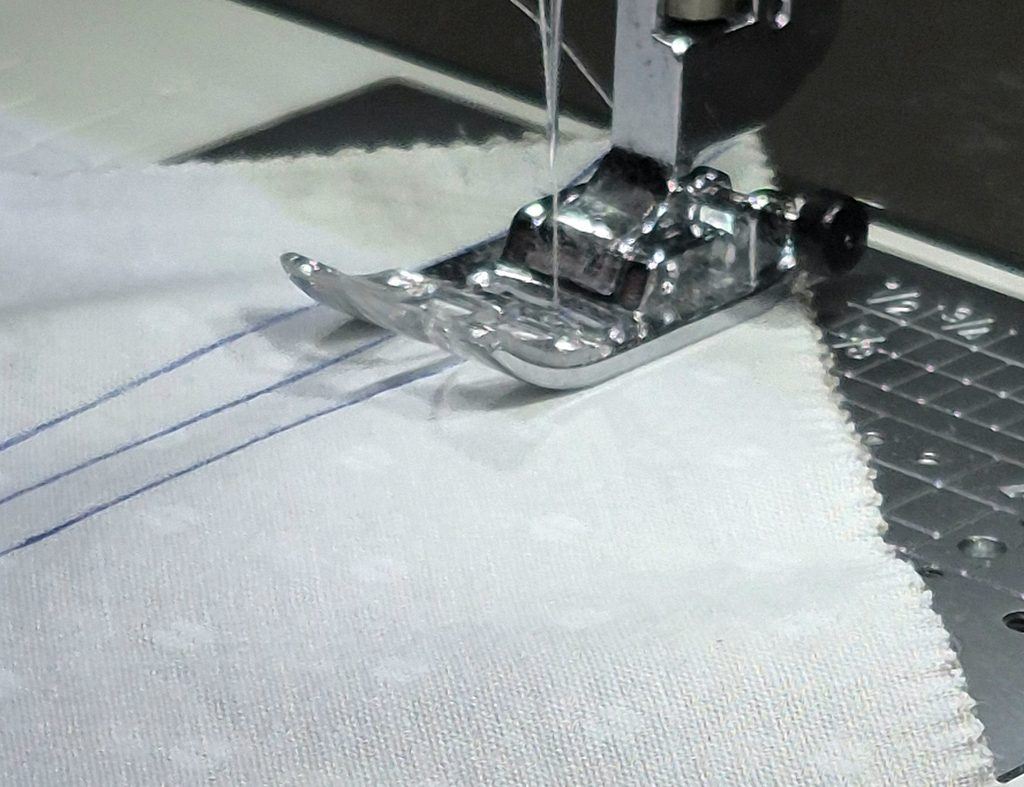
3.Sew on Each Side of the Center Line
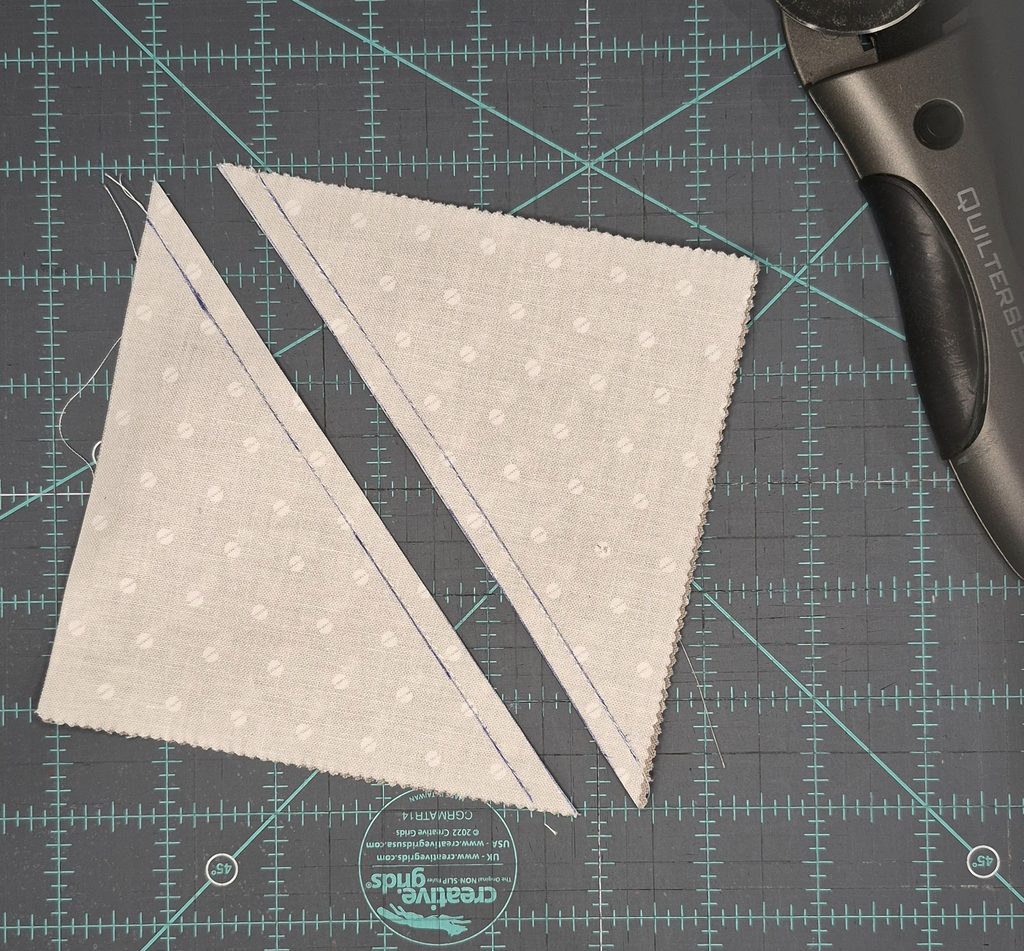
4.Square Cut in Half Diagonally to Create Two Triangles
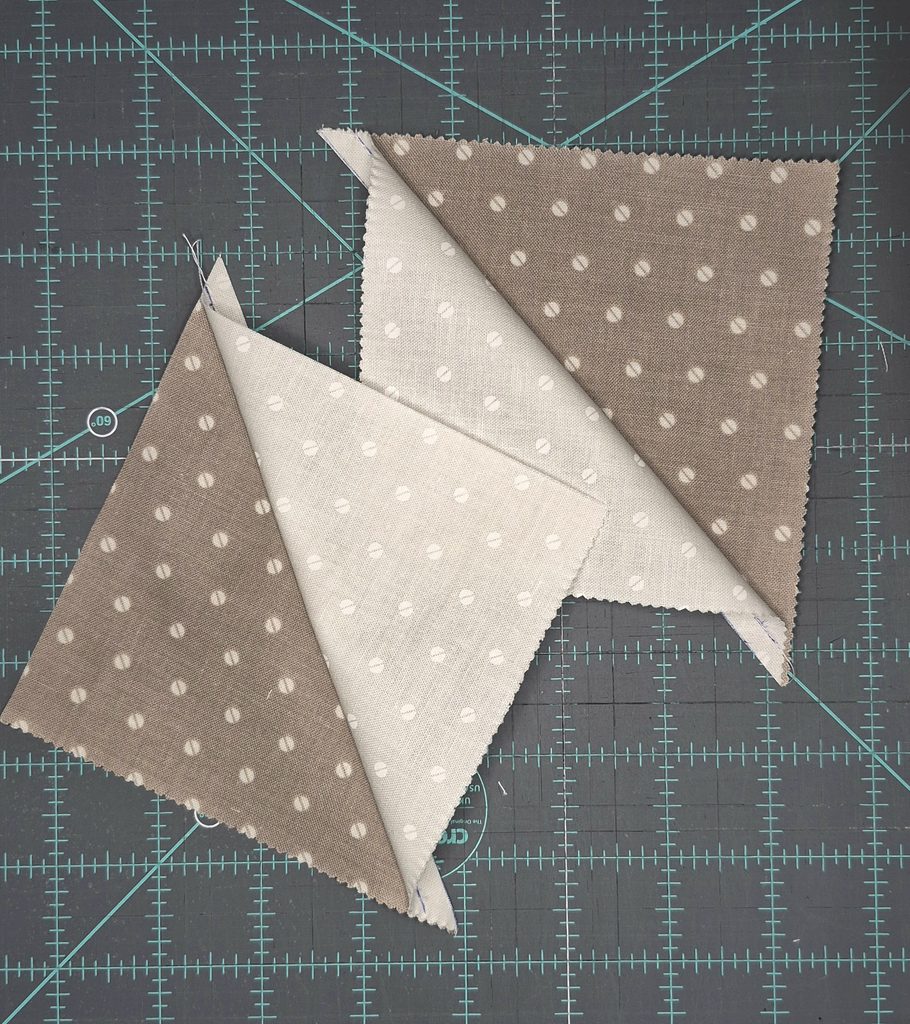
5.Each Triangle Opened to Recreate a Square Using Two Different Fabrics.
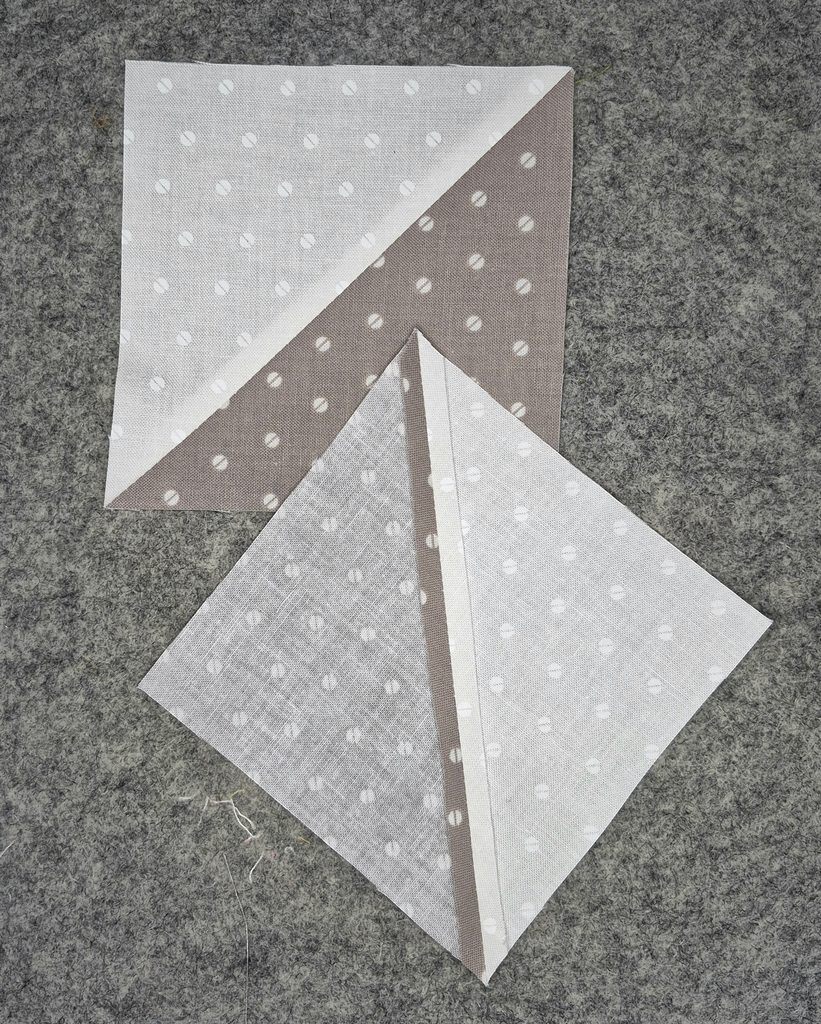
6.Two HST – The Top HST w/ Wrong Side Out to Show Seam Pressed Open.
*A Note About Steps #4 and #5 Above* While not necessary, I have found that my HST are much more accurate if I trim the triangles to the correct measurement before opening them up. You can also cut off the little dog ears as well saving you a little time.
*A Note About Step #6* When it comes to pressing seams, I’m a, “Press Seams Open Whenever Possible” kind of gal. Heck, you’ll find me pressing them open when it may not be the best thing to do! But when you’re dealing with HST, I have learned if there are equal amounts of fabric on either side of the seam, that seam will lay flatter and the HST will be less likely to lose its shape before being set into the block.
Conclusion: Other Good-To-Know Techniques for Perfect HST:
- Start with slightly oversized squares – Trimming down is easier than starting over.
- Use a consistent ¼” seam allowance – Find a strategy that works and stick with it.
- Avoid stretching bias edges – This is where starching is a must.
- Press instead of ironing back and forth – Up and down motion vs gliding with iron maintains the perfect square shape.
- Trim every unit for maximum accuracy – Trimming before opening and pressing is the only way to go.
Challenge
Grab two of coordinating and contrasting fabrics. Starch, cut into squares of equal size and make a few HST. Make at least nine (for a basic nine-patch block) and experiment with placement of those HST. See what designs you can create. Add solid squares and watch what happens!
I’d love to see your creations! Post them here in the comments section or IG.
Happy Quilting!