The best quilting rulers for a domestic machine are the ones that match the job on your quilt top: a long straight ruler for lines and grids, a few curved templates for arcs and echoing, and a ruler foot made for your machine’s shank type. Buy the foot first, then one ruler, then add templates only when a quilt calls for them.
What can a quilting ruler do that free motion can’t?
A ruler gives you a hard edge to stitch against, so a line comes out dead straight or a curve comes out the same every time, with no wobble from your hands. Free motion can’t promise that, because it depends on hand-eye coordination.
That is why ruler work is the part of long-arm-looking quilting where a tool really does help. Crosshatching, piano keys, perfect circles and evenly spaced arcs all look professional because they are consistent. A ruler supplies the consistency while you supply the sewing.
Free motion is different. I believe free motion success comes from muscle memory and hand-eye coordination, not from gear, and no gadget will draw a feather for you. If you want that side of the story, I wrote about it in free motion quilting on your domestic machine. Rulers and free motion work well together on the same quilt, and you can use as much or as little of each as you like.
A ruler also has limits:
- It will not fix a poorly basted quilt top.
- It will not make up for a machine that skips stitches.
- It will not hold itself in place (your fingers do that, which is why practice matters).
Will ruler work fit on my domestic machine?
Yes, in most cases, as long as three things line up: a foot made for ruler work, a way to lower or cover your feed dogs, and enough room under the arm of the machine for your quilt.
Ruler work on a domestic machine is done in the free motion style. The feed dogs are down, so the machine no longer pulls the fabric along, and you move the quilt yourself. You hold the ruler against the edge of a ruler foot, guide the quilt along the ruler, then reposition the ruler and keep going. The stitch length depends on how fast you move the quilt relative to how fast the needle runs, so steady hands and steady speed matter more than any setting.
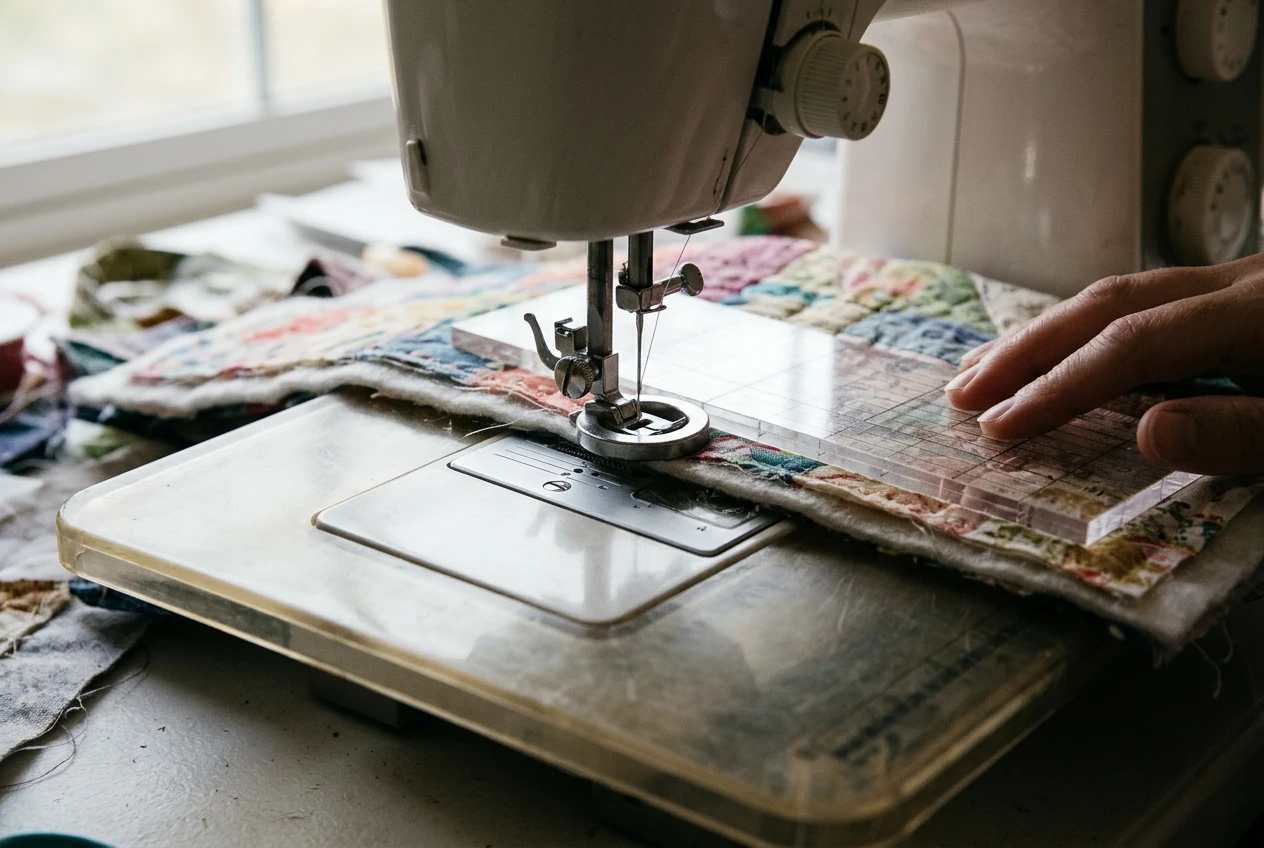
Before buying anything, check these on your own machine:
- Feed dogs: Can you lower them or cover them with a plate? Check your manual.
- Shank type: Is it low shank, high shank or slant shank? Ruler feet are sold for each, and the wrong one will not attach.
- Throat space: The ruler and quilt both have to move in the space to the right of the needle. A bulky quilt in a small space is the most common cause of frustration.
- Table surface: A flat, large surface that holds the quilt level matters more than people expect. A quilt hanging off the edge of the table drags the ruler out of position.
An extension table is worth considering if your machine did not come with one. A sheet of slippery material under the quilt can help, and so can quilting gloves with a grippy fingertip. Neither is required, but both reduce the work your hands are doing.
Which rulers and templates handle straight lines and grids?
For straight lines and grids, a long straight-edge ruler does nearly everything. A 24 inch length is the one most quilters reach for, because a single pass can cover most of a quilt’s width.
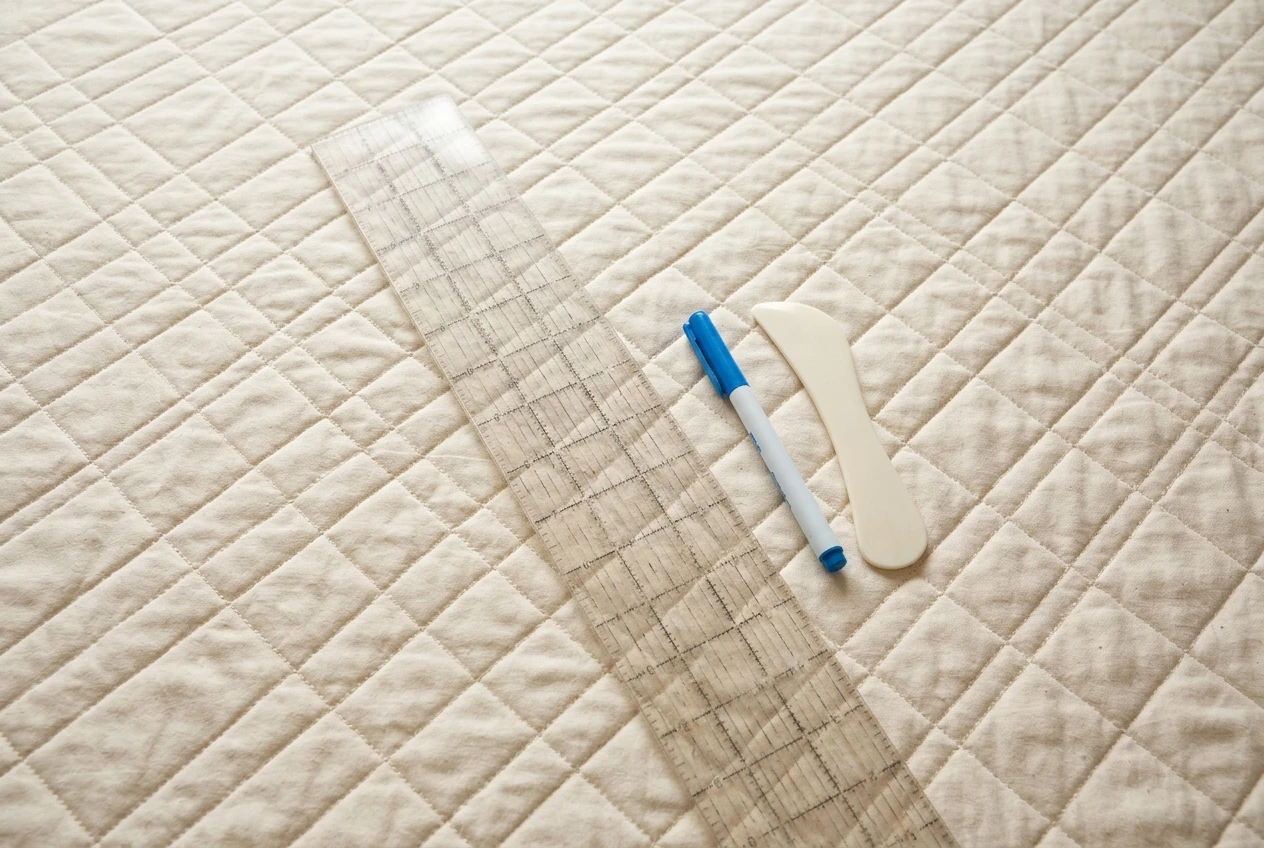
A square ruler (the kind you already use for squaring up blocks may work, if it is the right thickness for your foot) is useful for marking crosshatch grids and diagonal lines.
You also do not always need ruler work for straight lines. A walking foot with its guide bar will space parallel lines for you, and it works with the feed dogs up. That makes it the easier option for long, evenly spaced rows. A ruler foot is the better choice when you want to change direction, stitch short segments, or travel along a line that is not parallel to the previous one.
Here is how the options compare:
Job | Tool | What it needs from your machine |
|---|---|---|
Evenly spaced parallel lines | Walking foot with guide bar | Feed dogs up, walking foot attachment |
Crosshatch and diagonal grids | Long straight ruler, plus a marking tool | Ruler foot, feed dogs down |
Piano keys and channels | Narrow straight ruler or the foot’s edge | Ruler foot, feed dogs down |
Short straight segments in blocks | Small straight ruler | Ruler foot, feed dogs down |
Mark a grid before you stitch it. A washable marker or a hera marker lets you see where the first line goes, and every other line follows from the first. A wandering first line becomes a wandering grid, so spend time there.
Which templates make curves, arcs and echoing look planned?
Curved templates are what make a quilted surface look designed instead of improvised: circles, arcs, waves and petal shapes with consistent edges, repeated across the quilt.
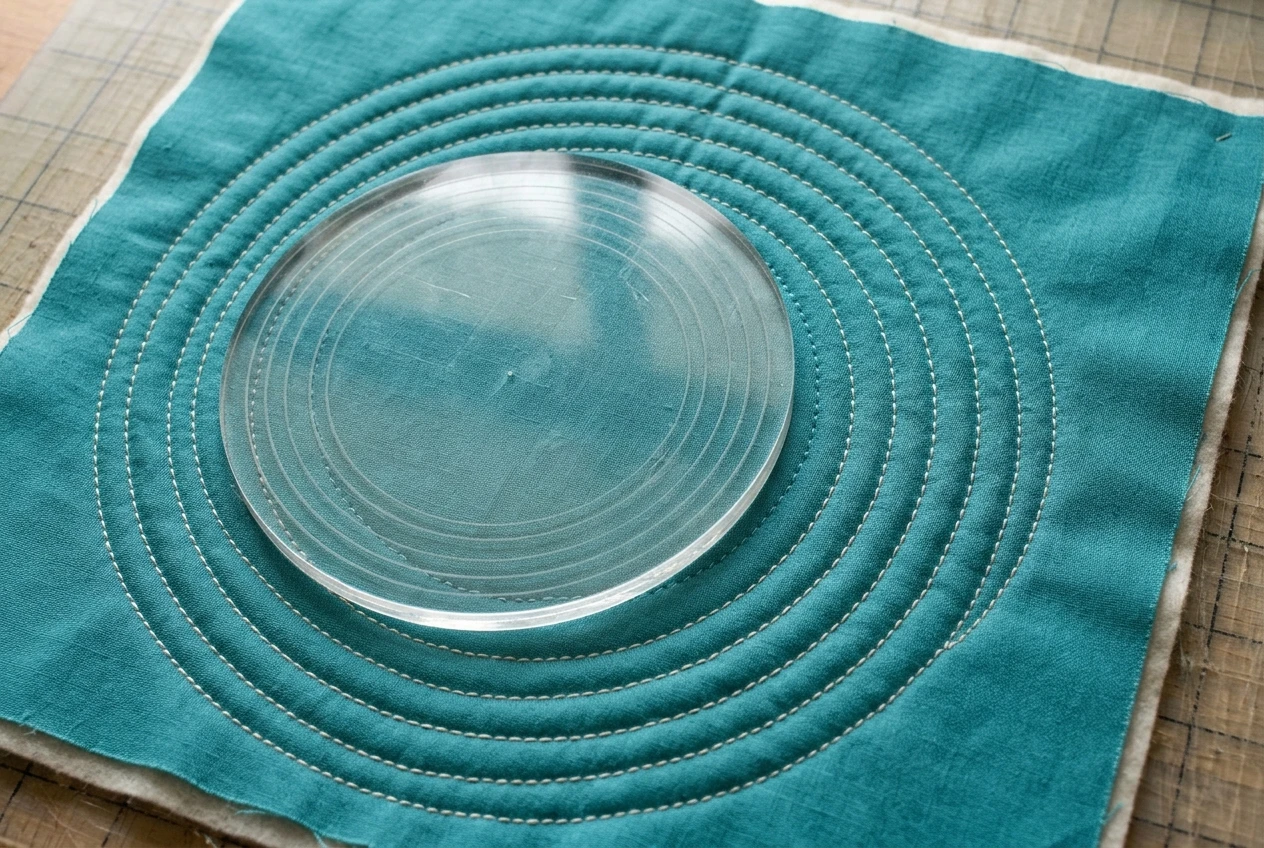
Templates come as flat acrylic shapes with a channel or edge that your ruler foot follows. A small starter set might cover:
- Circles in several sizes, for overlapping circle patterns and orbit designs
- Arcs and curved edges, for borders, fans and waves
- Wave or S-curve templates, for flowing lines across open space
Echoing is where templates really earn their space. Echoing means stitching a second line at an even distance from the first, then a third, and so on. By eye, the gap widens and narrows. With a template or a foot that has a built-in offset, the gap stays the same, which is what makes the result look planned. Check what spacing your template or foot gives you before you buy, and choose the one that fits the scale of your quilt.
A few tips for curves:
- Mark the center point or the starting line, so the template lands in the same spot each time.
- Stitch slowly on tight curves, because the quilt has to turn while the needle keeps going.
- Hold the template flat with your fingertips, close to the foot but never in front of the needle.
- Stop with the needle down when you reposition.
Do I need a ruler foot, and how do I choose one?
Yes. A ruler foot is the one piece of gear that ruler work cannot do without, because a regular free motion foot sits too low and too close to the needle for the ruler’s edge to slide past it safely.
A ruler foot has a flat edge that rides against the ruler, plus a base that holds the quilt down while the needle goes up and down. The foot is made to work with a ruler of a particular thickness, so match the two. If the ruler is thinner than the foot expects, it can slip over the edge. If it is thicker, it will not fit under the foot at all. The packaging on the foot says what thickness it is made for, and many domestic feet are made for rulers about a quarter of an inch thick.
When choosing a foot:
- Match the shank. Low shank, high shank and slant shank are not interchangeable.
- Match the ruler thickness. Buy the foot first, then rulers that suit it.
- Check for a machine-specific version. Some machine brands make their own ruler feet, and those fit properly without adapters.
- Look at the foot’s clearance. A foot with an open front lets you see the needle and the line you are following.
A ruler foot also makes you more careful. The needle is only a short distance from the ruler, so you cannot rush. Keep your fingers on top of the ruler and slightly back from the foot, and run the machine at a moderate speed. A needle that hits acrylic can break, so it is worth slowing down and wearing safety glasses.
What did I buy that wasn’t worth it?
The purchases most likely to disappoint are the ones bought before you know which kind of quilting you want to do. Here are the ones I would skip or delay.
Large, multi-piece sets. A big boxed set looks like a bargain, but you will probably use two or three shapes from it. Buy a few individual pieces first and add more when you notice what you keep reaching for.
Rulers that do not match your foot. A ruler of the wrong thickness is the most common problem. It does not matter how nice the ruler is if the foot cannot ride along it.
Very thin or flexible templates. A foot needs a firm edge to push against. A template that bends or lets the foot ride up onto it is a poor tool, however cheap.
Specialty shapes, early. Feathers, flowers and fancy motifs are fun, but they depend on good basics. Circles, arcs and straight lines will cover most of a first quilt.
Rulers with tiny printed lines. Markings that are hard to read through the quilt’s surface or against busy fabric do not help. A ruler with bold, clear lines, or one that is clear enough to see the fabric through, saves squinting.
None of these is a disaster, but each one costs money and shelf space that a quilter with a small sewing room can use better. A useful habit is to decide what the quilt needs before you shop, and to buy only for that job.
How do I practice with a ruler before touching my quilt top?
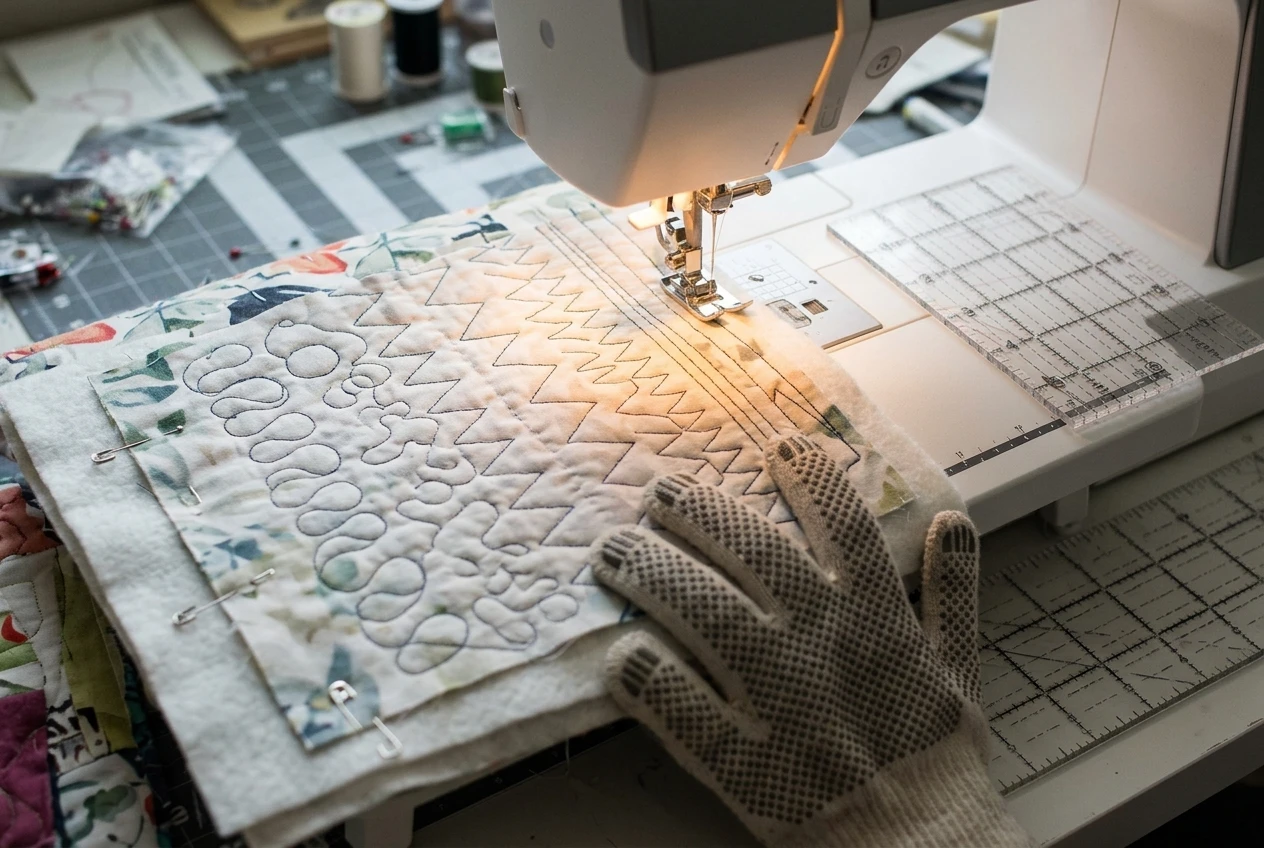
Make a practice sandwich from two scraps of fabric with batting between them, the same layers as your quilt, so the machine and ruler behave as they will on the real thing. Then practice on it until the movements feel dull. Dull is good.
Work through this order:
- Set up the machine. Lower the feed dogs, attach the ruler foot and thread with the thread you plan to use.
- Draw a line. Use a washable marker to draw a straight line on the sandwich, then stitch beside it with the ruler.
- Stitch a row of parallel lines. Reposition the ruler each time and check that the spacing stays even.
- Try a curve. Use a circle template and stitch the full circle, stopping with the needle down to adjust your grip.
- Try an echo. Stitch a second line at an even distance from the first, then a third.
- Change speed. Notice what happens to your stitch length when you go faster or slower with the quilt.
Expect uneven stitches at first. Stitch length in ruler work is controlled by your hands, and that is the same muscle memory that free motion depends on. A few sessions of fifteen to twenty minutes tend to do more than one long afternoon, because your hands tire before your eyes do.
When your lines are straight and your stitches are even on the sandwich, move to a small project such as a table runner or placemat before the full quilt top.
Which two or three tools should I buy first?
Buy a ruler foot for your machine, a 24 inch straight ruler of the thickness your foot expects, and one small set of curved templates (circles are a good start).
That covers straight lines, grids, circles, arcs and echoing. Everything else is an addition.
If you only buy one thing this month, make it the foot, because without the foot the rulers are decoration. If you have a walking foot already, use it for parallel lines and save the ruler foot for the shapes a walking foot cannot make.
Beyond those three, wait. A quilt will tell you what it needs, and the next purchase is easier to pick when you have a real top in front of you. I have a printable beginner quilting shopping list on the site if you want a general checklist for the rest of your tools.
Over to you
Tell me in the comments which ruler or template has earned its place in your sewing room (or which one is gathering dust). I read every one, and your answer might save another quilter a trip to the shop.
If you want the next post in my series on quilting your top at home, join the email list and it will land in your inbox as soon as it is published.