Quilts
Since my last post I have finished my “last” baby quilt – the “last” one until next one, of course!
These little gems are so much fun to make. They also give me a chance to play around with some really fun fabrics and, even with what appears to be the of simplest patterns, to learn something new.
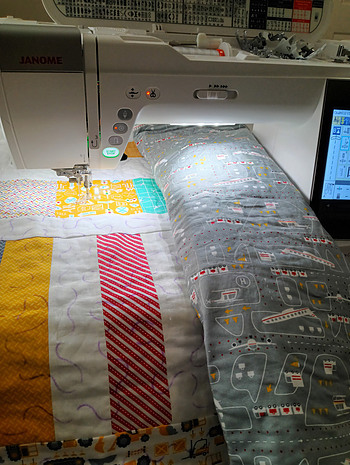
For the past year I’ve been using, exclusively, a Janome 9450. I’m still learning (and finally beginning to take full advantage) of it’s many bells and whistles.
You could take away a few of the bells and maybe 1 or 2 whistles but the one aspect of my machine I could never ever live without is the 11″ throat space.
THAT is what makes it possible to maneuver and free motion quilt on a domestic machine – and yes , this is s smaller size (somehere between a crib and twin size) but I’ve quilted quilts smaller than this on a machine with ony a 7″ throat space and oh my gosh, it was a s-t-r-u-g-g-l-e literally stuffing all that fabric in that small space between the controls and needle.
Doing that once or twice was manageable but doing all that twisting, stuffing, pulling, pushing least 50 times…
This is SO much better!
With that said….
After watching a quick video clip of the Grace Hoop Frame I am now thinking, like really thinking… if I’m going to sew a large number of large sized quilts in the future, a frame like this, where I can still use the machine I have, may need to be placed on my wish list.
Until then, I’ll settle for that magic bullet that makes putting together a quilt sandwich super quick and super easy with perfect tension that stays perfectly in place from beginning to end!
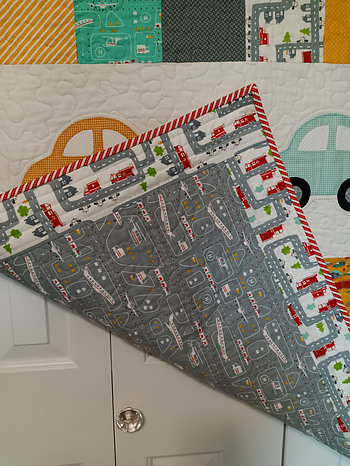
A couple of my favorite details from this quilt:
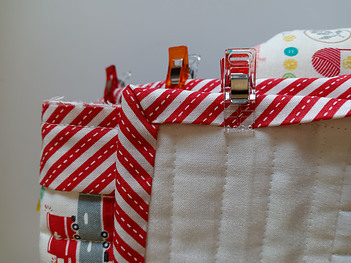
The binding –
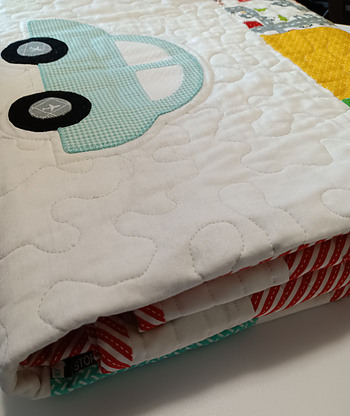
Reverse Applique for the car windows:
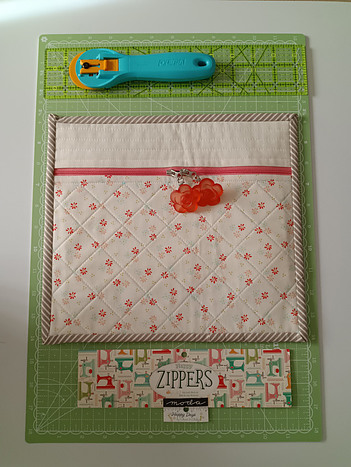
Yes, Another Bag
And a Recipe for Happiness!
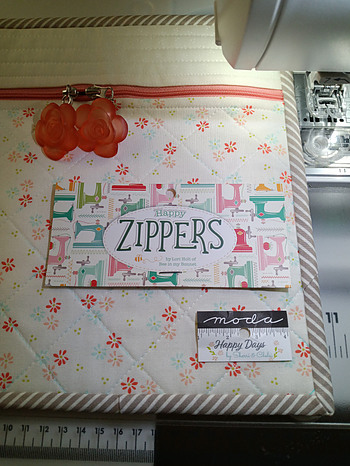
(1) 16″ Lori Holt Happy Zipper – any color
(3) Fat Quarters from the Happy Days fabric bundle from Sherri & Chelsea
(1) 14″ x 22″ fusible fleece or low loft quilt batting
(1) 46″ x 2.5″ strip for binding (optional)
(2) Cute zipper pulls or other embellishment. (I used 2 buttons from my stash).
1. Gather all items
2. Turn off all news sources
3. Go to this tutorial.
Cut, sew and bind as directed.
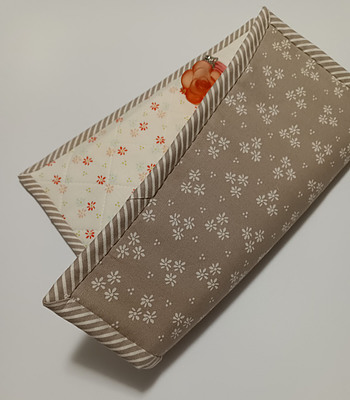
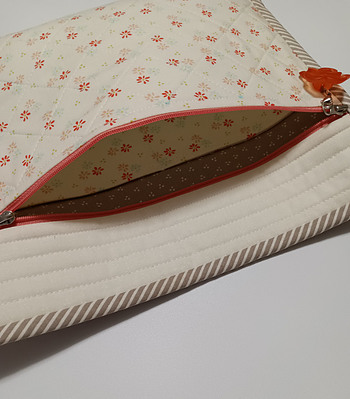
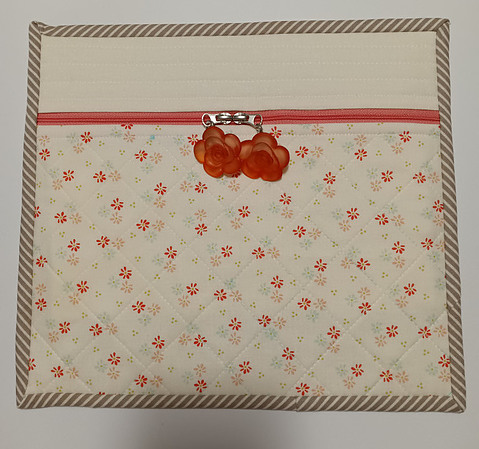
I added an extra pinch of happiness to mine by adding 2 small interior pockets and binding around the edge. Skipping the binding will get the pouch finished faster but when I see striped fabric I can’t help but use it for binding.
Within a couple of hours you will not only be Happy, you’ll have another useful project bag that will bring you happiness for years to come!
You could even fill it with goodies (embroidery floss, needles, aida cloth, a paper pattern, small scissors) and give as a gift. That doubles the amount of happiness this recipe gives!
Lesson Learned
A quick note about using binding vs the stitch and turn method: If you have to sew strips together to get the binding length you need, pay attention to where you place it when starting to stitch.
I don’t have a magic formula but you don’t want to do what I did. If you look closely at the top left corner you will notice the corner is a bit wonky. That happened by sheer coincidence. As I was working the binding around the bag and reached that corner it was either serendipidity or the sewing gods who needed a good laugh, that the corner and the diagonal seam in the binding had a lovely meet and greet.
I could not have done that intentionally if I tried!
The lesson here is to spend a couple of minutes doing a rough layout of your binding to make sure a seam doesn’t end up in a corner. It’s just too much bulk to make a smooth turn. I’m no stranger to Jack (the seam ripper) however, by that point, (unless I was gifting it) there was NO WAY I would even half-way think about ripping it out and starting over!
Summer QAL 2022
This year’s QAL is a bit different. Actually, a LOT different but I’ve participated since 2020 and I don’t feel like dropping out, yet.
The full title – 2022 Summer Quilt Along (QAL) Choose Your Own Adventure Quilt
There is no Facebook page which means there is very limited interaction with other quilters except through Instagram : #chooseyourownadventurequilt
Troubleshooting, so far, is accomplsihed through a tutorial provided by the block designer each week. It’s better than nothing, but I miss being able to communicate more directly with others when I have a question or being able to answer other’s questions a bit closer to real time.
I’m very new to Instagram. It’s a rabbit hole I’ve tried to avoid but like death and taxes, I knew I would inevitably find myself creating a profile, uploading images and worse – spending too much time oogling over others images and videos.
But, here I am.
This QAL began June 6 and will run through September 12. At the time of this writing, the QAL is now in week 4 which is a catch up week. Thank Godness.
The “adventure” I’ve chosen for this QAL is being able to get all these points to match up…
Let me show you what I’m talking about.
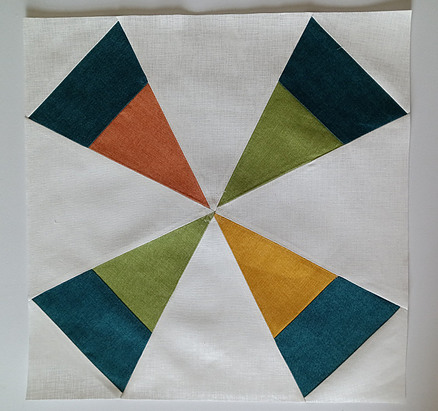
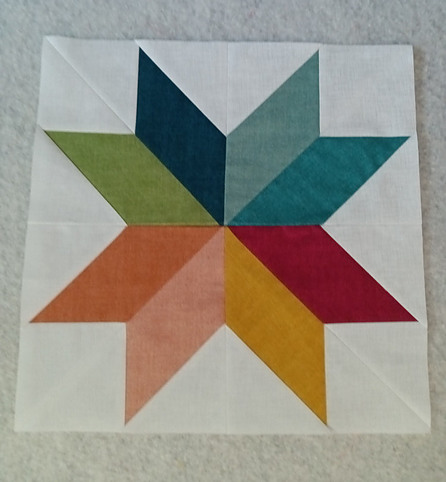
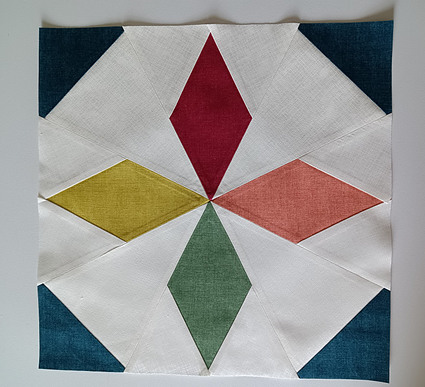
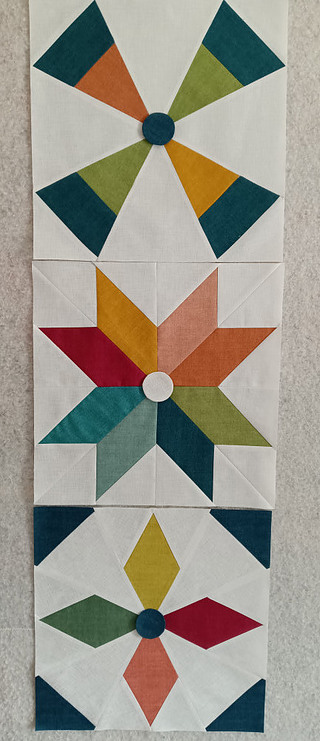
Below are blocks 1-3:
Block 1 – Autumn Leaves by Wendy Chow [@the.weekendquilter]
Look closely and you will see the top two triangles appear to be “floating” away from the bottom two…ugh…it’s hard to look at however, this is an improvement over my first 10 attempts to get those darn points to match!
Block 2 – Shasta Daisy by Ben Millet [@benmillett]
Block 3 – Dakota Star by Lee Heinrich [@lee.a.heinrich]
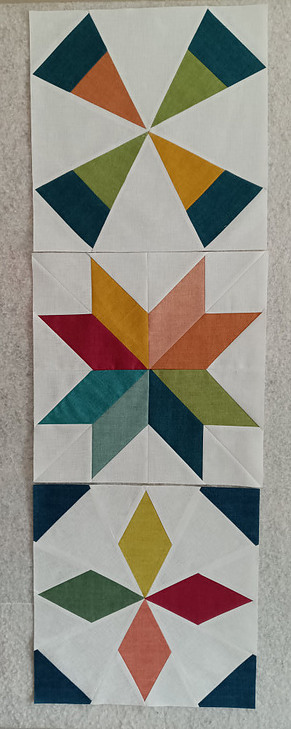
Family Portrait #1
In the third block I totally surprised myself and managed somehow get all those points in the middle to mostly match up.
At distance, the construction of these blocks will do, kinda.
I’m these and the future mistakes can be “quilted out”.
Family Portrait #2
However, in the meantime, while I have to look at these blocks every day hanging on my design wall, I have decided to make a tiny modification:
Yep, those lemons (mismatched points) are now covered with a little lemonade – a simple round applique.
I have to admit I like the look and when all the blocks are finished and it’s pieced and quilted, I’m thinking to replace the applique with buttons or covered buttons in coordinating fabric.
Another Lesson Learned
So, let’s say the idea of covering up your mistakes / mismatched points is not your thing, it IS possible to avoid the need to “cover-up” those mishaps altogether!
Since this week is ‘catch-up’ week, I wasn’t really expecting an email from Katie Blakesley (2022 Summer QAL #chooseyourownadventurequilt) this morning. No, there was not a pattern drop but rather a link to one of the other quilt block designers – Fran Gulick of Cotton and Joy with tips on how to create that ever elusive scant 1/4″ seam.
I was not aware how a difference in thread count can affect your seam allowance!!!
