“Either write something worth reading or do something worth writing”. – Benjamin Franklin
Until recently, I did not fully appreciate the benefits of having a blog and/or website.
My original intent for creating this site was to serve as a foundation for a future business. And, as such, my focus has been to create and publish relevant content on a regular basis. My secondary focus has been to get noticed by Google and other search engines, and hopefully gain an increasing number of followers who shared my same interests.
I totally underestimated how necessary it is to have one dedicated place to record my accomplishments, vent my frustrations and showcase my creative ventures.
Okay, having a blog may be fun and somewhat stress reducing but is it really necessary?
Short Answer: At least for me, is Yes.
The necessity of writing becomes apparent once you’ve traveled past the “what am I going to write” phase.
Once past, your perspective changes and your thought process evolves to, “how am I going to find time to write about all these ideas in my head?”
To be honest, writing has never been my strong suit. Making a tangible, 3-dimensional object has always been my creative outlet – which is all fine and good – but is only one-half of the process.
Having an avenue to share what I create (the good, the bad and the ugly) brings added meaning to what I make. It’s necessary to soothe my soul. Documenting and sharing, along with the process of creating, has truly been my therapy.
When I don’t feel like sewing, gardening, cooking or quilting, I can write about sewing, gardening, cooking or quilting.
It’s the same thing but, different.
Now, let’s see about all these different topics in this same article…
CARS
The Car Quilt is coming along nicely:
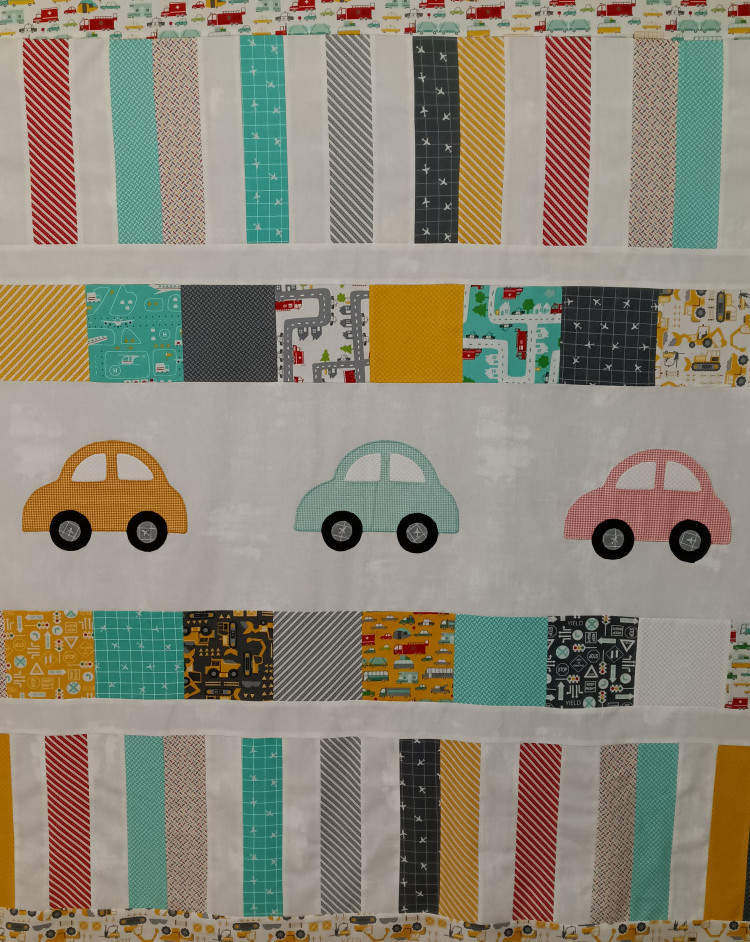
This is the finished top hanging on my design wall – waiting for backing fabric to arrive.
As much as I love pinwheels and cute little critter animals I believe the ‘Car Motif’ is quickly rising to the top of my all-time favorites!
The cars use both traditional and reverse applique. The wheels were made using applipops
QUILTS
Lee Heinrich and her fellow quilters have decided to take the year off from sponsoring a Summer Sampler quilt however…you can still join Katie Blakesley and others with this year’s 2022 Summer Sampler Quilt Along – Choose Your Own Adventure Quilt.
The pattern is purchased, downloaded and printed. I have fabric in my stash I want to use but I need to be in more a ‘decisive’ and focused frame of mind before choosing the exact colors.
There is nothing to send down a fabric rabbit hole quicker than trying to choose fabric outside a reassembled fabric bundle.
However, I do have a little time…the sew along officially begins June 6th.
RETURN of the BAG LADY
Oh yes…the Bag Lady has not only returned but she has returned with a whole bundle of goodies!
Thanks to Lori Holt and The Fat Quarter Shop I now have a new obsession: Project Bags.
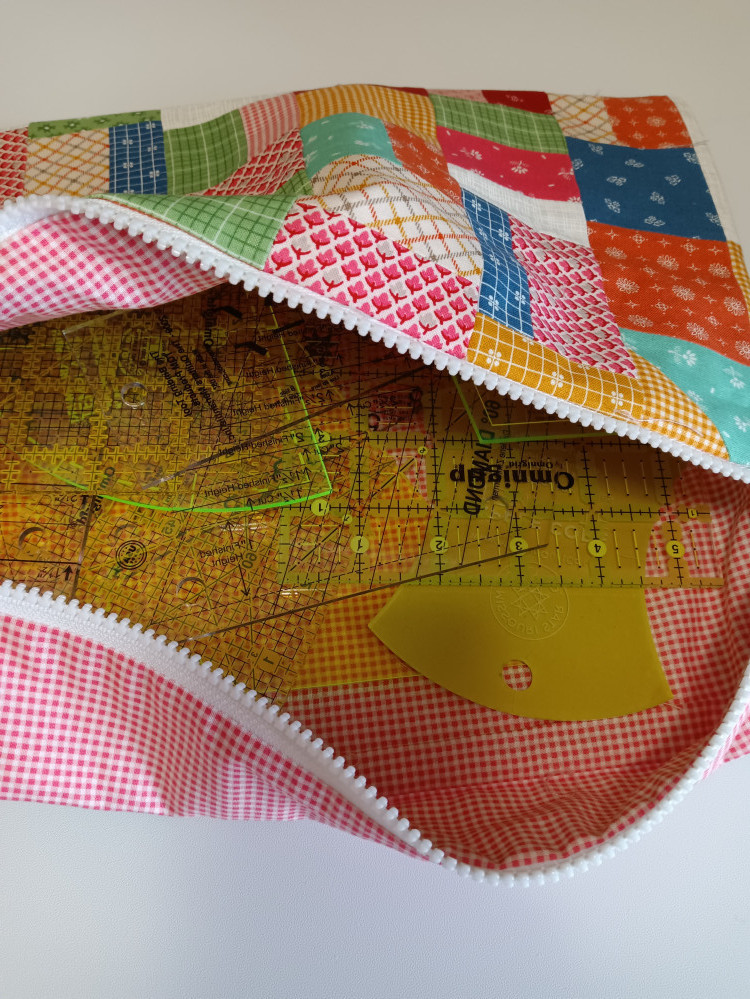
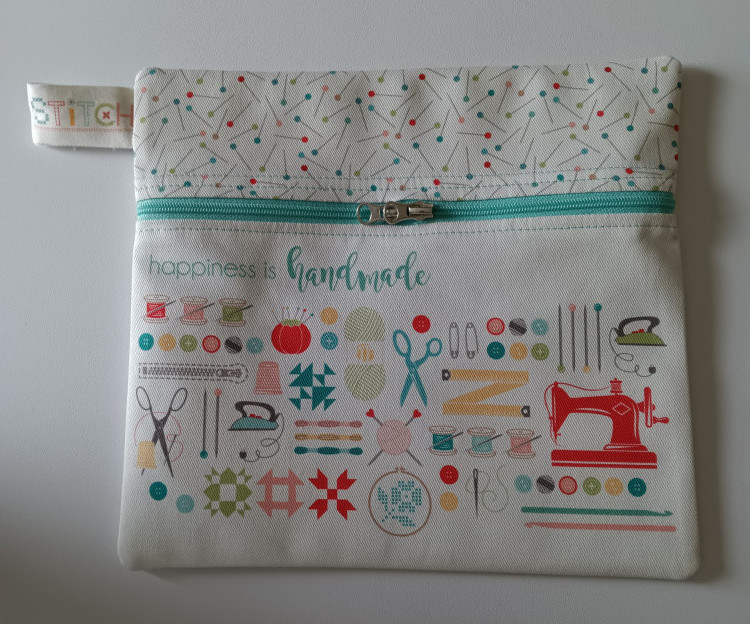
This is the first one I made. More about that process can be found here.
These project bags were originally designed to hold various “projects”, i.e., crosstitch, embroidery, etc.
While I currently do not have such projects in the works, I do have a few “unruly” rulers and the size and thickness of this bag is perfect for these little guys!
It must be the inordinate amount of time it takes to create a quilt that when I come across something, like these project bags, that are relatively quick and easy, I can’t seem to find the “off” switch!
However, I wanted to see what other project bags and such could be found in the inter webs. What other techniques could be used and what other uses were these cute bags being used.
It was during that search that I rediscovered Lori Holt and her tutorial. Lori is known as the “Queen of Cute”. So finding not only a tutorial but a fabric line and accessories dedicated to project bags should have come at no surprise.
How It Started
This ‘project bag rabbit hole’ I’ve found myself falling into began with this tutorial and progressed to the Fat Quarter Shop.
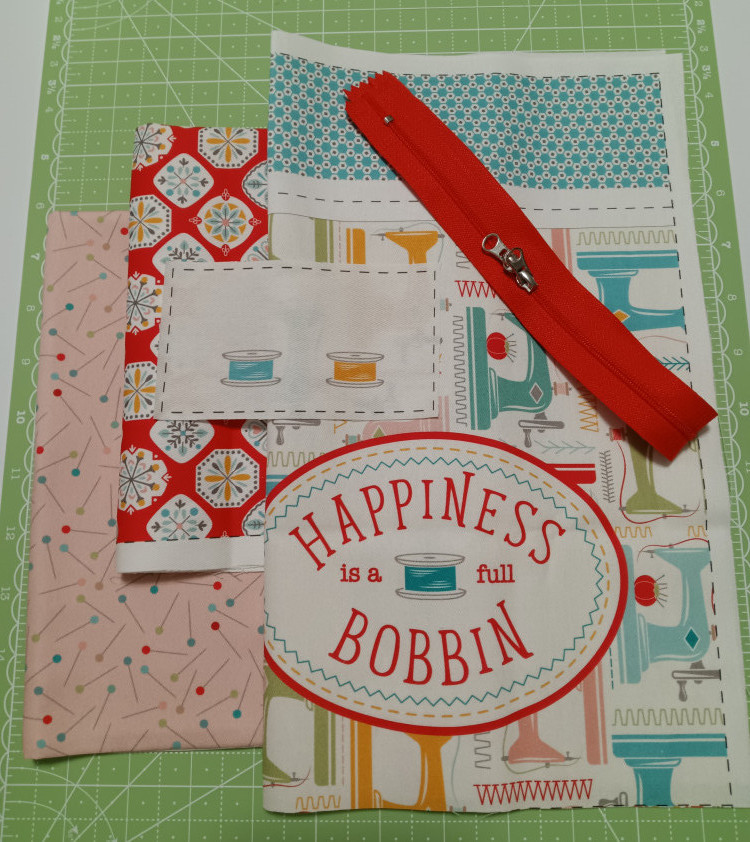
Next thing I know there is a fabric panel and package of Zippy Zippers on my sewing table.
Fast forward to making project bag #1:
Here is the start –
This is how it went –
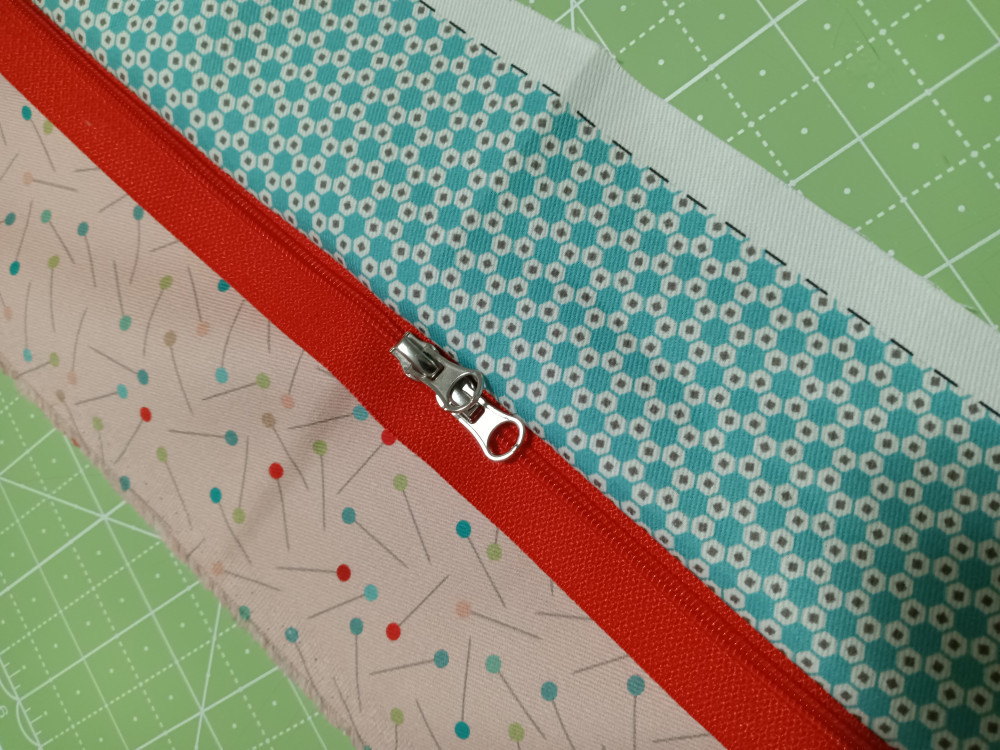
I love Lori’s method for sewing a zipper – the double zipper pulls are THE perfect zipper to use for these bags.
A little over half-way home!
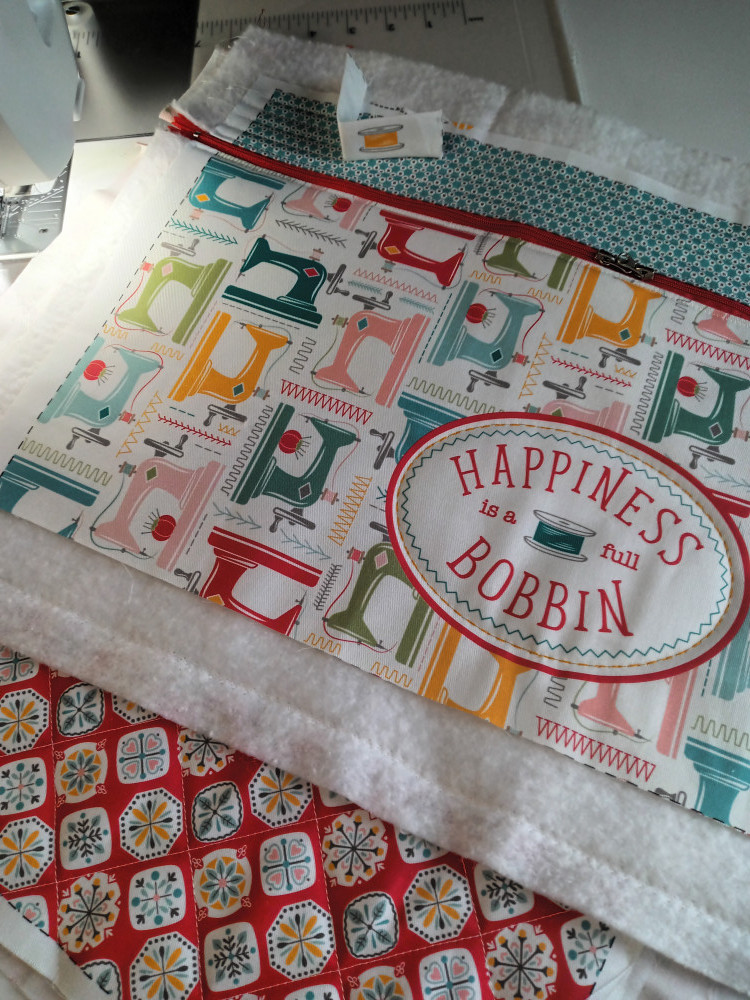
If you take a closer look you can see the linear quilting across the top of the panel above the zipper.
Other details include quilting in a diamond pattern, the back panel and used matching thread to stitch around the ‘Happiness is a Full Bobbin’ motif.
A bag this size is large enough to add all the embellishments you want!
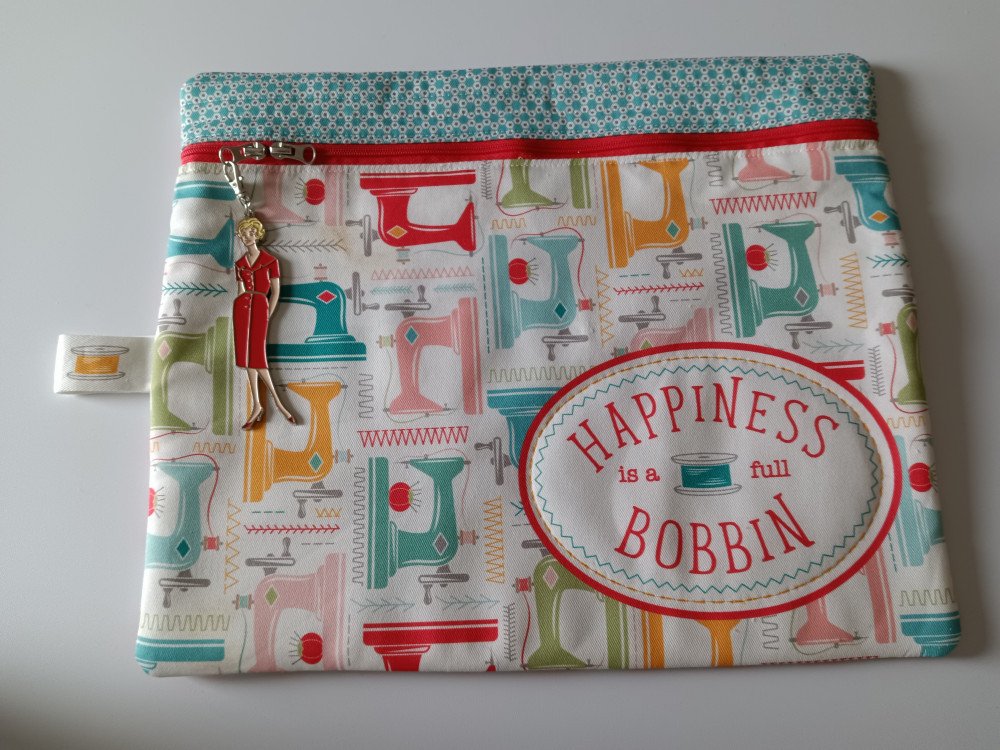
And this is how it ended:
This image shows the asymmetry of the finished bag – many reasons for this but largely due to the degree of bulk that the batting creates. This is reduced significantly when quilting is added – in this case, the straight lined quilting across the top. Since it started out as the smallest piece of fabric, after the quilting it’s smallness is even more pronounced.
Take Notes and Carry On
Making this bag had the gears in my brain running at full speed. All I could think about were ways to make these bags look as good as Lori’s.
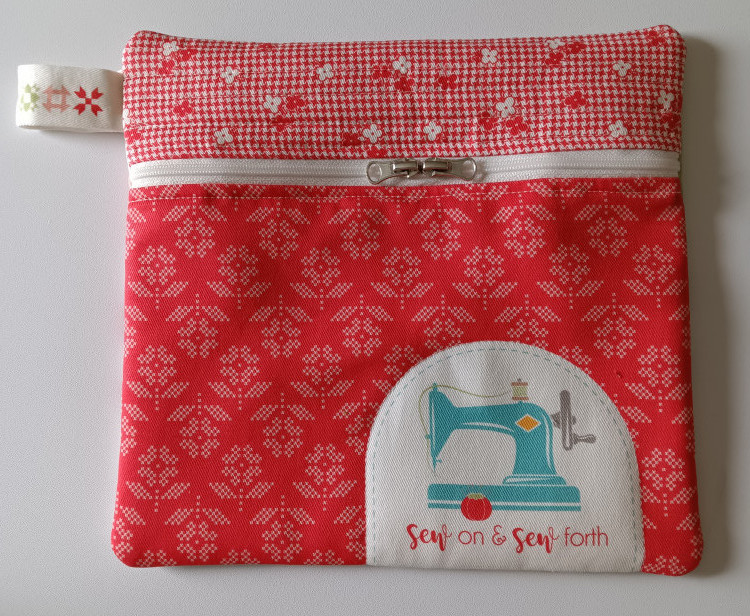
I made note of the mistakes I made with the first bag and proceeded on to bag #2:
This is one of the smaller bags – finished it measures about 8″ x 8.5″. The larger bag finished at 13″ x 11″.
But wait – there is more…
And more questions to be answered:
1) “What if a different type of batting was used?
2) “How would it look if an interfacing was used instead of batting?
3) “What if the bags were only lined with fabric and no “filling” was used at all?
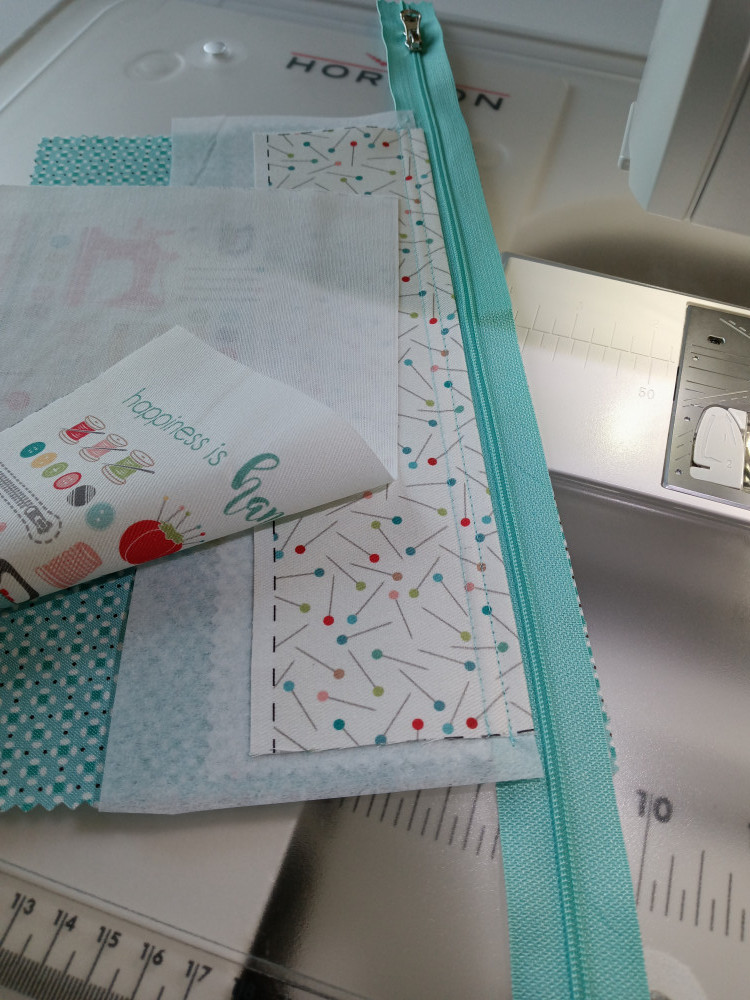
The bag above is an answer to the #2 question above. Rather than use traditional quilt batting I used some leftover interfacing by Lori that is used in applique.
Here is glimpse of how the interfacing is placed along the upper panel on the bag front:
The end result is a bag that has a flatter appearance.
Comparing it to the other bags where batting was used as an additional layer between the inner and outer fabric – I’m not sure I truly have a reference of one over the other.
In terms of overall appearance – and this is the side of me that craves texture and dimension – I think I prefer the bags made with batting. And as a side benefit, the batting and additional quilting does a better job of hiding any mistake you may have made!
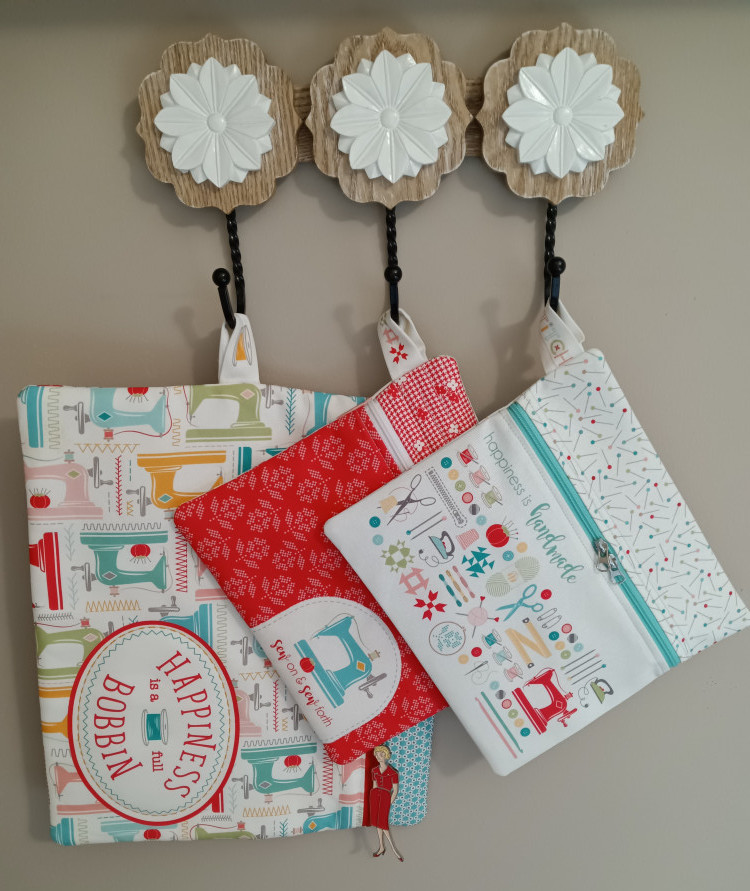
And now for the family portrait:
This concludes my therapy session for now.
I’d love to hear your thoughts on blogging, writing and what projects you are working on to help you
“Get Through the Day One Stitch at a Time”
