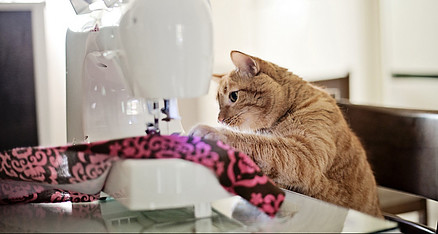
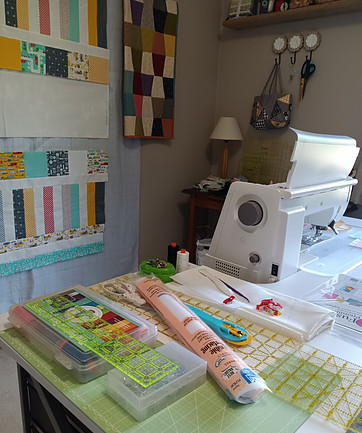
My Sewing Room has witnessed a lot of activity during the past couple of weeks.
As I write this post I only have one unfinished project in the works but my little quilting space looks like its been hit by a series of multiple tornadoes!
I don’t do well in a cluttered environment however, I am able to peer enough through the mess and mayhem to see a glimmer of light at the end of this fabric tunnel.
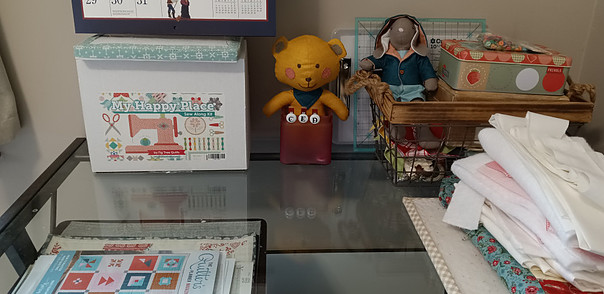
That ‘light’ also inspired me to clear off a corner of one of my tables:
And revealed a hidden surprise!
My Happy Place quilt kit! Just sitting there nice and quiet. Waiting to roll out of the box…the minute that “last baby quilt” is made!
The “last” baby quilt I am ever going to sew (which is actually the third ‘last’ baby quilt) is what you see on my design wall.
If you recall in a previous post I talked about the wait while this fabric bundle arrived.
The strips and squares are pieced (the easy part). And in my fashion, when it came to making the cars… I veered from the pattern. I did do about 5 or 6 cars using the pattern and even partially appliqued 4 completely different cars but the details and stitching were horrible.
Mayhem Up Close:
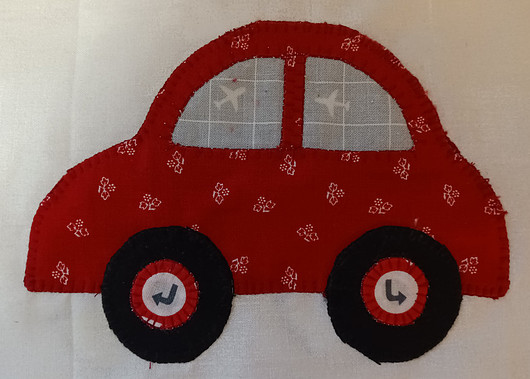
Mess #1 – The Red Car:
The fuzziness around the edges is from Jack – yes, Jack (the seam ripper) and spent some quality time ripping the stitches and removing the applique from the panel. My thought being all that was needed was an old fashioned “Do-Over”. Re-stitch an all would be well.
It. Was. Not.
But wait – as if that wasn’t enough, there is more!
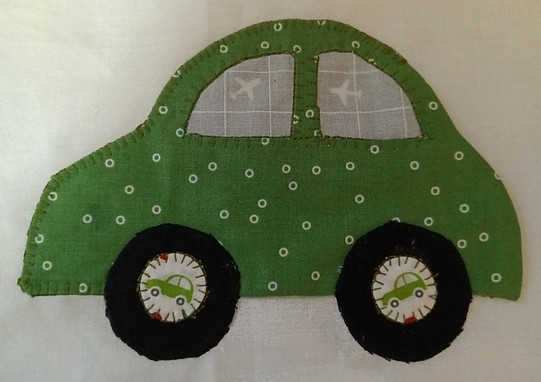
Mess #2 – The Green Car:
So it took me stitching this one almost half way. The minute I reached the top of the back window I realized this was not going to work.
The shape of windows, the irregular stitching and don’t ask me what happened to the shape of the back of the car…
All I knew at this point, these are problems that you cannot “quilt out”.
Back to the Drawing Board
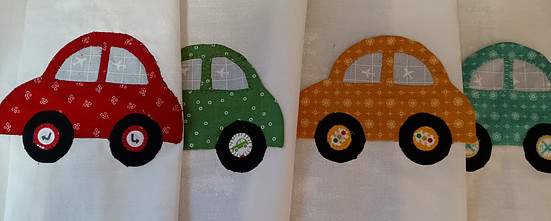
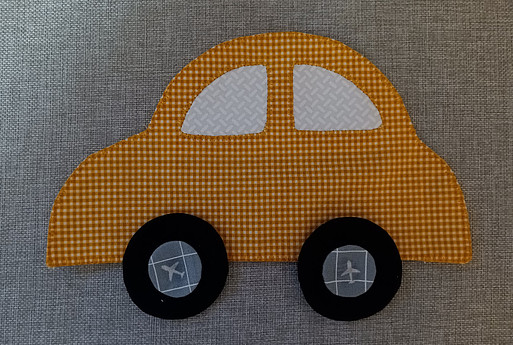
THIS is how I wanted the cars to appear all along…
I re-drew and re-sized the car template. They are a bit larger so there will be three instead of four.
Also, any chance I get to do reverse applique (technique used for the windows) is another chance to a happy dance! I love the textured look and added dimension it gives an applique.
One thing I’ve learned about applique, the larger the piece and greater the arc in a curve, the easier it is to work with. Small angles and sharp corners are best left for the big, fancy embroidery machines.
(Side note – Kimberbell has me almost wishing I had a fancy embroidery machine but I’m not there yet!)
Change Is Good
The car above is still a work-in-progress but the changes I made (see below) are so far, are giving the applique a much more polished and professional appearance.
1) A change in fabric (left over Prim 10″ squares) in complementary shades of gingham.
2) Applipops for tires and tire centers (scraps from On The Go fabric)
3) Changing my stitch pattern and size (On my machine I used the applique stitch R7 at 2.50)
4) Using the Lori Holt applique method and interfacing
5) Fusing each car before applique with Soft Fuse Premium
The next two cars will be a breeze! Stay tuned to see the end result!
