Fall has a way of nudging us back toward the things that feel grounding — warm colors, cozy textures, and small handmade projects that make everyday moments a little sweeter. In my sewing room, that shift always shows up in the form of seasonal makes: coasters, mug rugs, and little applique pieces that bring a touch of autumn to the kitchen table.
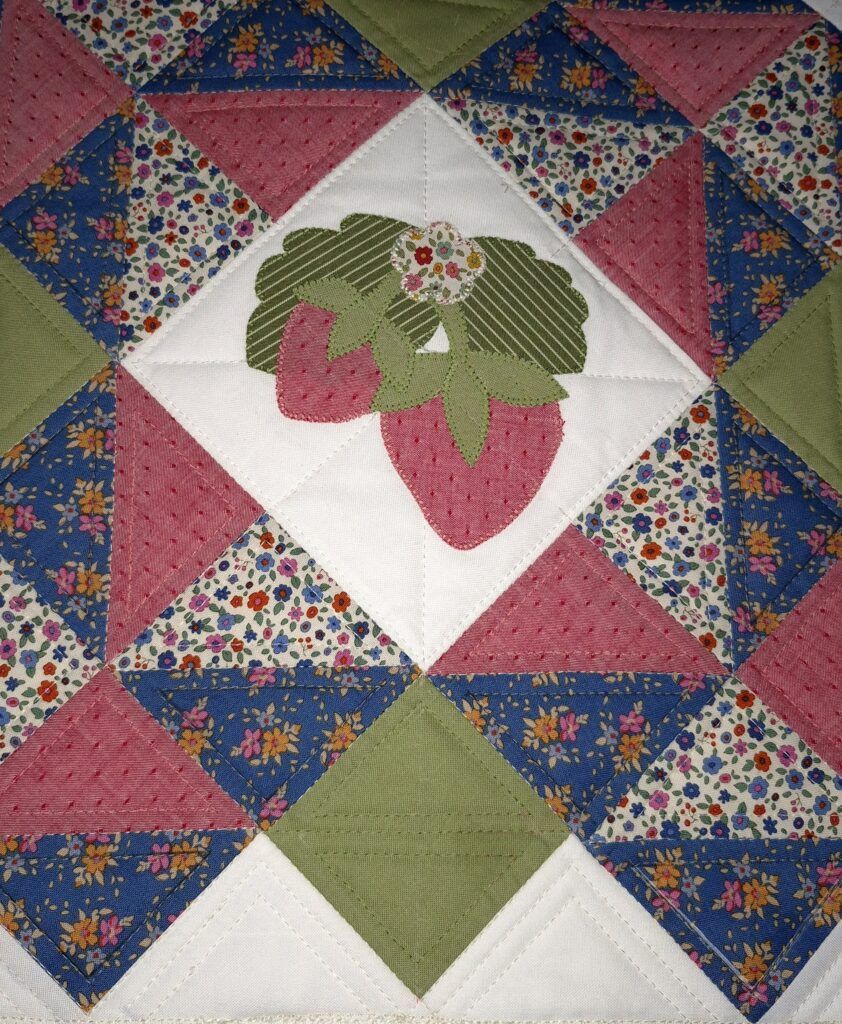
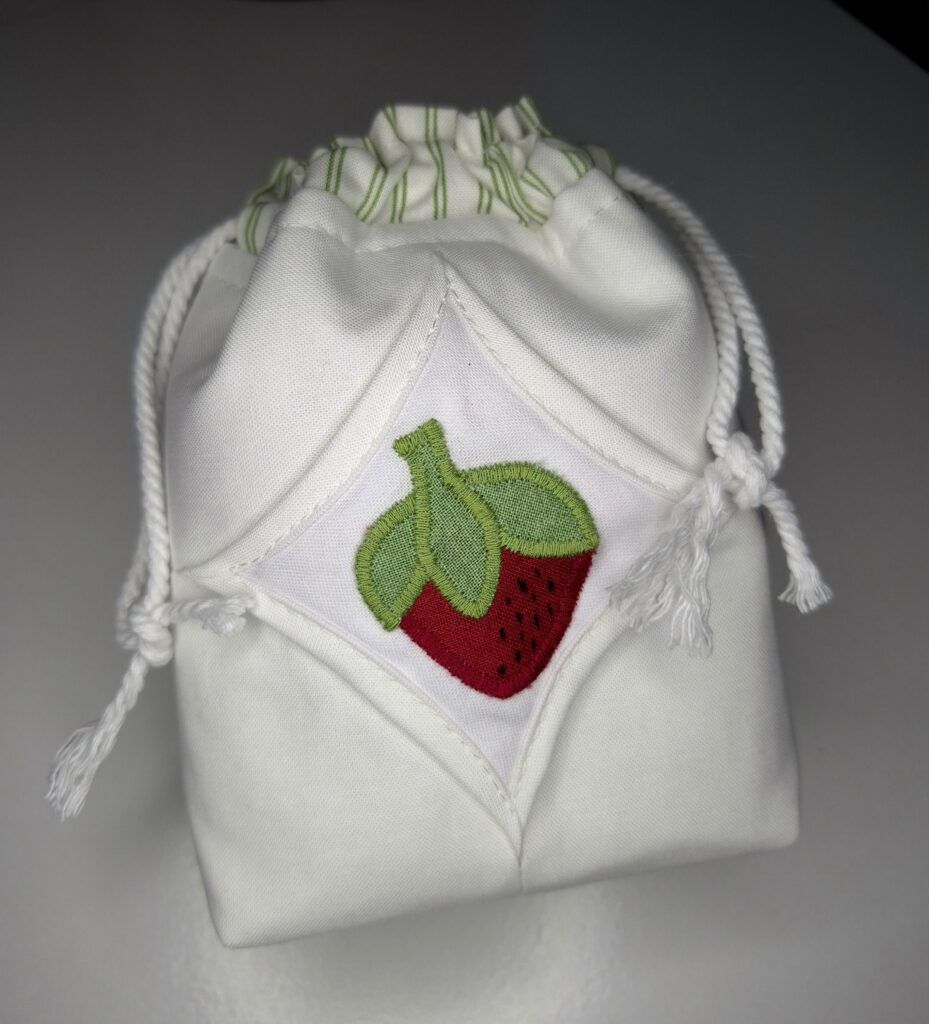
I began this year obsessed with strawberry themed applique (cue the wall hanging on my home page). And the table topper and gift bag below:
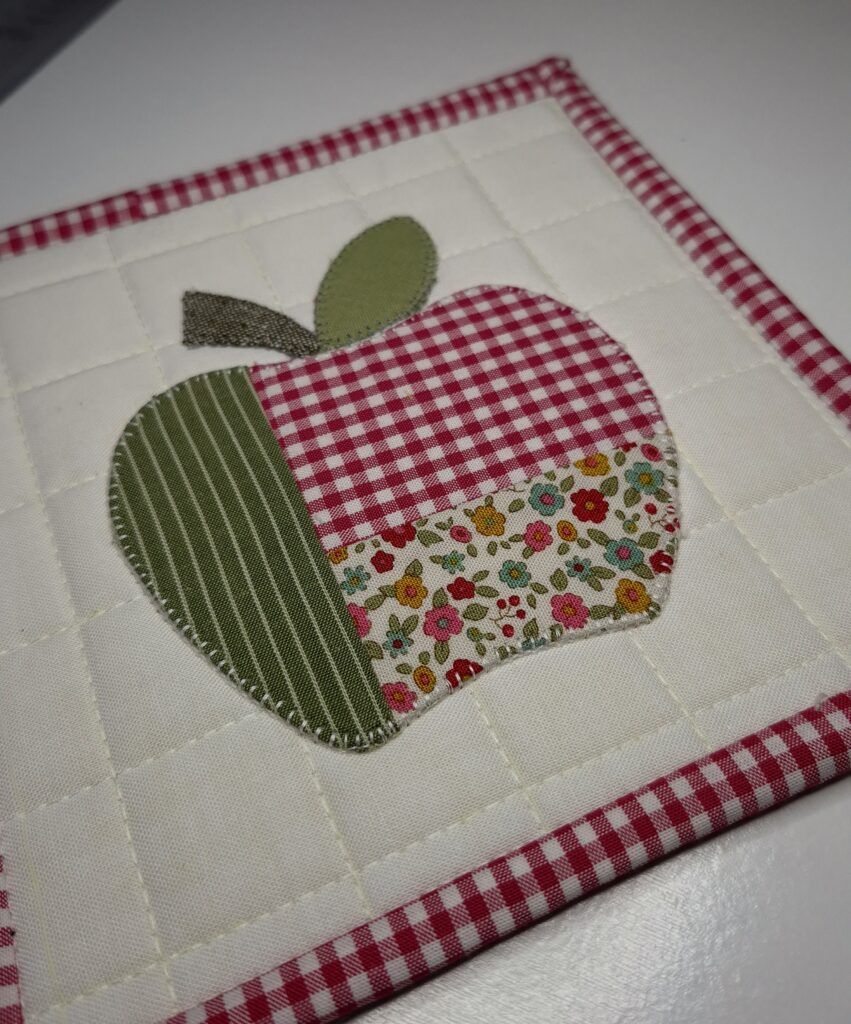
Now as summer is drawing to an end, my focus has shifted to apple‑themed applique, and I’m convinced it’s the perfect beginner‑friendly project to welcome the season. It’s simple, adorable, and a great way to use up scraps while practicing foundational applique techniques.
And because so many of you have asked for small, approachable projects, I’m putting together a free coaster pattern (followed later with a mug rug pattern) featuring this sweet apple motif — available exclusively to email subscribers. Below is a peek into the process and the fall‑inspired details that make these tiny projects shine.
🍂 Start With Fabrics That Feel Like Fall
Choosing fabrics for small projects is half the fun. For this apple coaster, I rummaged through my Tilda scraps. The Winter and Spring Creating Memories fabric lines had exactly what I was looking for:
- Warm gingham red and soft checkered greens for the apple
- Creamy backgrounds that let the applique stand out
- A touch of texture — woven solids and linen for the stem and leaf
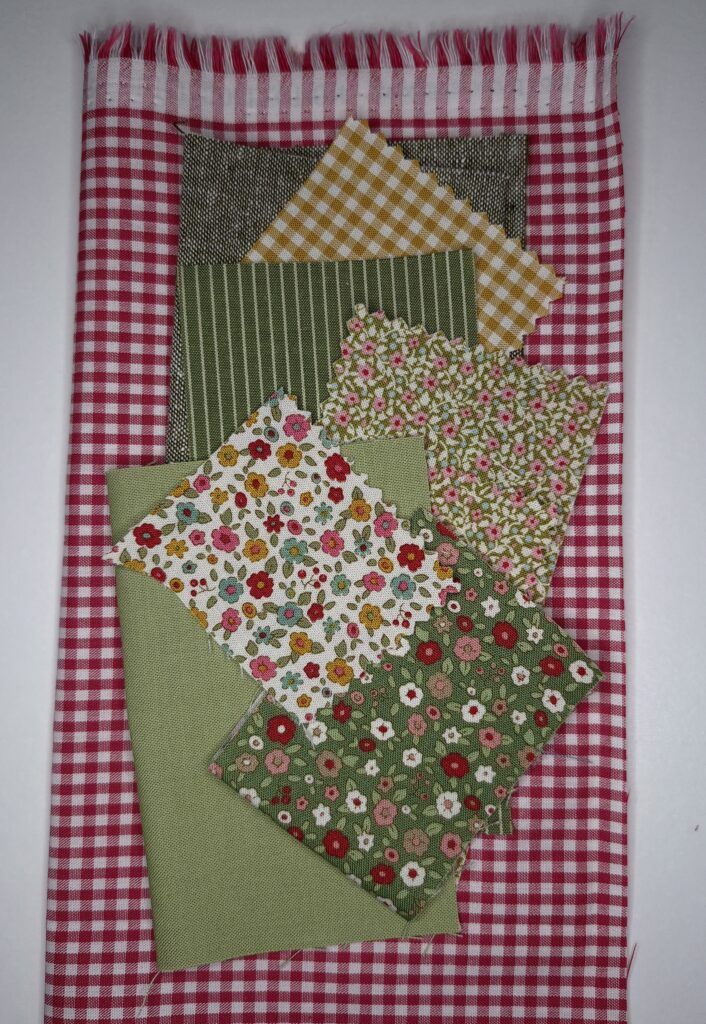
These subtle choices make the finished piece feel intentional and seasonal without overwhelming the small surface area.
☕ Prepare the Background Fabric
- Layer the back, front and batting or fusible fleece to create a quilt sandwich.
- Quilt using desired stitch pattern. I’m using a grid pattern for this first coaster. To me, a quilt sandwich is an open canvas that begs for experimentation!
- This coaster is small enough; you could easily add a personal touch by quilting by hand or embellishing machine quilting with a few running stitches by hand.
🍎 Preparing the Apple Applique
The technique I’m using FPP (Foundation Paper Piecing) however, and this is big, I use FREEZER paper instead of the traditional FPP paper. I discovered this technique about a month ago and there’s no going back.
For anyone who is fearful of FPP or just plain does not like to pick and tear out paper from the fabric back, I encourage you to keep reading and give FPP with freezer paper a try.
Since this technique is not mine, (and it takes much longer to explain it than it does to actually do it), I’m directing you to Rebecca Bryan at bryanhousequilts.com. All I’m going to say is this – if you’re like me and love FPP (headaches and all) you LOVE FPP with freezer paper!
My method of applique is a bit different from most. I try to avoid quilting over the applique pieces if at all possible and instead will quilt the background first. My need for texture and dimension is met with adding an extra layer of interfacing and/or fusible fleece to the applique pieces. Even with these extra steps, projects like this still come together very quickly.
A basic outline of the steps I used is as follows:
- Create the apple with FPP onto fusible web (I like Soft-Fuse of Flexi-Fuse)
- Sew interfacing to the wrong side of the apple then turn right side out, smooth and press.
- Cut out the stem and leaf and trace onto fabric. Fuse fusible fleece to wrong sides of each fabric piece and trim.
- Fuse the apple, stem and leaf onto a paper backed fusible webbing (FlexiFuse)
- Trim each piece with small scissors.
- Peel off the paper backing and position on the quilted coaster top.
It’s simple, but this is the moment the project transforms from “fabric square” to “oh my gosh, that’s adorable.”
My free pattern includes the apple template and placement guide, so you don’t have to fuss with sizing or proportions.
☕ Finishing the Coaster
Once your applique is centered on the background:
- Stitch the applique to the background
- Trim to desired size (usually 6′ – 7″ square or circle).
- Bind around the perimeter
- Admire your new coaster and enjoy!
These come together quickly, making them perfect for teacher gifts, hostess sets, or simply brightening your own coffee nook. As I continue to work on the finishing details of this pattern, I’m envisioning these coasters as part of a table set which includes coordinating place-mats and maybe a table runner. A project like this can be so easily personalized or embellished to give it an heirloom quality.
🍁 Want the Full Pattern?
UPDATE: This cute pattern has officially launched and is now available as a download. It includes templates, step‑by‑step instructions, and beginner‑friendly tips to help you create your own fall‑inspired set.
Finished is Perfect!