“Quilt-As-You-Go”…I’ve seen the phrase at least a million times…
but never really felt the need to look past the subject title. In fact, my encounter with QAYG happened completely by accident.
It all started with a casual scroll through my Facebook home feed when I encountered several posts with video describing the whole Quilt-As-You-Go process however, this one – a collaboration between Craftsy and Mathew Boudreaux (aka Mr. Domestic) not only caught my eye (because I’m a huge fan of Mr. Domestic and follow his FB group) but while watching Mathew explain the process, a light bulb came on!
OMG! Christmas is less than 2 weeks away. I still have a couple of projects to finish…some wonderful Christmas themed fabric just lying around and clock is ticking away.
Traditions are Time Consuming
I thought the “Mug Rug” pattern I had been using for the past couple of years was quick and easy enough. It can also be made quicker and easier with a couple of modifications i.e, use a single panel of fabric vs the two paper pieced log cabin blocks). That is what I’ve done with my latest iteration of a pattern created by K Lee 2 Strings that I purchased from Craftsy back in 2016 (before Craftsy became Blueprint then became Craftsy again).
She has a wonderful store filled with many patterns on Etsy. Anytime you find yourself in need of a great “mug Rug” pattern, this is the place to visit!
Making this mug rug not only helped check off a few boxes on my Christmas project list, it gave me a chance to gain much-needed practice with two techniques I love to see on other’s quilted projects – not so much on mine: 1) Stitch in the ditch and 2) Mitered corners.
If I do say so myself, I feel I did quite a decent job with both. The key to success with both of these techniques is to take your time – GO SLOW stitching, and turn at 45° angles to miter the corner.
Stitch in the Ditch
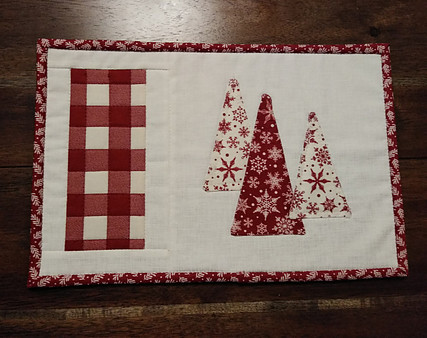
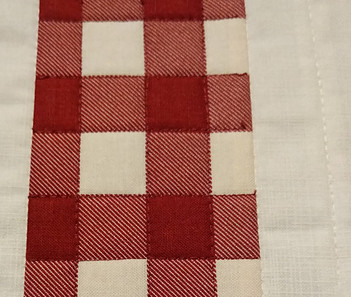
The stitching on the red plaid is not true stitch in the ditch as this is one woven piece of fabric. I wanted to see if stitching in an imaginary ditch would give the flat one dimensional fabric more dimension. Keeping the stitches straight (for the most part), I believe it does.
To the right of the red plaid fabric panel you can see where stitch in the ditch was used along the seam between the plaid panel (spoon rest, snack rest) and the main panel with the trees ( where you place your mug, wine glass, etc!)
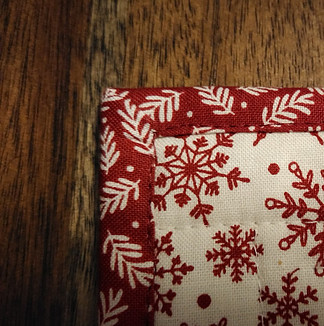
Mitered Corner:
To save a little time I machine stitched the back of the binding – think it would have looked better to stitch the back side of the binding by hand. Maybe next time!
An excellent tutorial that shows you how quick and easy it is to attach binding to any size quilt can be found here, courtesy of the Missouri Star Quilt Company.
As much as I love the pattern (and I will continue to use it) I’m going All In with QAYG to finish these small projects – stocking, mug rug, placemat, hot pad. It will cut my production time in half and hopefully I’ll get everything done this week!
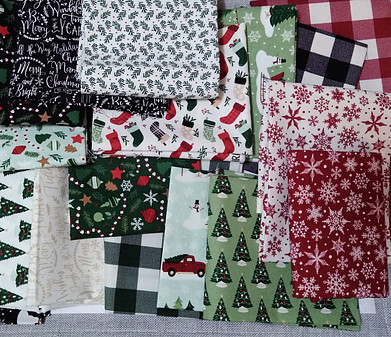
These are the fabrics that keep nagging at me, “Do something with me!”:
As soon as I hit the “publish” button this article I will promptly answer my fabric’s call and get going with those quilt-as-you-go projects.
Stay tuned to see what I come up with!
In addition to the QAYG technique, here is another great time saver –
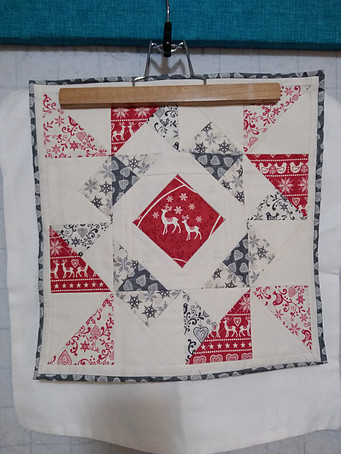
Applique a quilt block onto a ready-made pillow.
This one is still a WIP – Work In Progress but I only need about 20 minutes and couple ounces of motivation to get this one finished! I have the block positioned on a hanger with the ready-made zippered pillow case hanging fromt he top of my design wall. Keeping it “out there” where I look at it every day…several times a day, actually, should help encourage me to get it done!
Cut the Felt – or Wool
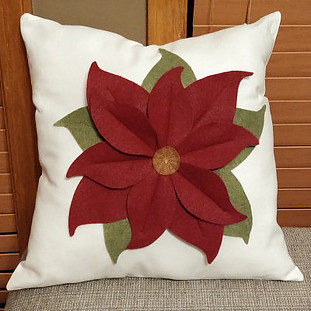
Last but not least, the pillow shown at the beginning of this article is another example of a super fast and easy Christmas project.
All that is required are a few squares of felt, a button, sewing machine and thread. In fact, I’m not 100% sure a sewing machine would be necessary – this appears to be a project that would fall under the “No Sew” project as well. With a little glue, the same look can be achieved however, the stitching along the center of each petal gives the flower added dimension.
The inspiration and instructions for this project can be found here from the Crafty Quilter – one of my favorite go-to blogs for all things crafty and quilted!
Here is another look :
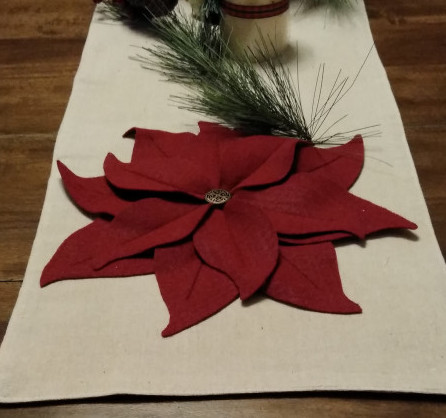
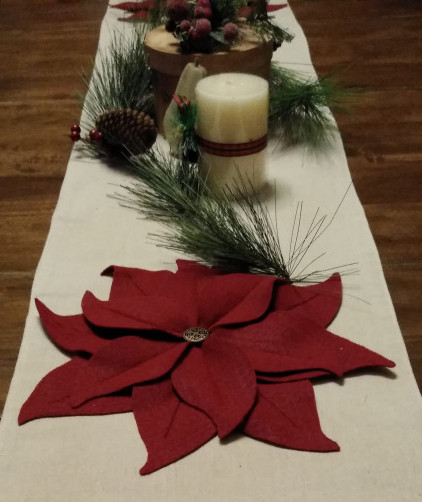
I duplicated the technique used to make the poinsettia for the pillow two more times as standalone units then placed on each end of a barely-ever-used-and-forgotten table runner. This is now a part of my dining table decoration.
