There’s a moment every new quilter reaches — that quiet pause between choosing fabrics and actually sewing them together — where excitement meets hesitation. Piecing feels like the place where things can go wrong. On the other hand, this is also where the magic begins. This is the stage where flat fabric becomes shape, where color starts to dance, and where your quilt’s personality takes form.
If you’re just stepping into this part of the process, you’re not alone. Every quilter, no matter how experienced, has stood exactly where you are. And the truth is: piecing isn’t about perfection. It’s about building skills slowly, thoughtfully, and with a sense of curiosity. As you develop an understanding of the fundamentals — accurate cutting, consistent seams, thoughtful pressing — everything else becomes easier.
Let’s walk through these essentials together.
✂️ Cutting Fabric Accurately: The Quiet Power Behind Every Block
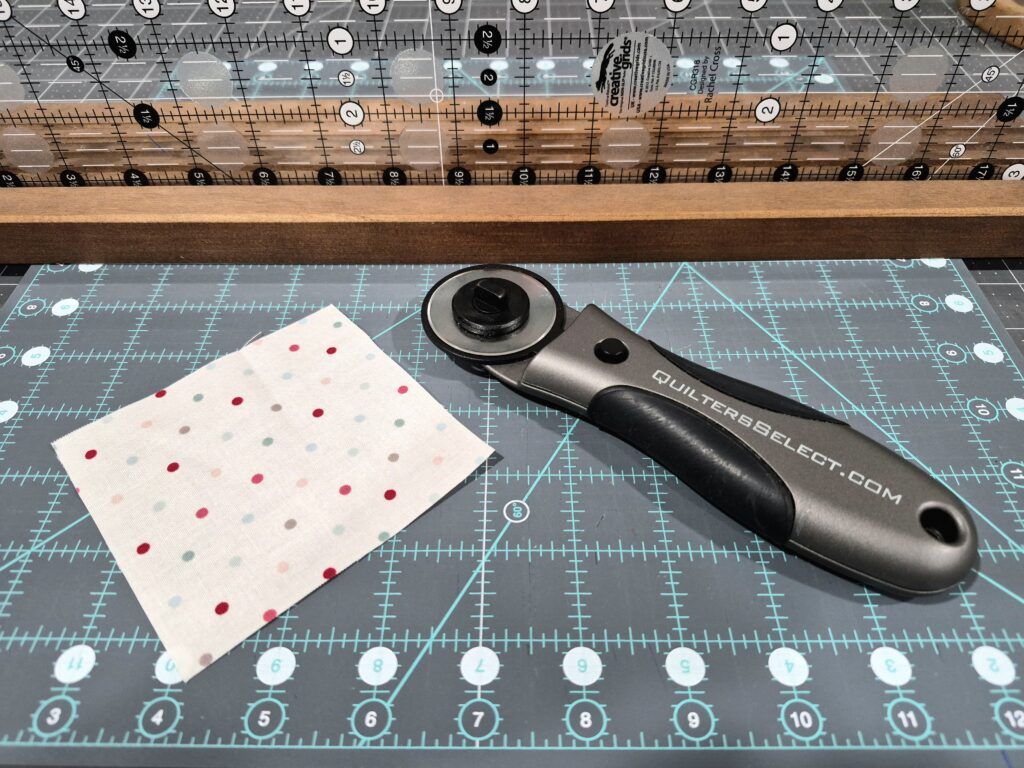
Before a single stitch is sewn, accuracy begins at the cutting table. It’s not glamorous, but it’s the foundation of blocks that come together smoothly.
Think of cutting as setting yourself up for success. When pieces are consistent, your seams line up naturally. Your blocks stay square. Your quilt top behaves. And you spend far less time “fixing” things later.
Use a sharp rotary blade. A dull blade pushes fabric instead of slicing cleanly. A fresh rotary blade glides cleanly, preventing frayed edges and wobbly cuts.
Square up your fabric first. Align the fold with a horizontal line on your mat, then trim the raw edge so everything starts true.
Trust your ruler, not your mat. The ruler’s markings are more precise and consistent.
Use the same ruler brand throughout a project. Markings can vary slightly between brands and even the tiniest differences can add up.
Apply firm, even pressure. Cut with intention using firm pressure and steady movement. Let the blade glide — don’t saw.
Accurate cutting isn’t about being fussy — it’s about giving yourself the gift of ease later on. And when comes making the task of cutting fabric easy, this tutorial by Ali of Arabesque Scissors is an absolute must-watch!
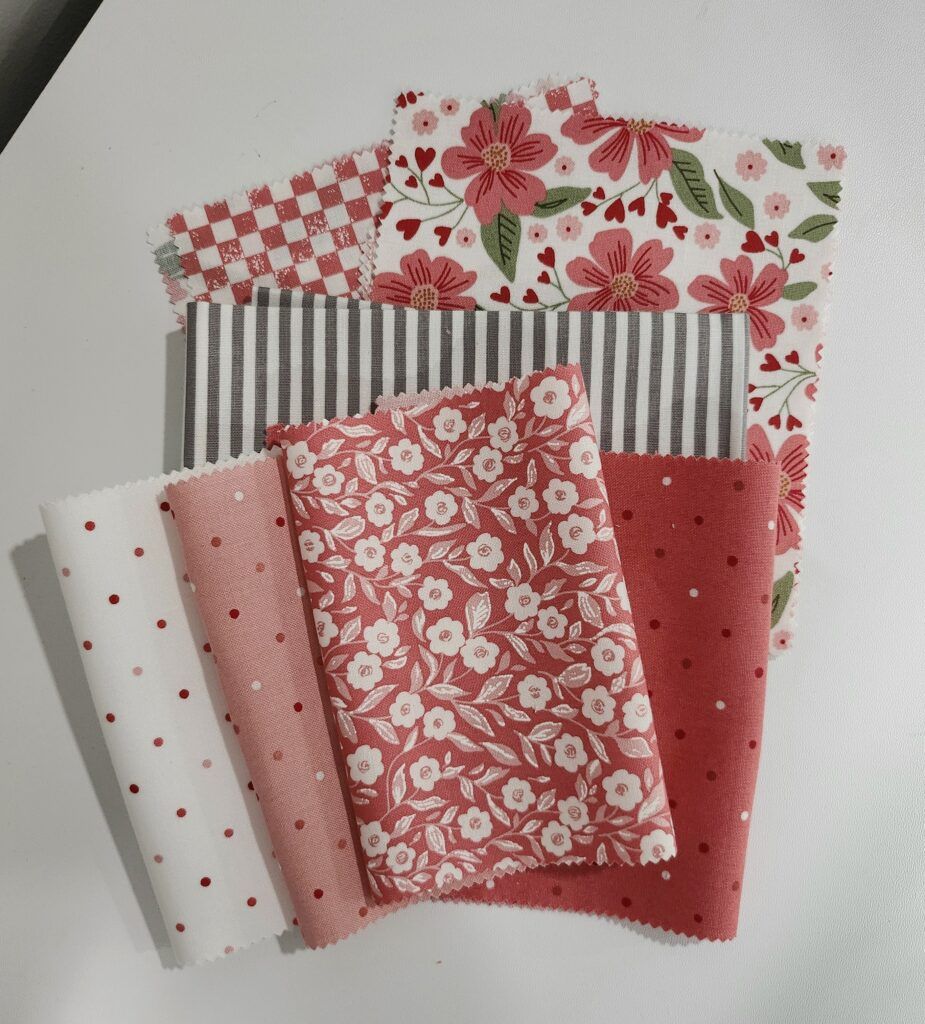
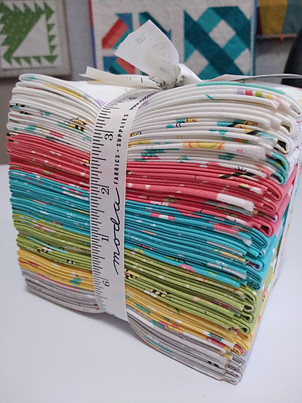
🧵 Working with Pre‑Cuts: Convenience with Character
Pre‑cuts are a wonderful entry point for beginners. They offer beautifully coordinated fabrics without the overwhelm of choosing and cutting everything yourself. But they also come with their own quirks.
What to expect
- Pinked edges help prevent fraying but can make measuring tricky.
- Sizes may vary slightly from pack to pack or even within the same bundle.
- A quick press helps remove packaging folds and gives you a truer sense of size.
How to make the most of them
Treat pre‑cuts as their actual size, not their labeled size. If your charm squares measure 4⅞” instead of 5″, adjust your yardage cuts to match. Consistency is more important than the number on the package.
If you happen to encounter a precut where the cuts are not consistent, this can be very frustrating for the first (or second time) quilter. You need to spend your time on the technique and not the technique AND how to manage pieces of fabric in varied sizes.
Below shows one technique to overcome and ignore inconsistent fabric pieces while creating a patchwork panel with perfect seams:
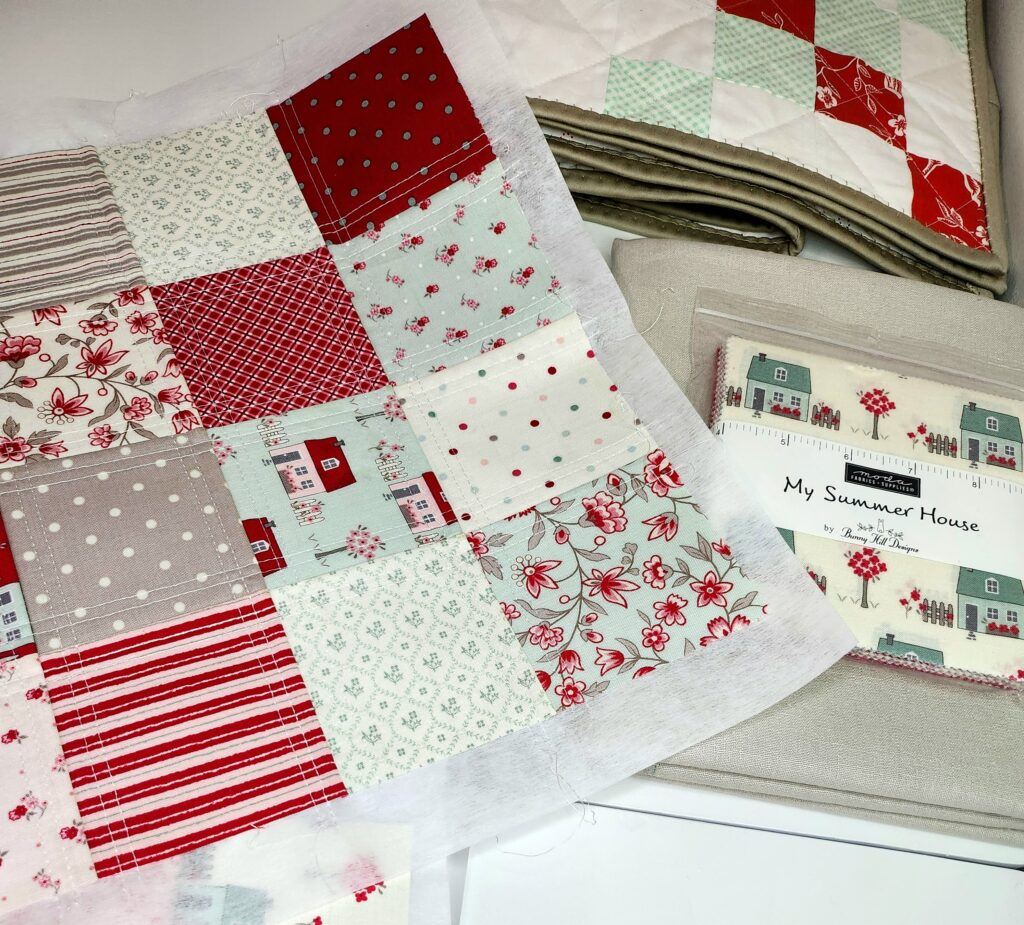
Pre‑cuts shine when you let them do the heavy lifting — coordinated colors, minimal cutting, and a gentle introduction to piecing.
📏 The ¼” Seam: Small but Mighty
If cutting is the foundation, the ¼” seam is the framework that holds everything together. Quilt patterns assume it, blocks depend on it, and your finished quilt will thank you for it.
There was a time when I felt I discovered THE secret to a perfect and consistent seam allowance. Since that time (almost 5 years ago) I have learned, in part, to trust my instincts but to also pay careful attention to the presser foot I use and the needle position. Those adjustments need to also be consistent.
I have a 1/4″ presser foot but depending on the fabric or thickness, I may to use a different foot. Then the task becomes that of achieving a consistent seam.
When the metal quide on the presser foot isn’t enough, washi tape is there to the rescue!
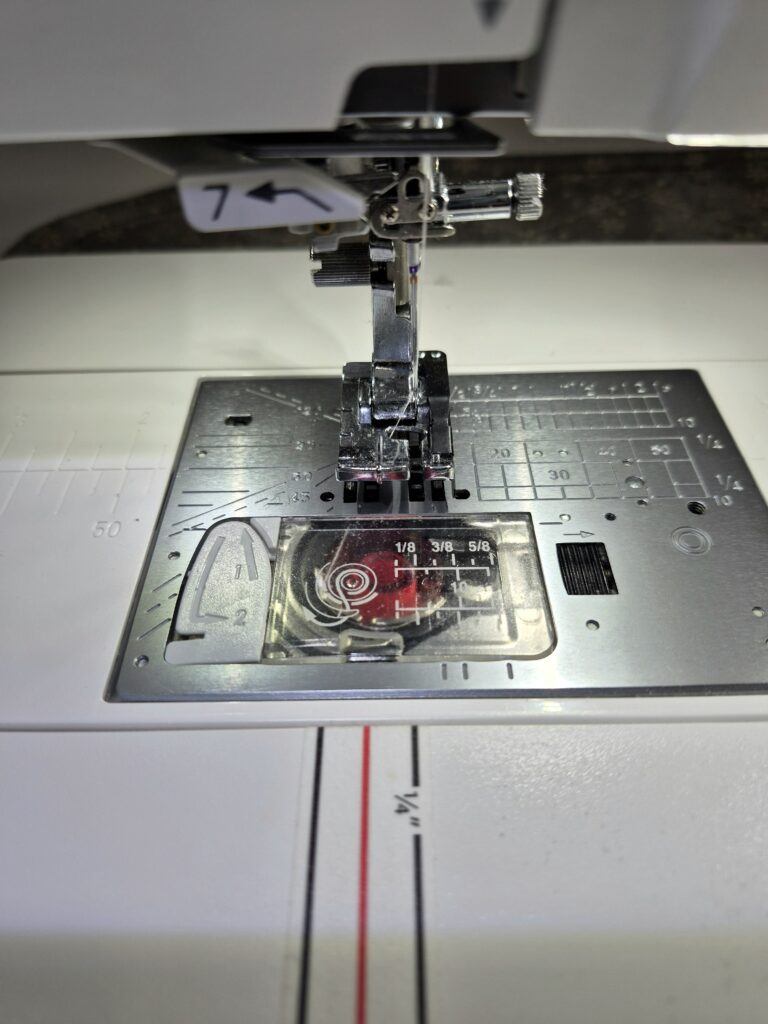
Finding your true ¼”
- Try a ¼” presser foot if your machine has one.
- Sew three 1½” strips together and measure the center strip — it should be exactly 1″.
- Adjust your needle position if your seams are too wide or narrow.
- Use guides like washi tape or magnetic seam guides to keep your line steady.
Once you find your true ¼”, everything starts to fall into place. Blocks finish at the right size. Points meet. Rows align. It’s one of the most empowering skills a beginner can master.
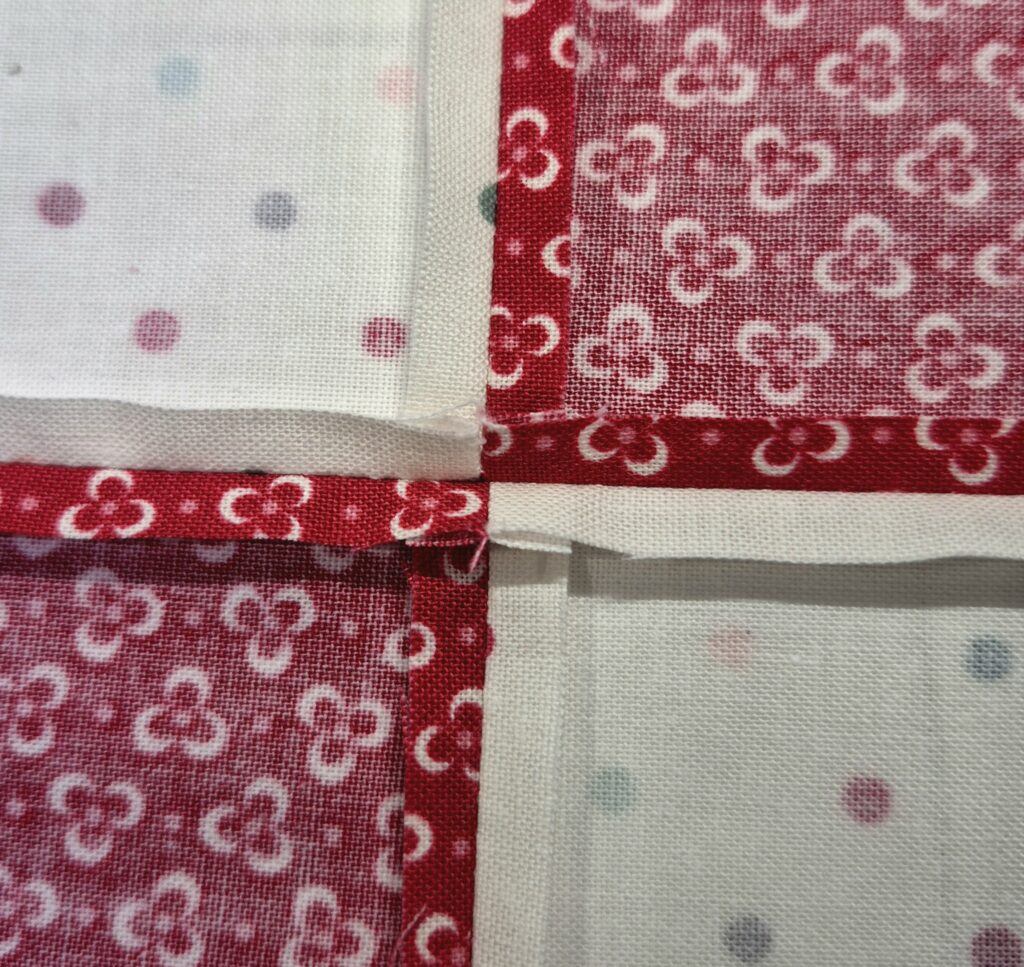
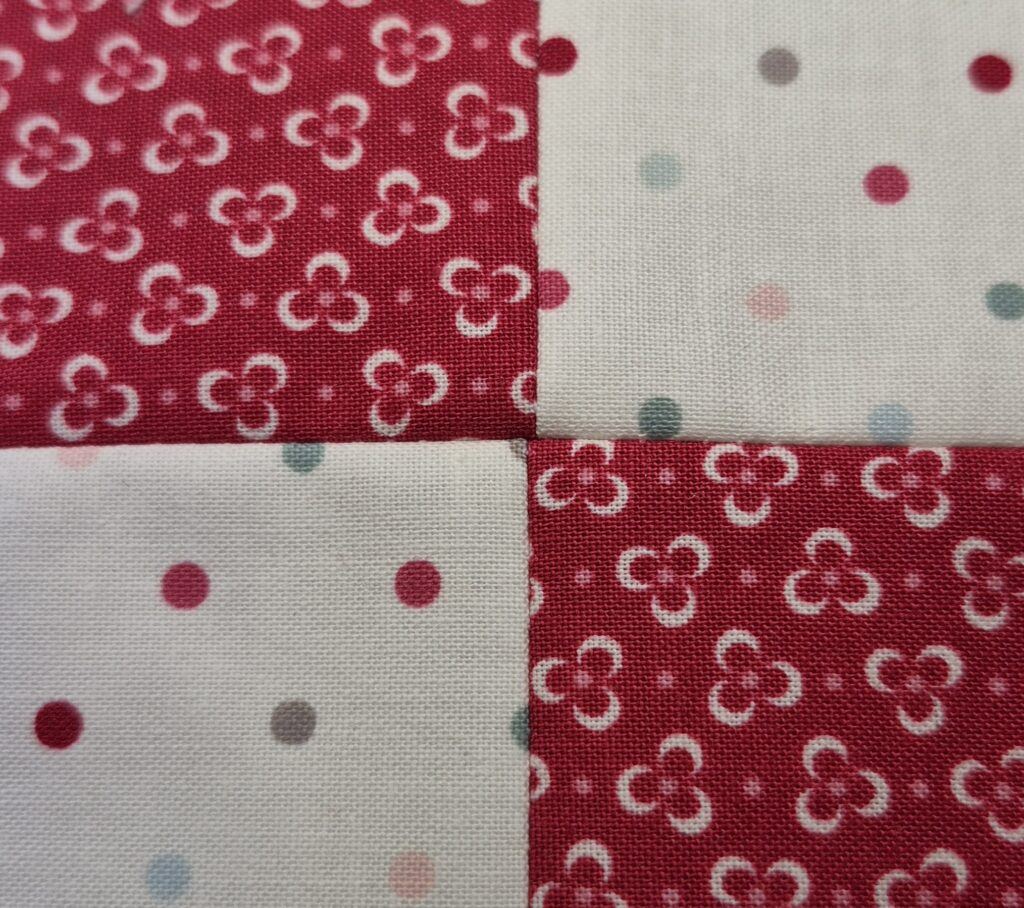
🔗 Nesting Seams: The Secret to Crisp, Confident Piecing
Nesting seams is one of those techniques that feels like a small miracle the first time you try it. Two seams pressed in opposite directions “lock” together, helping your points match beautifully without bulk.
After several years of practice, I still have the occasional unmatched seam where the points don’t match as perfectly as I would like. (See the images below!)
In addition to the techniques described here, the soundest advice I’ve ever received was as follows: Practice. Practice. Practice.
Like anything else, with time you will acquire the ability to automatically “feel” for when the seams are correctly positioned.
How to do it
- Press one seam allowance to the left and the adjoining one to the right. OR, press all seams open. Aligning the seams vs. nesting is sometimes a bit easier.
- Place the pieces right sides together.
- Feel the seams nest — they’ll naturally align.
- Pin at the intersection if you want extra security.
I was taught to always press seams to one side – typically to the “dark” side. The serves to hide the seam and reinforces the seam so prevent batting from working it’s way through.
Over the years the process of manufacturing batting has significantly improved. Most is needle punched and woven with a density that prevents it from fraying so if you are like me and prefer to press your seams open, the quilt will withstand daily use and multiple washings without falling apart!
Keep reading to learn more about pressing vs ironing and how these simple techniques give your blocks a polished, intentional look. It’s these small details that makes a big difference.
🔥 Pressing Seams: Where Everything Comes Together
Pressing is one of the most overlooked skills in quilting, but it’s also one of the most transformative. Good pressing can make your blocks look crisp and professional, even if your seams aren’t perfect.
Pressing vs. ironing
- Pressing is lifting and lowering the iron.
- Ironing is sliding the iron back and forth, which can stretch or distort fabric.
- A few pressing habits worth building
- Press seams as sewn first to set the stitches.
- Then press to one side or open, depending on your pattern and preference.
- Use steam lightly if your fabric tends to stretch.
- A wool pressing mat can help achieve beautifully flat seams.
There’s no single “right” way to press — only the way that gives you the results you want. Over time, you’ll develop your own rhythm.
✨ Piecing Is a Journey, Not a Test
The more you piece, the more intuitive it becomes. You’ll start to recognize when a seam is drifting, when a block needs a little extra trimming, or when a pressing choice will make the next step easier. These aren’t mistakes — they’re moments of learning.
And remember: every quilter you admire has been exactly where you are. They’ve unpicked seams, recut pieces, and puzzled over blocks that didn’t quite fit. What matters is that they kept going.
You’re building skills that will serve you for years, one seam at a time.